


Furniture Blog
Custom Furniture Gallery
Building a custom nightstand with drawers


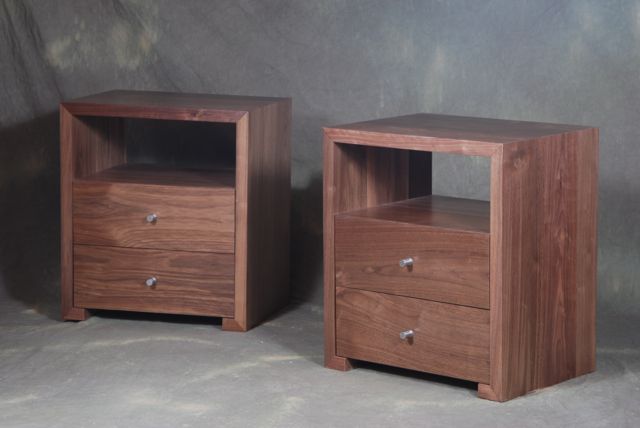
I recently had an order for a pair of custom walnut nightstands from a decorator in Colorado who I've done a bunch of work for in the past. She supplied a picture and some dimensions for me to build from. Working drawings weren't necessary for this one. I've built some like this before so I was ready to crank them out.
The dimensions of the nightstands were 27"h x 24"w x 18"d. Since the sides and the tops of the cabinets were pretty close to the same size, I rough cut all the wood to the same length. This gave me the choice during the glue up to pick and choose among the planks to get a good color match on the panels.
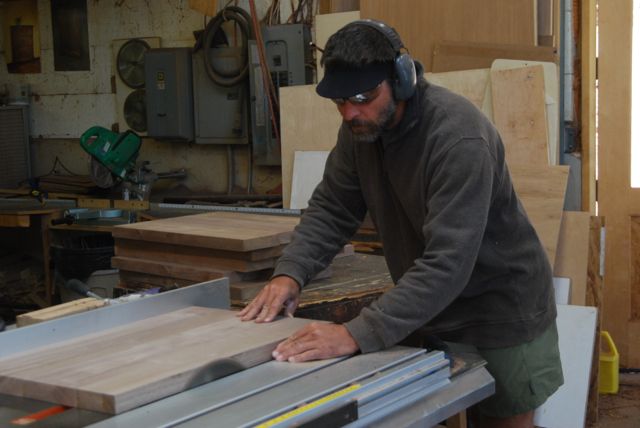
Once the panels for the tops and sides were glued up I ran them through my 36" drum sander to level out the surfaces, then I ripped them to final width.
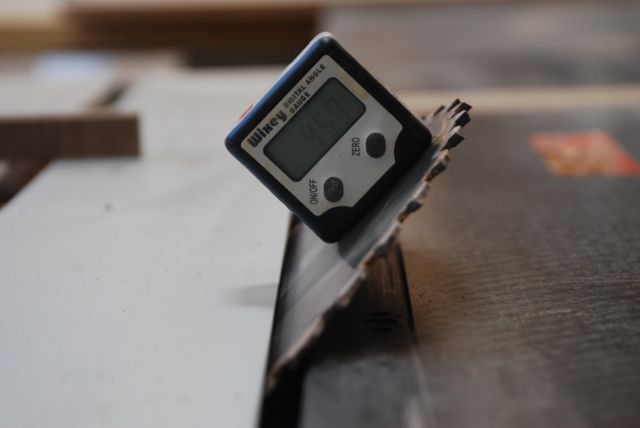
Setting angles precisely on the table saw can be a little pesky. Any small deviation in the intended angle gets doubled when you put the two pieces together and can create problems. In this case, if the angle is wrong by even a little, the sides won't be parallel and the drawers won't fit. These little digital angle indicators are cheap and super accurate. You just set it on the saw table and zero it out. Then you stick it to your blade (the bottom is magnetic) and adjust the blade until the gauge reads the angle you are looking for. It's accurate to 1/10 of a degree and it only takes a few seconds to set the blade exactly. It's super handy for setting angles on jointer fences and miter saws as well.
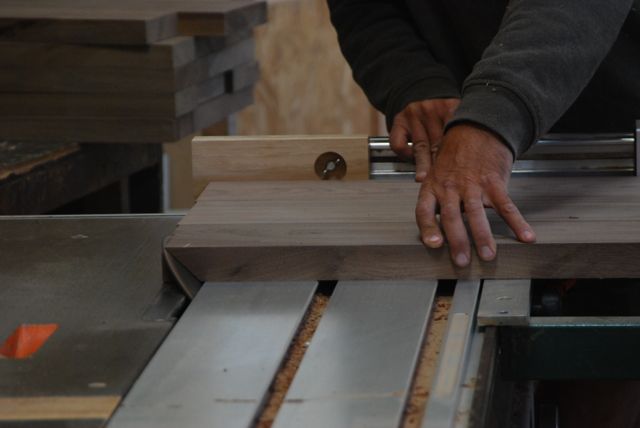
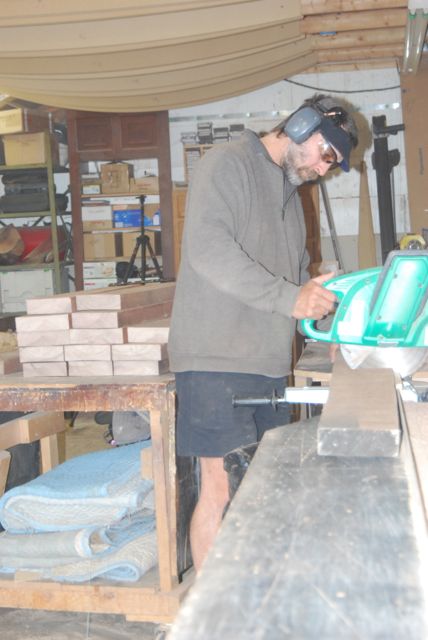
I have a Felder panel saw in my shop that's my main table saw. Most panel saws have a big beam that stick out from the front of the saw to support the sliding table. That makes them really accurate for cross cutting big sheet goods, but kind of a pain for ripping since they stick out right where you need to stand while ripping. I got this model because it doesn't have that beam on the front of the saw. That makes it really versatile, but not perfect for parting out whole sheets of plywood or melamine. That's OK with me because I mostly use the saw for cutting out furniture parts and I don't do that much plywood work. The saw is perfect for a project like this one where I need to cut smallish pieces perfectly square with a miter on each end. With the scale and sliding stop on the crosscut fence it makes a job like this a breeze. It was a biggish investment but it paid for itself a long time ago.
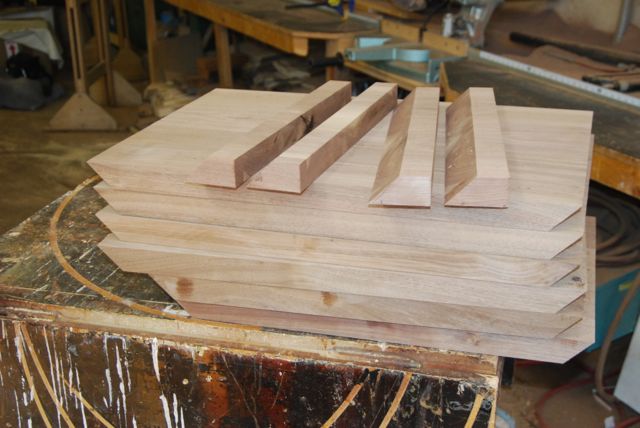
Here's my stack of mitered parts. Two short tops, 4 sides and the little "feet" that return under the drawers. Miters on the ends of boards are 50% end grain and end grain doesn't glue very well. Because of that you need to have some sort of joinery inside the miter. In the old days, people would cut a groove in the mitered face and put a spline in. Those work, but they were pesky to make perfectly.
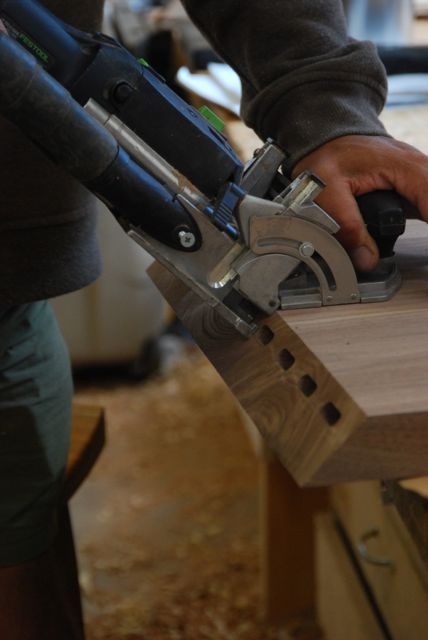
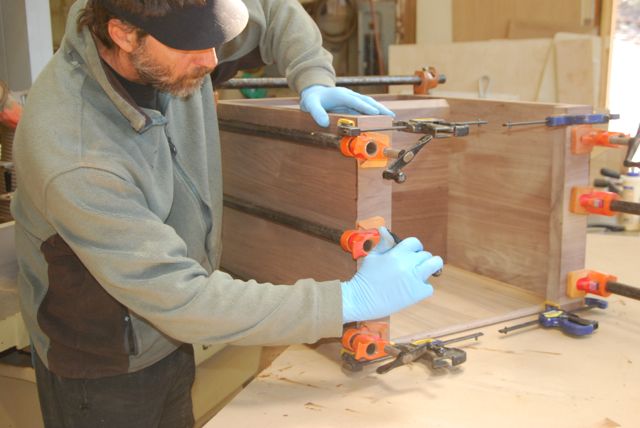
One of the most revolutionary tools to hit the woodworking scene recently is the Domino. It has something like a router bit that you plunge into the wood to create a mortise and they make several sizes of the "Domino" itself, which is basically a loose tenon. For a handheld power tool the accuracy is amazing. When I put these joints together, the outside corners mated up absolutely perfectly. With this many tenons in the joint it is really strong and it only takes a few minutes to make all the joints. Great stuff.

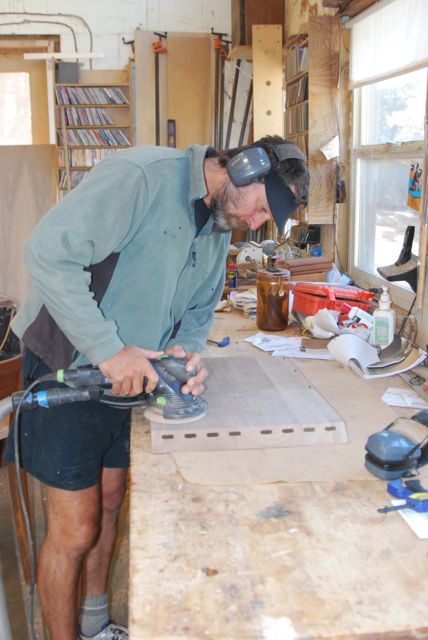
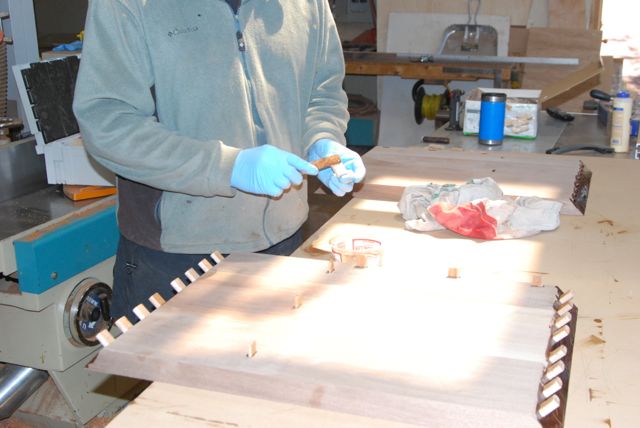
Before you glue up the cabinets don't forget to sand all of the interiors. It's a real pain to do a nice job after they are assembled.
With all the surface area on the glue surfaces you get a strong joint. It also takes a while to butter up all those pieces. If you tried to glue up this project with a yellow or white woodworking glue it would all seize up before you'd be able to get it together. Who needs that kind of stress. Those glues are also pretty lousy on miters due to the porosity of the endgrain.
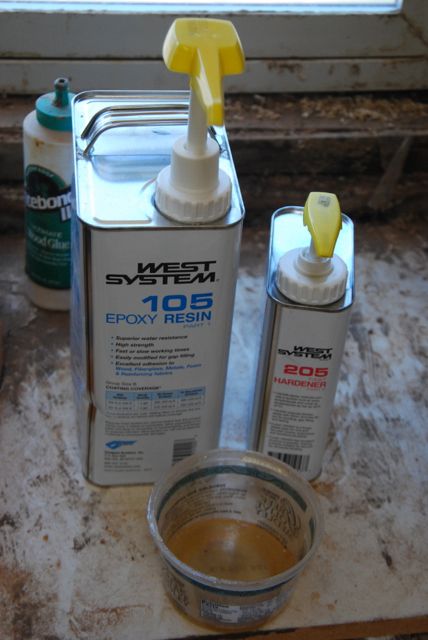 I use epoxy for this kind of situation. First of all, it gives you plenty of pot life to work before it sets up (if you pick the right epoxy). The other thing about epoxies is that they are slippery and that helps a lot when you are snugging up your miters on a whole piece like this. I've been using West System epoxies. They have a pump system that dispenses the right ratio, which is handy. The other nice thing about them is that they sand really well and that helps a bunch when you are cleaning up the outside of the joint. Some epoxies get rubbery when the friction of the sanding heats them up.
I used pre-made, dovetailed drawers running on Blum Tandem drawer glides for this project. The manufactured drawers cost me less than it would cost me to have them finished, much less build them myself. The Blum Tandem glides are undermount glides that disappear when the drawer is installed. The walnut faces simply screw to the front of the drawer box.
You can see more custom nightstands here.