


Furniture Blog
Custom Furniture Gallery
Replicating historic window sash


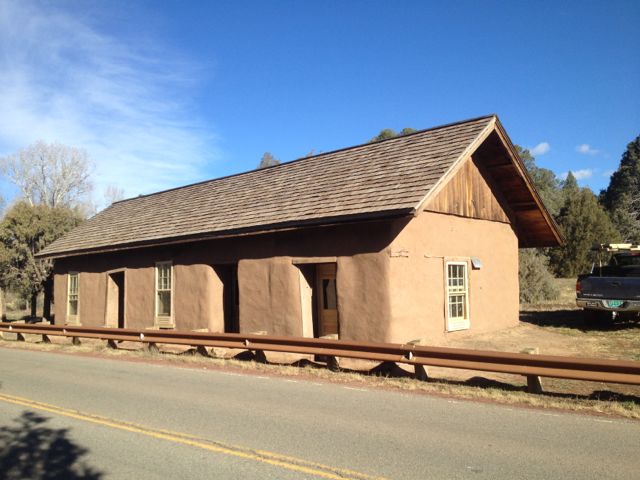
Along the side of highway 50 between Glorieta and Pecos, New Mexico, is a rundown old adobe building. I've seen it driving by for 22 years but had no idea what it was. Over the years I've seen people from the Pecos National Historic Park working on it and leading tours there. Last summer I got a call from my friend Doug Porter, who I do some historic preservation work with, and he asked me if I would be interested in replicating and repairing some historic doors and window sash at the Alexandre Pigeons Ranch. It turns out that this old building has some interesting history.
During the Civil War there was a struggle between the Confederates and the Union over control of the territories that were just being settled. The winning side would get to determine whether the territories would allow slavery or not. It would also determine who controlled the gold and silver mines of California and Colorado and the Confederates were pushing north to take Fort Union and then move up through Raton Pass to take control of Colorado. In March of 1862 there was a running battle that started in Apache canyon near Canoncito, on the west side of Glorieta pass, that ran up through the pass along the Santa Fe Trail and down toward the village of Pecos. The Confederates had their wagon train in Apache canyon and were pursuing the Union soldiers up the canyon. The heaviest fighting took place around Pigeons ranch, which served as a field hospital during the battle. Eventually the Union soldiers got up onto Glorieta Mesa, above the pass, and circled back around to Canoncito behind the Confederates where they burned the Confederates supplies and shot or scattered their horses and mules. With that the Battle of Glorieta (AKA The Gettysburg of the West) was over. Without supplies, the Confederates were forced to retreat back to Arizona territory (now southern NM) and then on to Texas, leaving the territories to the union once and for all.
Later, the stretch of the Santa Fe Trail in this area became a part of the Historic Route 66.
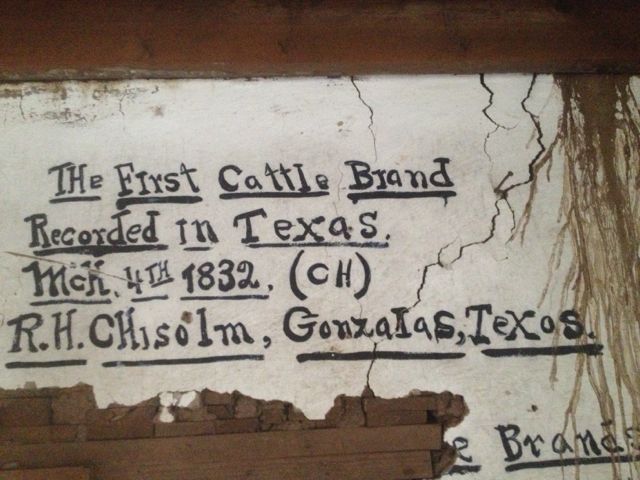
Inside the building the walls are covered with old cowboy poetry from the 1800's. There are examples of Indian petroglyph symbols that someone copied onto the walls along with brands common in the Apache Country.
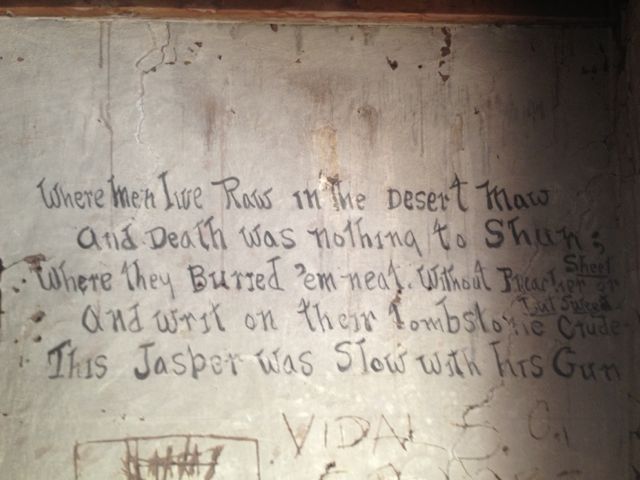
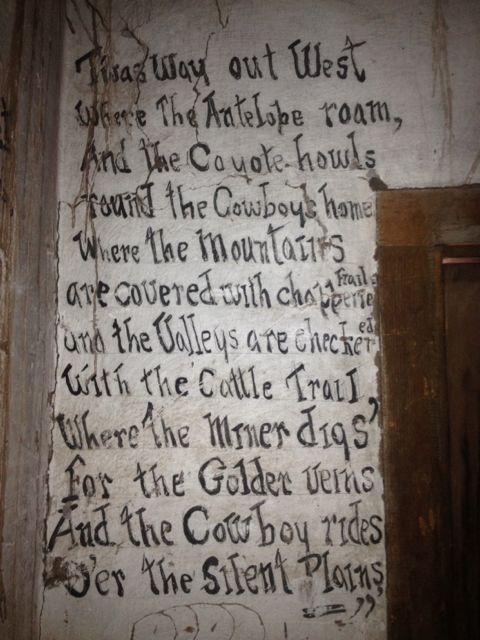
It's graffiti, but it's old, so that makes it good. I asked the guy from the park how old graffiti had to be to be good and he said that anything older than 70 years was a keeper. There you have it.
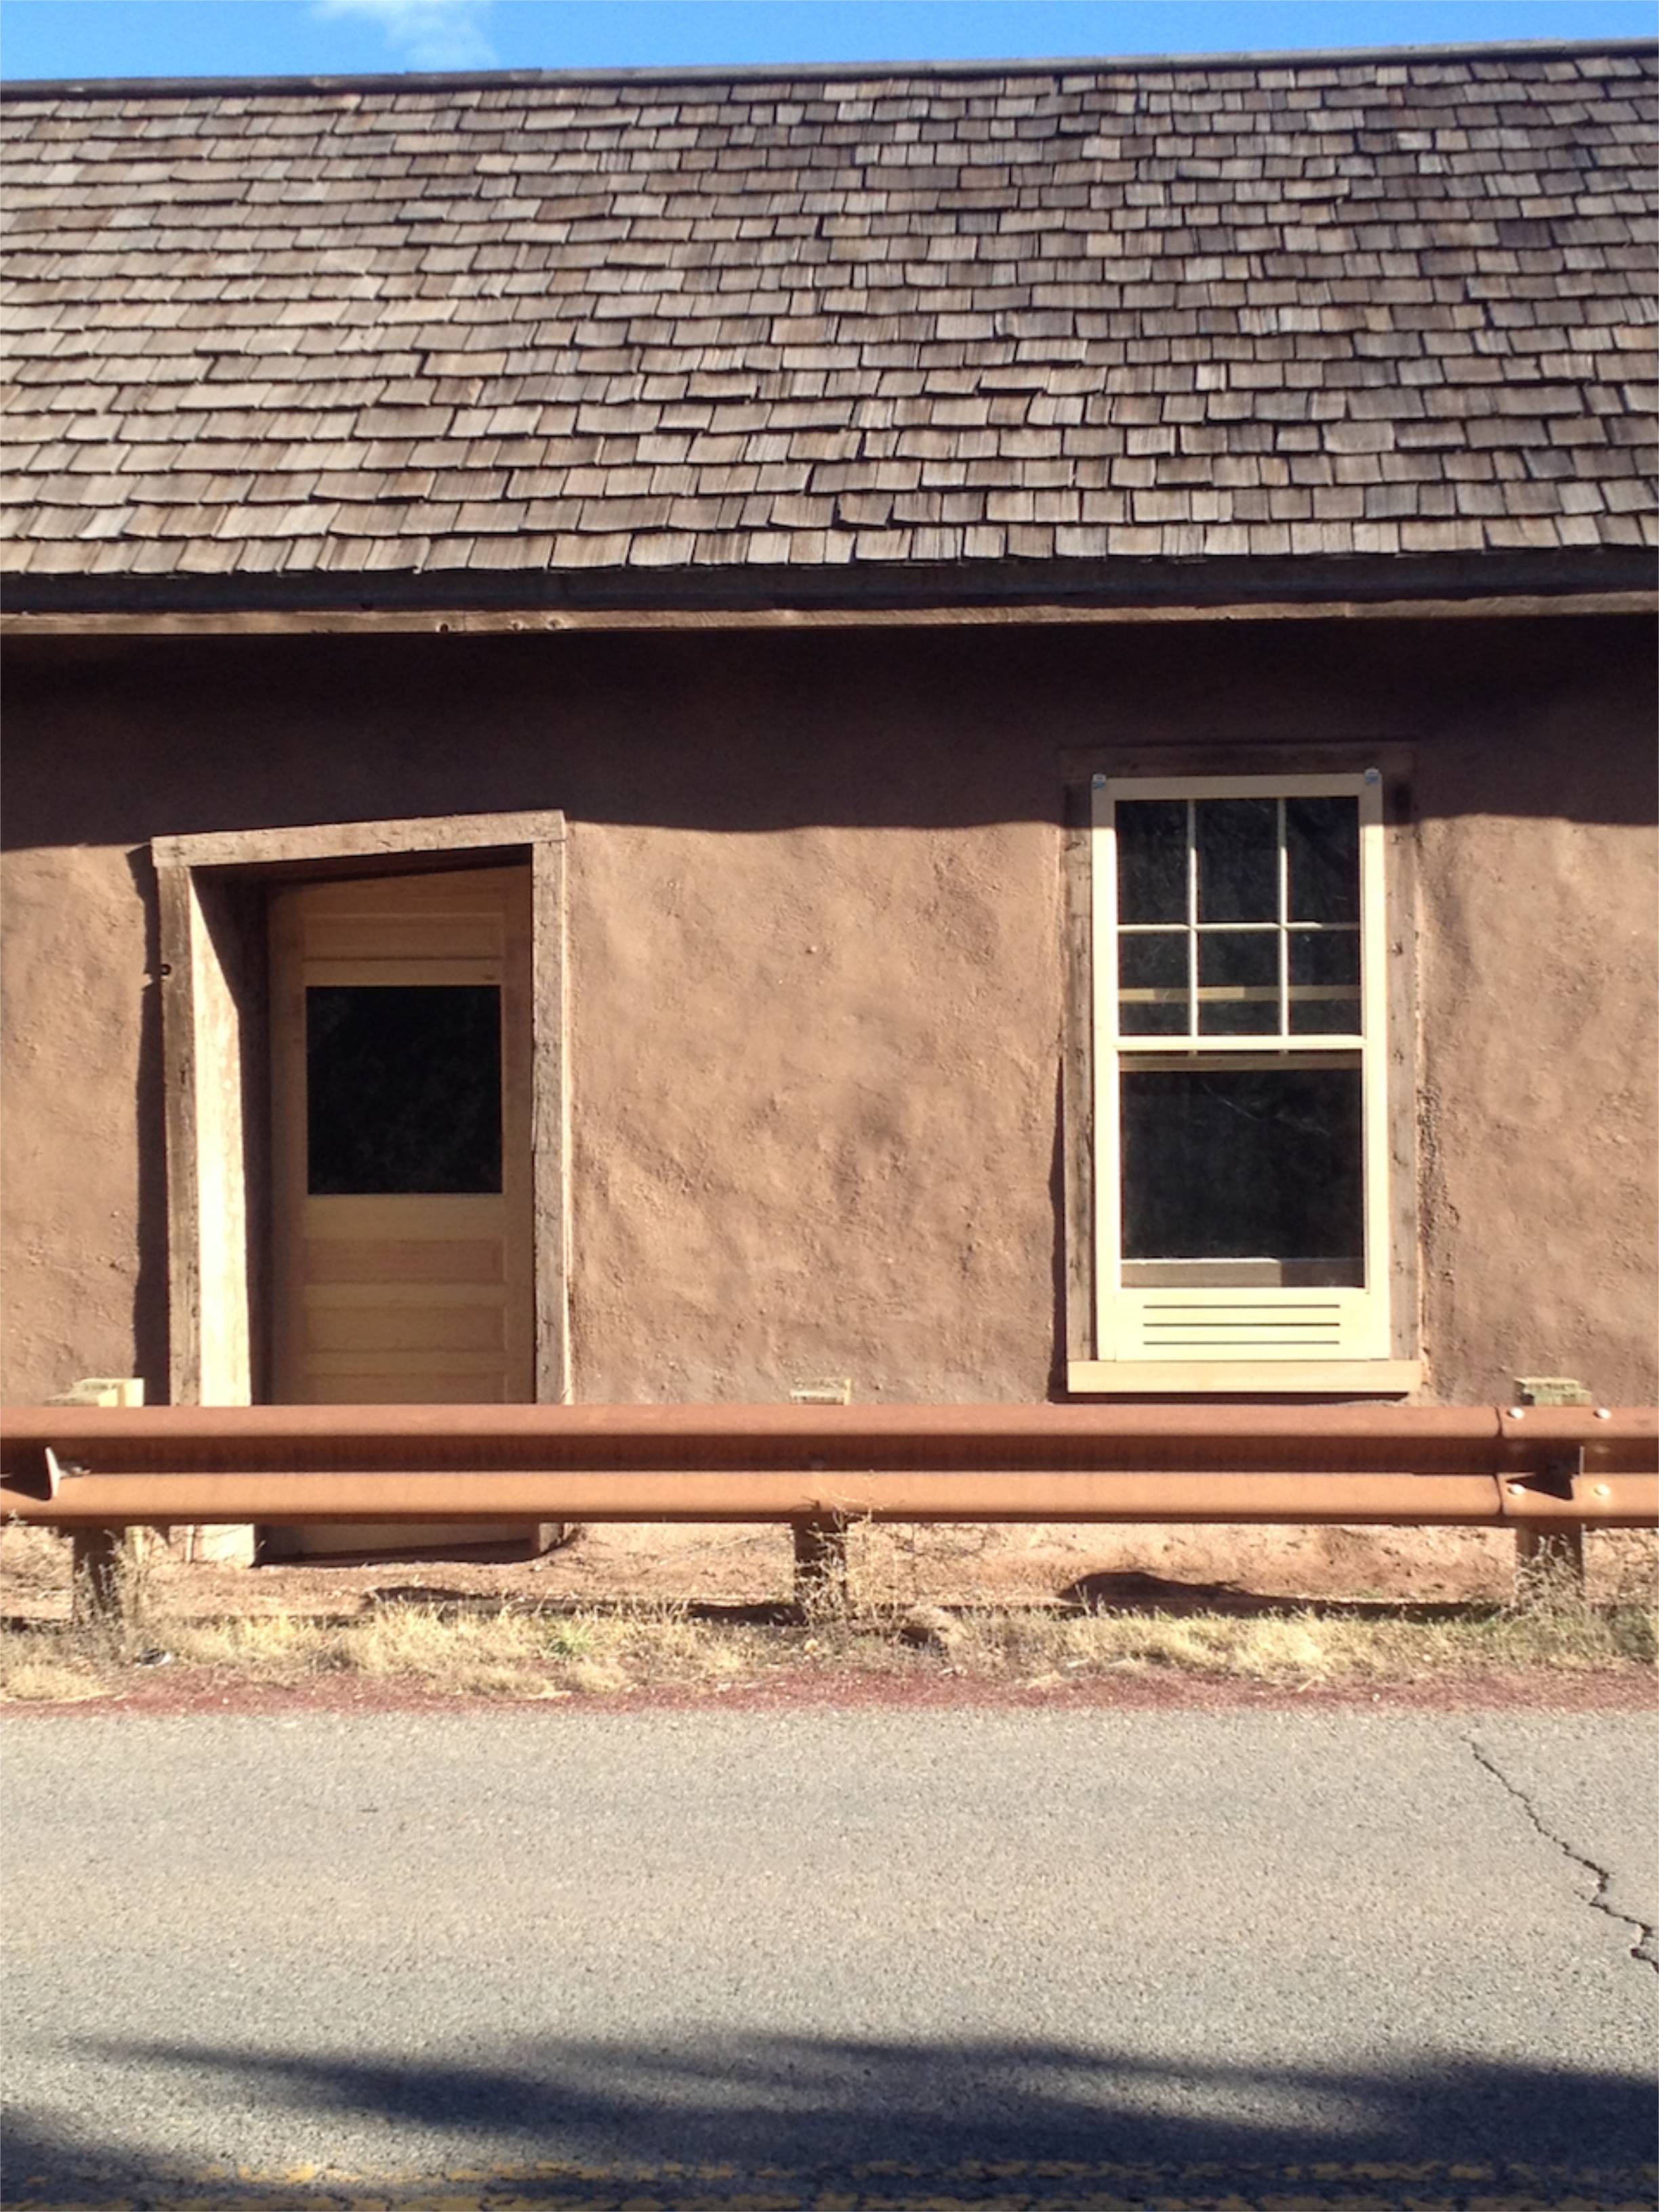
There was one historic door and parts of 2 window sash still existing on the site. My job was to repair the 2 sash and the door and then replicate them with 2 more doors, 6 sash and 3 storm windows.
The construction on the sash was all cope and stick, through mortise and tenon with true divided light windows glazed in with putty. After milling up all the parts four square, I cut them to length and cut the coped tenons on the shaper with custom coping heads.
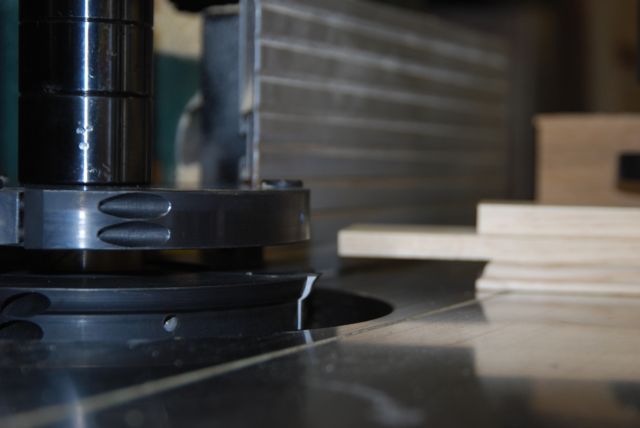
My Bridgewood shaper has a sliding table with a hold down clamp on it that makes this kind of cutting really accurate and safe. The shaper heads make the tenon and the copes on the shoulder perfectly in one pass.
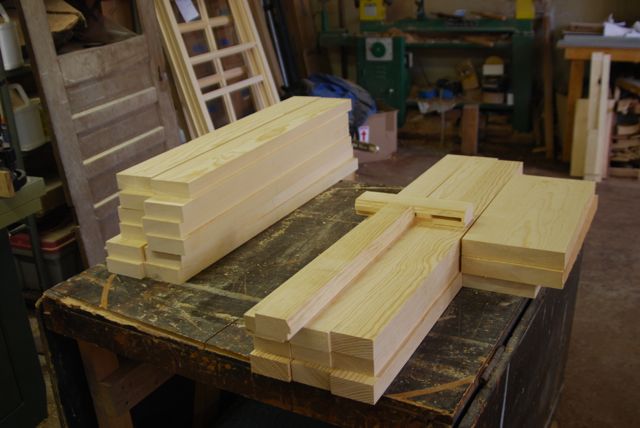
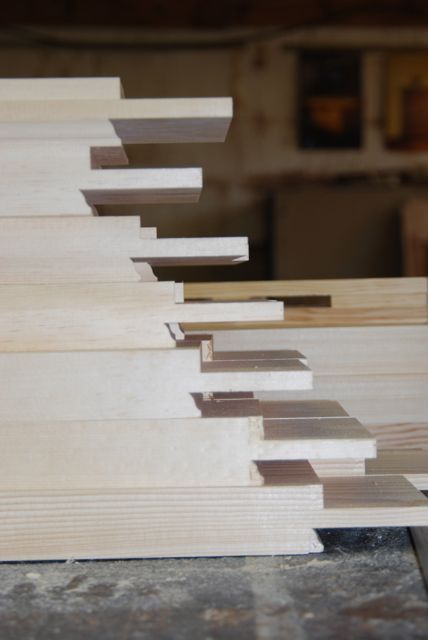
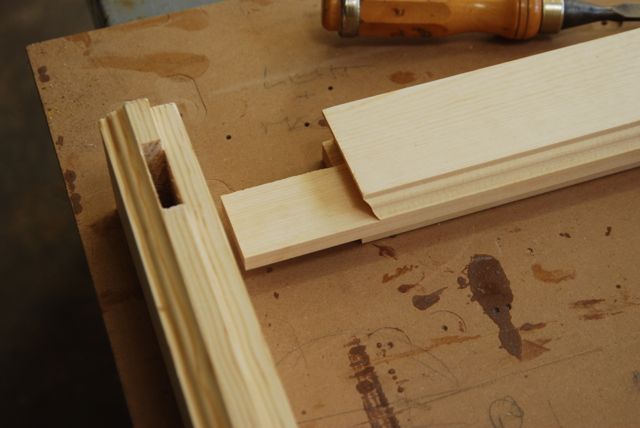
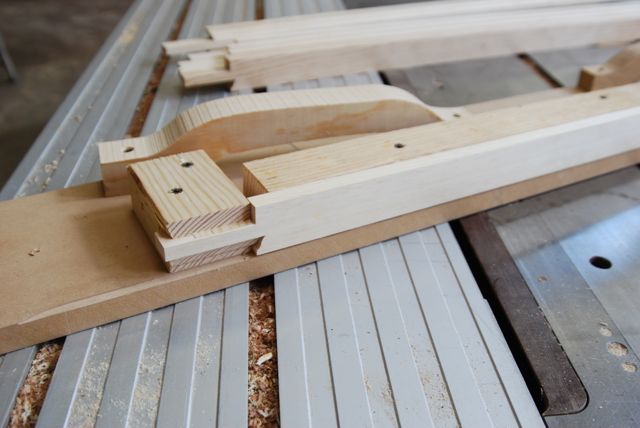
In the end they look like this. These are the rails, or the horizontal part of the window sash, that are going to fit into the stiles, which are the vertical members of the sash.
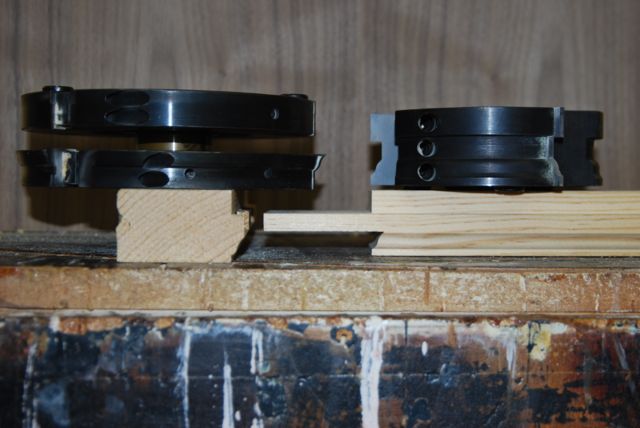
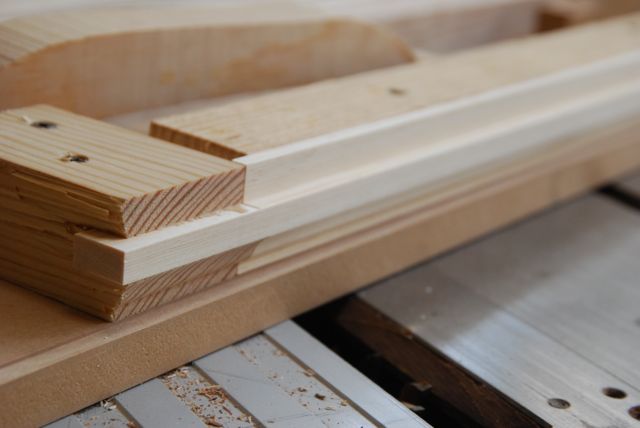
Once the rails are coped and tenoned the next step is to run the 'sticking', which is the profile that runs along the inside edge of the window parts. Below you can see the two sets of shaper heads and the profiles that were cut with them. The wood on the left is showing the sticking and the piece on the right shows the tenon with the coped shoulder.
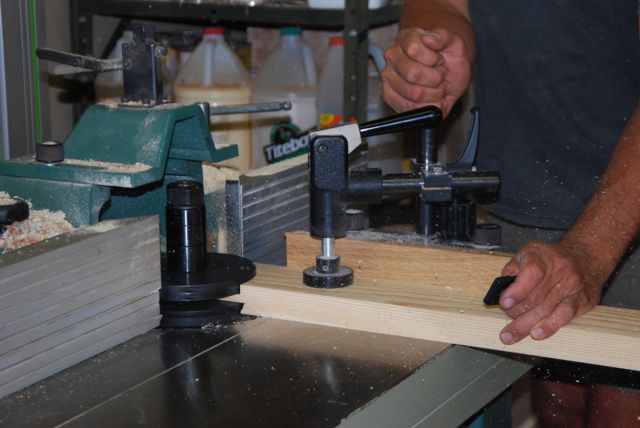
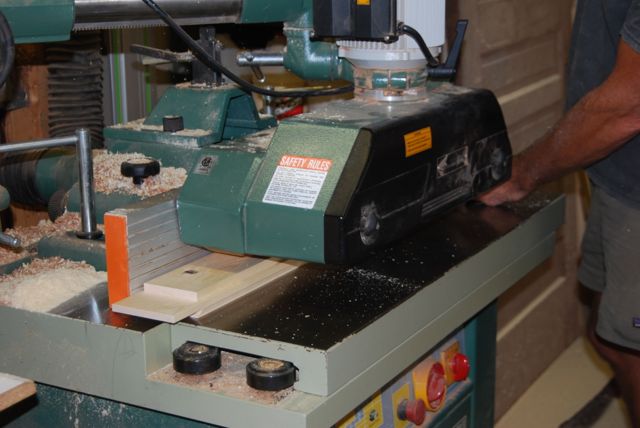
Shapers are big powerful tools spinning big heavy cutters. If something you are running on the shaper gets out of line it can be kicked back pretty violently. Like right through the wall. As it gets shot off of the machine, the piece of stock can pull your hands into those big cutters. That's why you use sliding tables with hold down clamps for the end grain work and power feeders for the long grain work. The power feeder presses the stock to the table and the fence and feeds it at a consistent rate. Both of these keep your hands well away from the cutters. Like they say, 'a shaper without a power feeder is like a hand without fingers'. Here's the power feeder in action.
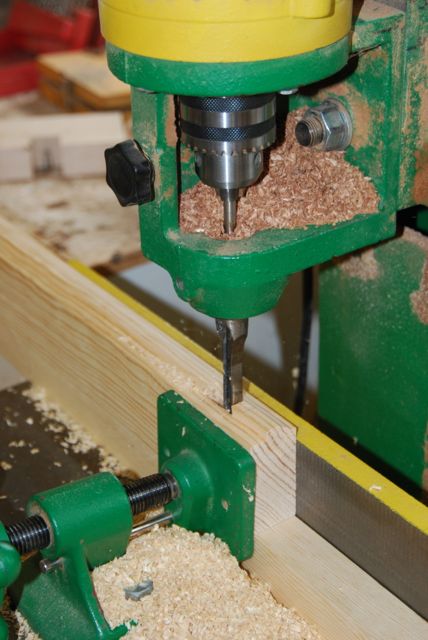
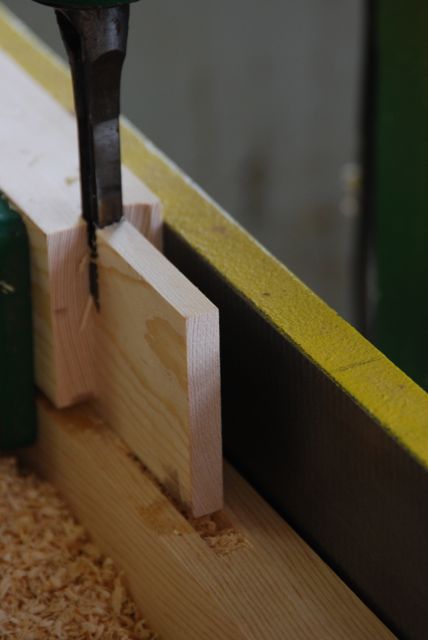
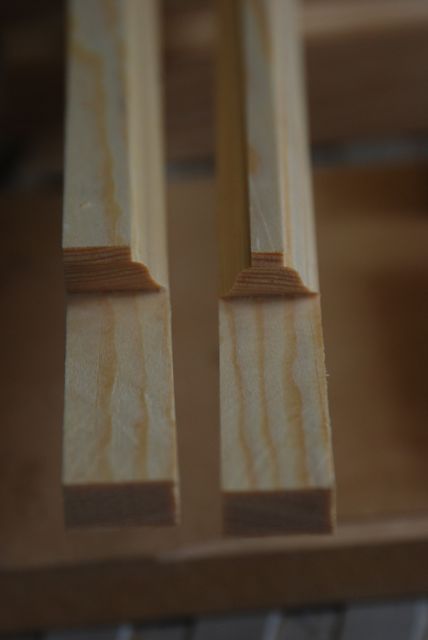
Once the sticking was run I could cut the through mortises on the hollow chisel mortiser. By cutting half way through and then flipping the stock, I got a very clean exit hole on the outside without any tear out.
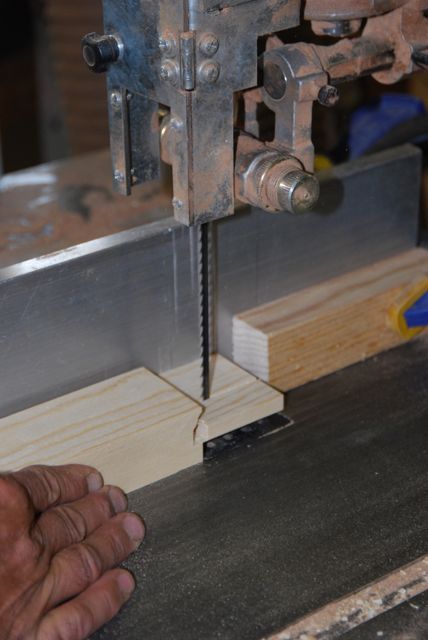
Since the mortises don't come all the way to the end of the stiles, the bottoms of the tenons have to be haunched. The first haunch cut is done with the mortiser and then the haunch is finished on the bandsaw.
Here's how the joint looks once everything has been done to it.
The next step is to make all the muntins. The muntins are the thin, profiled pieces of wood that separate one pane of glass from the next. They attach to the rails and stiles with a coped mortise and tenon joint just like the rails. To be sure that the shoulders of the horizontal muntins (which run from stile to stile, as opposed to the vertical muntins which run from rail to horizontal muntin and then to the next rail) are the same length as the rails, they are run on the same set up as the rails. Since the tenons on the muntins don't go all the way through the stiles like the rails, the tenons are cut short after the tenoning/coping process.
The difficulty in making the muntins is that they have a sticking profile on both sides but they are too narrow to run with the power feeder. The way around this is to build a jig to hold the muntin while you profile it. In this case you are hand feeding the piece on the shaper, so it's important to make a big jig with good handles that keep your hands clear of the cutters in the off chance of a kick back.
I'm all about making down and dirty jigs. I'm going to use it for a specific operation and probably toss it when I'm done, so I don't need to make it pretty. I just need to make it work well. To make these muntin jigs I cut two pieces of scrap stile material that have sticking cut on them and have been mortised. I cross cut through the mortise and use one piece of stile on each end of the jig. Then I screw a fence on the jig to hold the muntin at the right distance from the cutter and put on some handles. I can use the same jig to make different length muntins by moving the holding blocks.
Here you can see a muntin that has been inserted into the jig. The tenon has a good friction fit into the mortise in the holding block, it's cope is pressed against the sticking and the back of it is against the fence. This then gets pushed against the fence on the shaper which holds the muntin in the jig while you make the sticking cut.
Once you've profiled one side of the muntin it's easy to pop the piece out of the jig, turn it around and run the other edge. This makes the operation fast, accurate and safe. Here you can see the two steps of the muntin profiling.
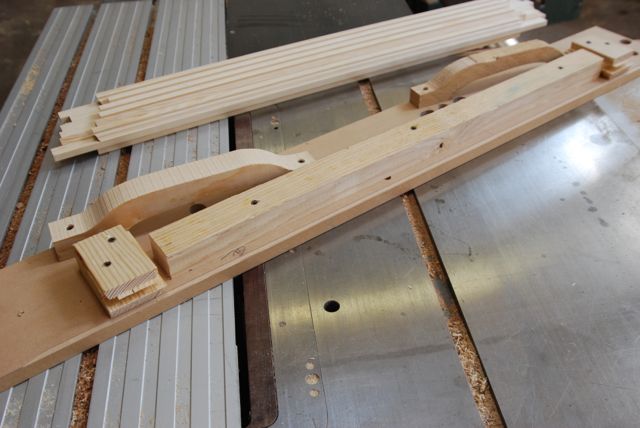
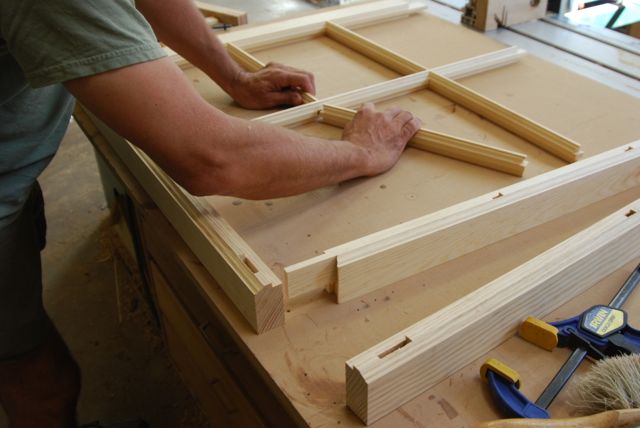
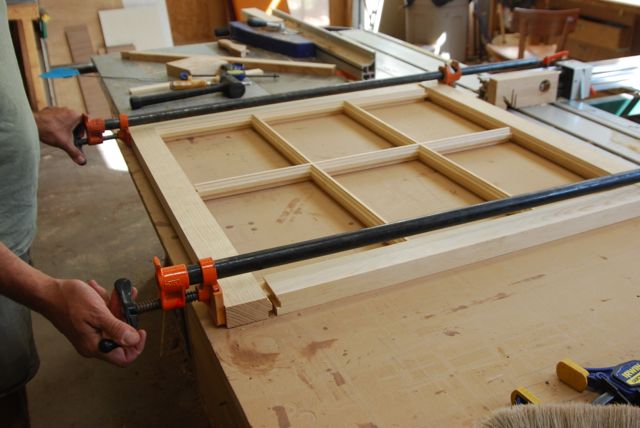
Once all of the parts are cut to length, coped, sticked, mortised and tenoned, the assembly is as easy as tapping and squeezing the parts together.
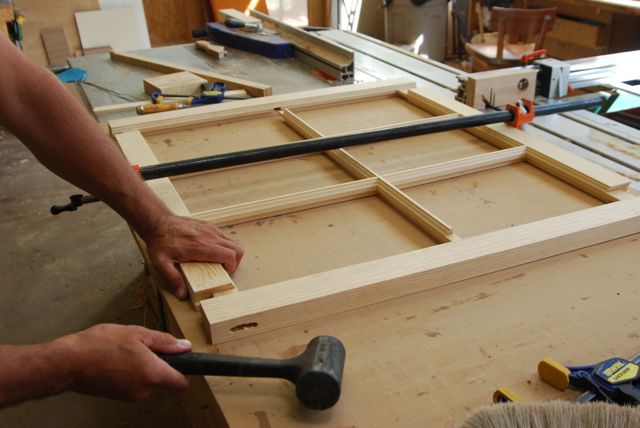
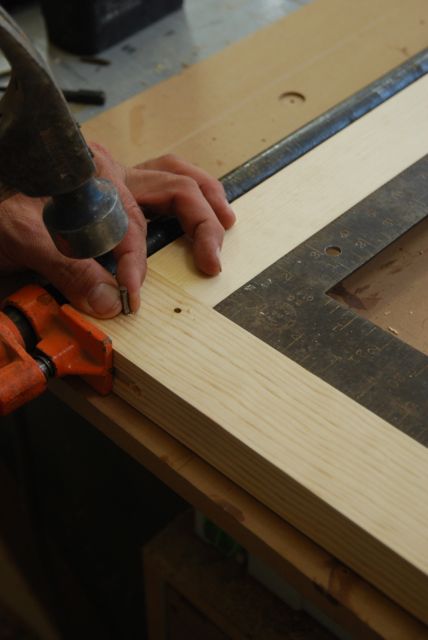
When I started doing historic preservation work I was surprised to find out that the old window sash wasn't glued together. Instead, the joints have nails driven through the tenon to pin the whole thing together. This way if a muntin gets busted or a rail starts to rot you can pound the nail out the other side, knock the window apart and install the replacement parts.
You can see how I built the doors for this project in this article.