Furniture Blog
Custom Furniture Gallery
Building the Mattawa - a small Tandem Canoe
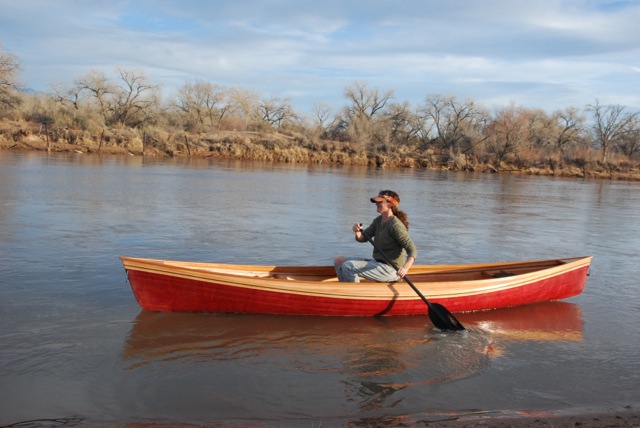
While I was building my Northwest Passage Solo canoe back in November, my girlfriend Kathi decided that she needed a canoe too, so we started looking for a design for her perfect boat. There were some parameters. She wanted it to be a tandem boat so that she could take other people out, but it also had to be light enough for her to carry. My tandem boats weigh 60 pounds and that was definitely too much for her. That meant that we were looking for a small tandem. She also wanted to be able to comfortably paddle it herself which meant that the boat needed to be kind of narrow in the middle so that she could easily reach over the gunnels with the paddle. She also wanted an all around boat that would turn nicely on rivers as well as easily track straight on the lakes. One design that kept popping up was the Mattawa which is a design by John Winters. It fit almost all of the requirements that we were looking for. The only disadvantage was that, as designed, it is almost 37" wide in the middle. That was going to make it a really stable boat, but it would be a little harder to paddle solo. After coming back to the Mattawa again and again we finally decided to build it…..but with some modifications.
Since I already wrote an article with a lot of detail on building my solo canoe, I'm going to skip over some of the descriptions of the process in this article and just focus on what was different about building this boat.
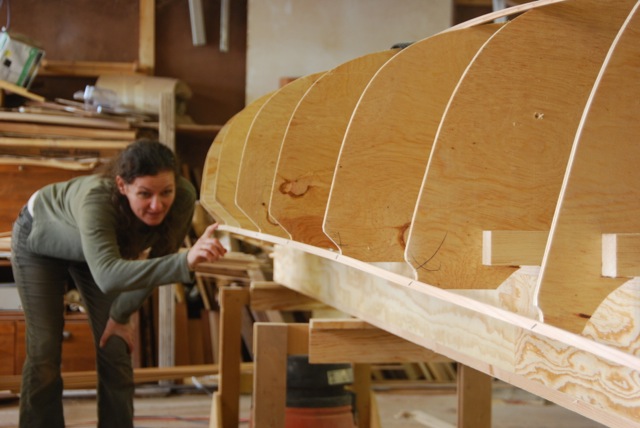
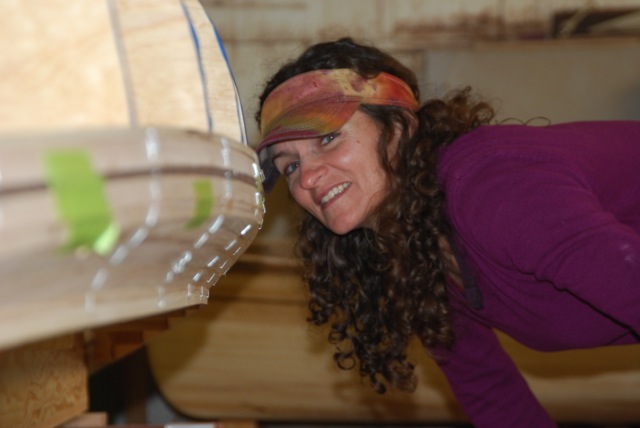
Here's Kathi working on the forms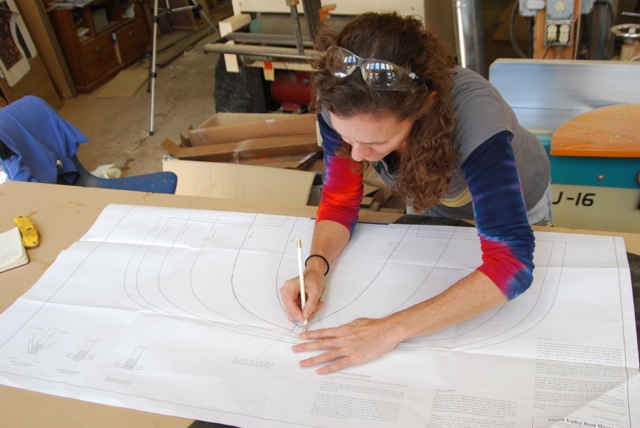
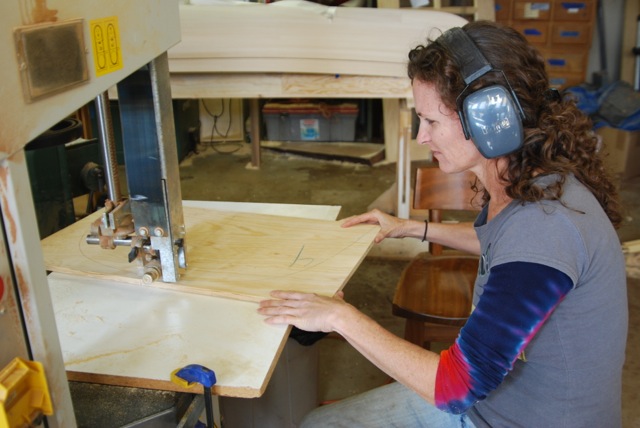
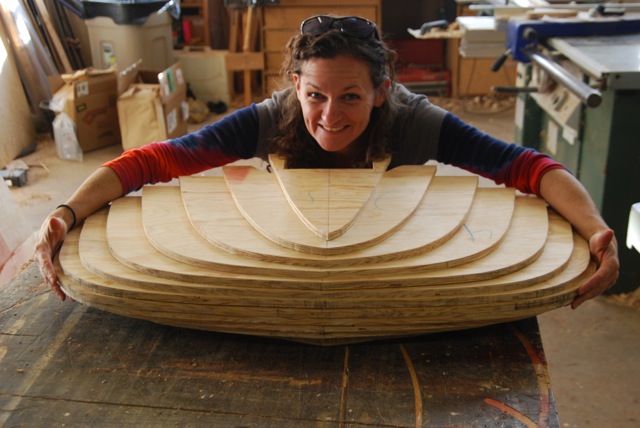
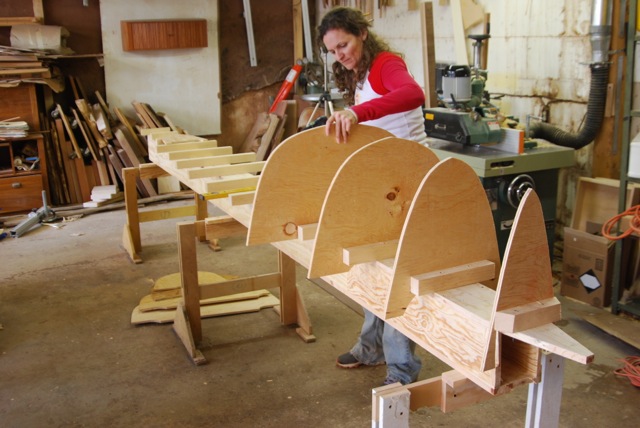
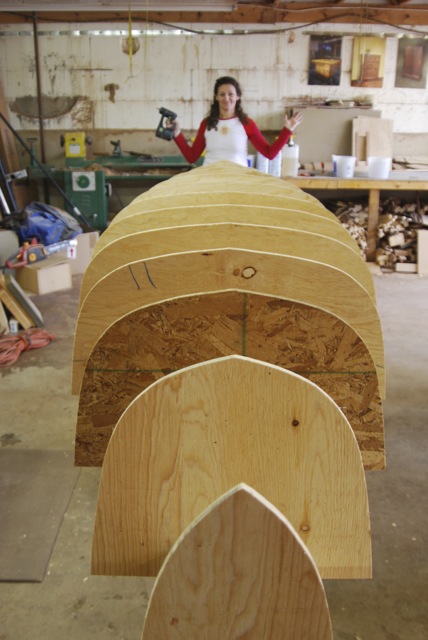
The modification we made to the design was to put some 'tumblehome' into the hull. Tumblehome is when the hull gets narrower at the gunnels than it is at it's widest point. This makes it easier to reach the water when paddling solo. To do this we assembled the forms and then tacked strips onto them to delineate the location of the tumblehome, marked each station from the strips, took the stations off one at a time and cut the tumblehome in them.
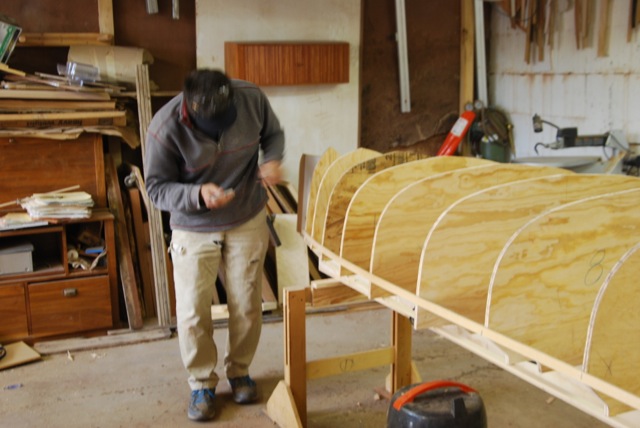
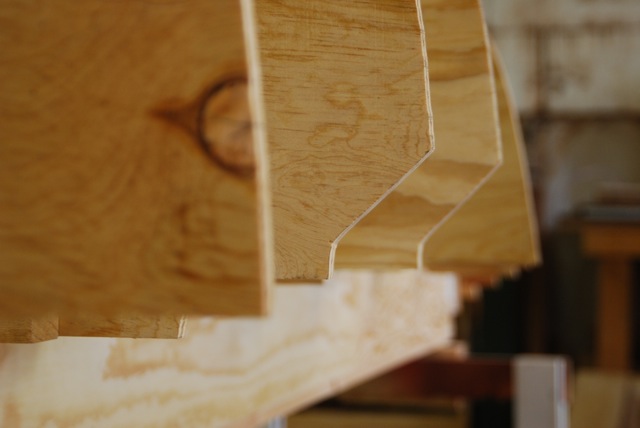
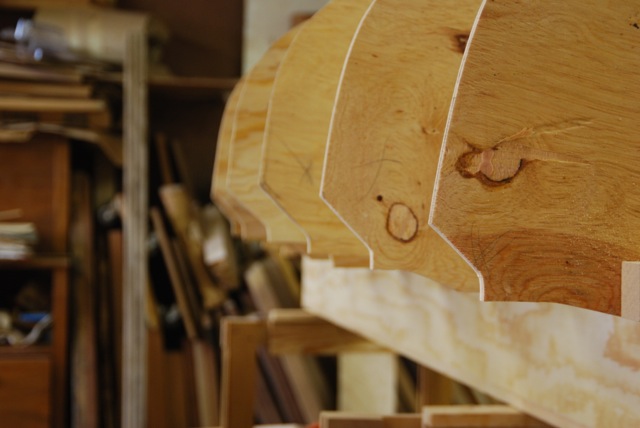
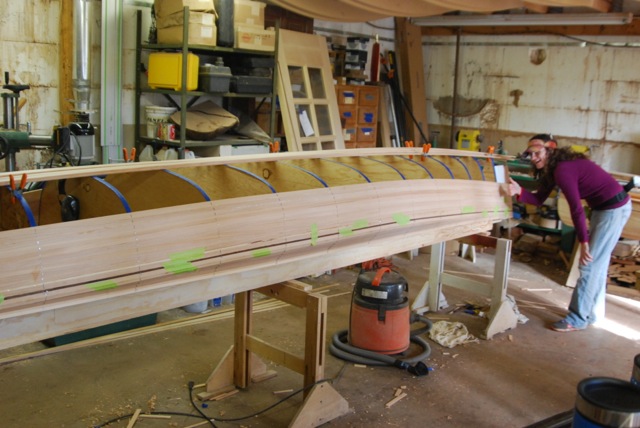
With the forms finished it was time to start laying on the strips. You can see in the photo below how the tumblehome is wider in the middle and tapers to nothing at the stems
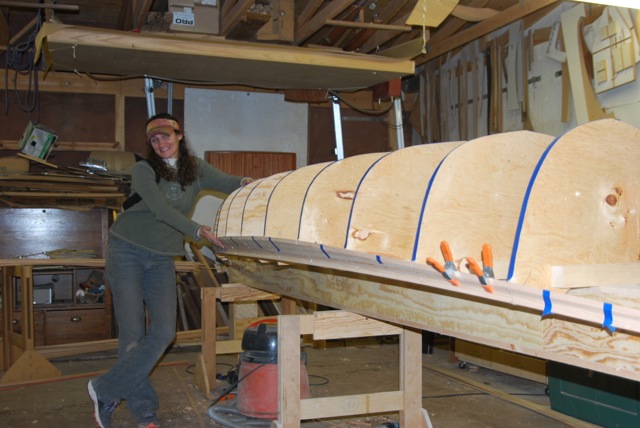
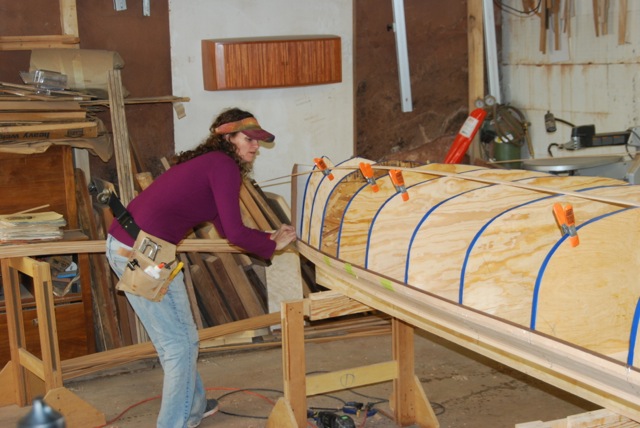
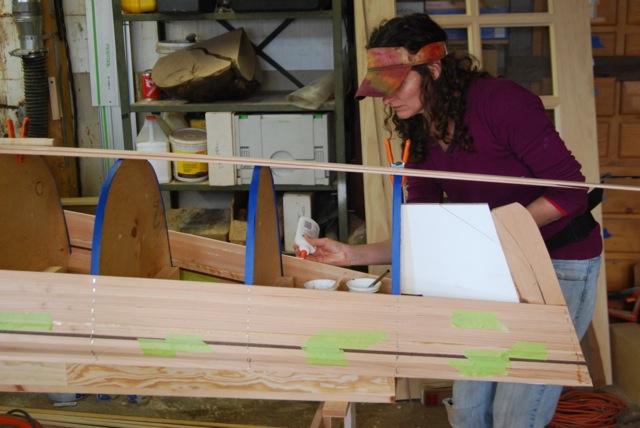
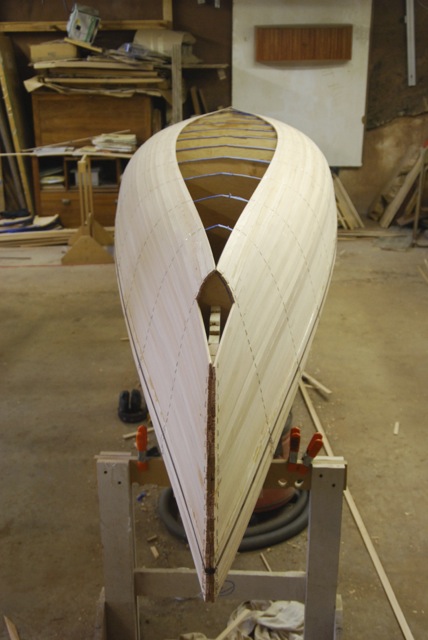
Once the strips were all on, then the sabots could be made, attached and shaped to the hull. The sabots are solid blocks of wood that are carved to fit in the stems. They add a measure of bang-ability to those areas.
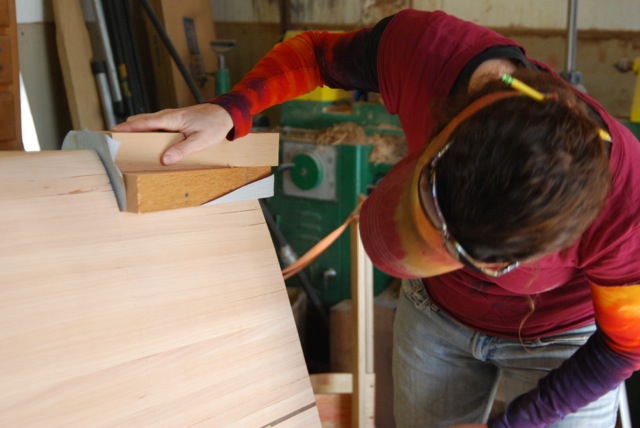
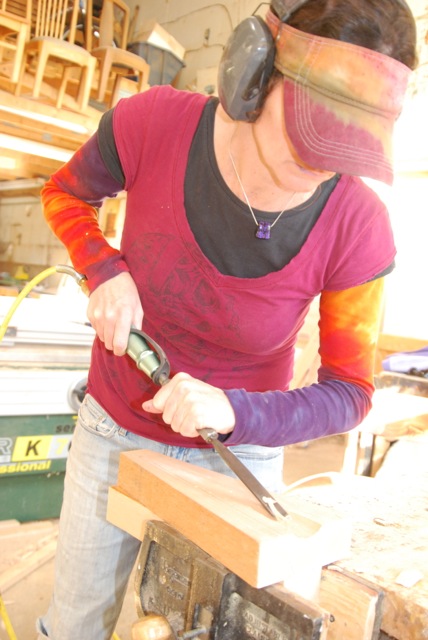
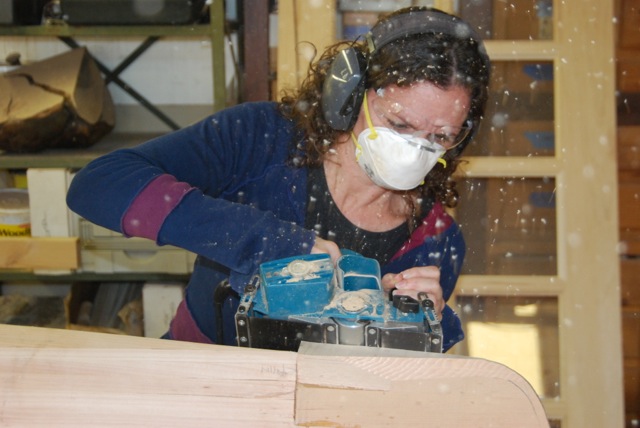
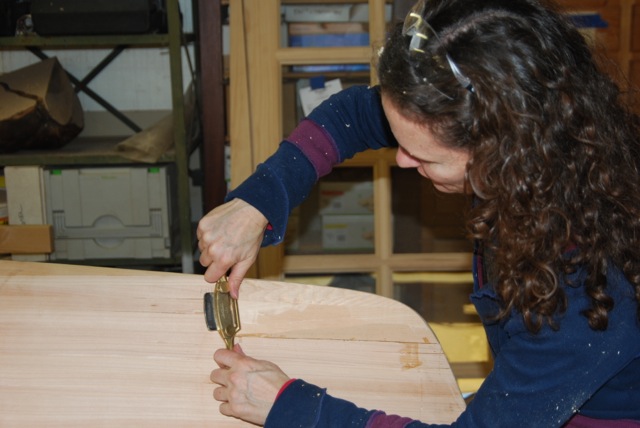
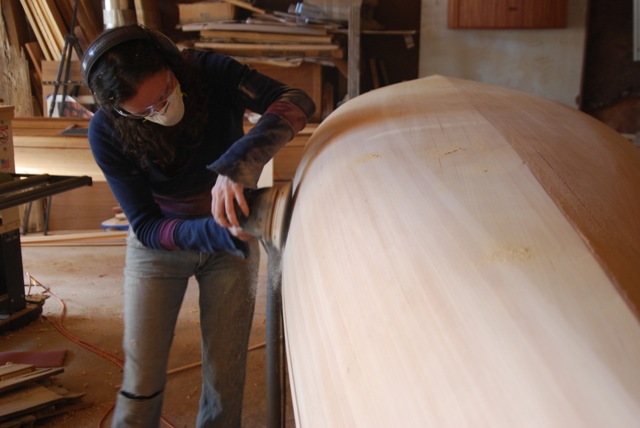
With the sabots on and all the staples pulled, the hull could be sanded fair.
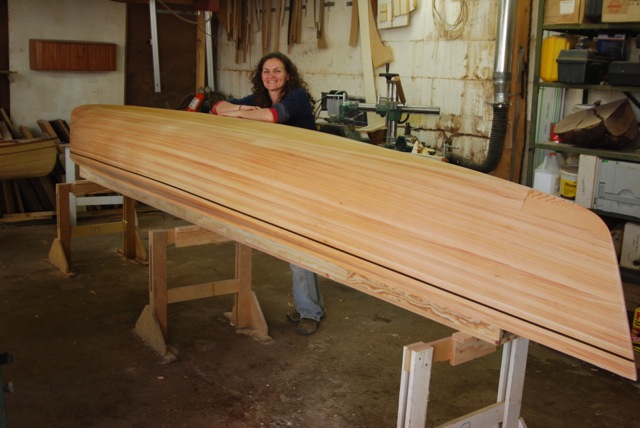
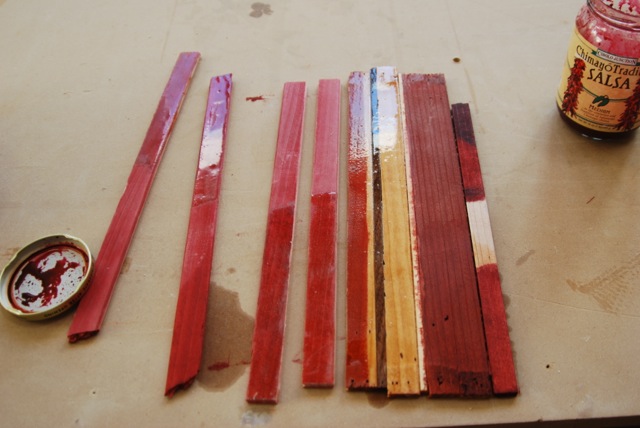
Kathi wanted to have some color on the boat but she still wanted to let the wood show through. With this in mind we chose to use a dye instead of a paint. Along the way there were several rounds of color samples done.
To keep the dye from bleeding into the parts of the boat that were going to be left natural, we masked off the areas that were getting dye and put a seal coat of epoxy onto the areas that were getting left natural. This worked quite well and we got very crisp lines between the natural and the dyed sections.
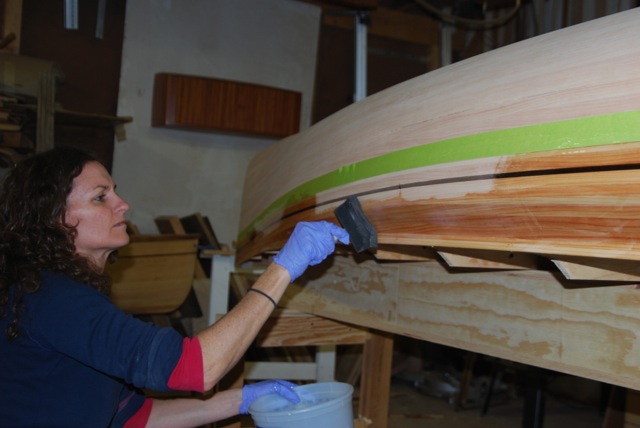
Once the epoxy seal coat had cured we masked it off and proceeded with spraying the dye.
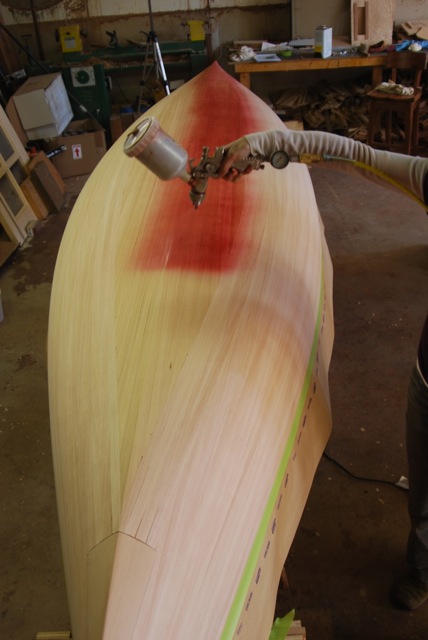
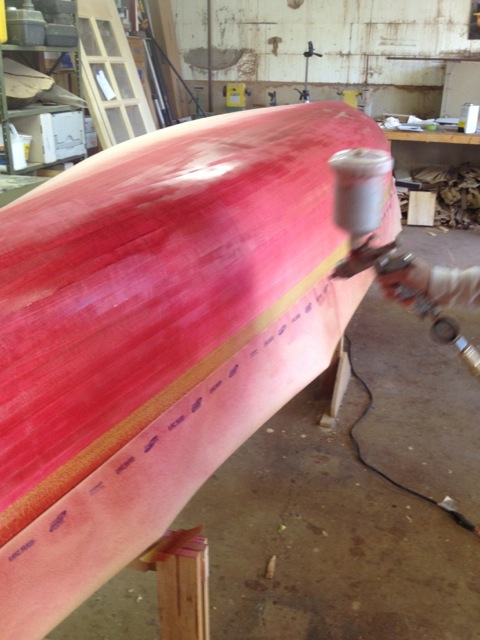
With the dye on we could strip off the masking and see how the boat was really going to look. Verrrrry exciting!
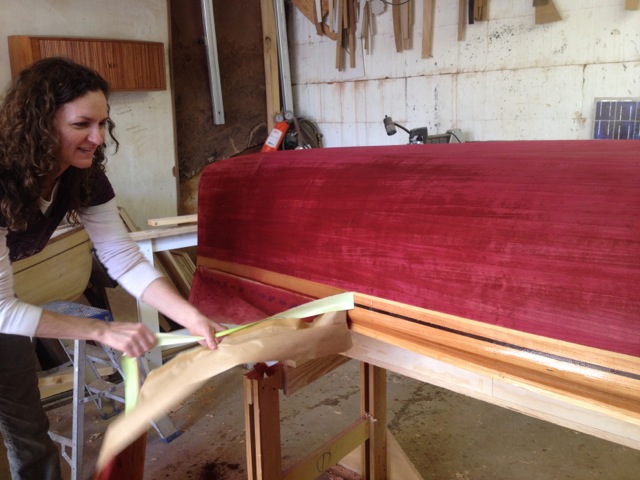
The next step is putting the fiberglass and epoxy on the outside.
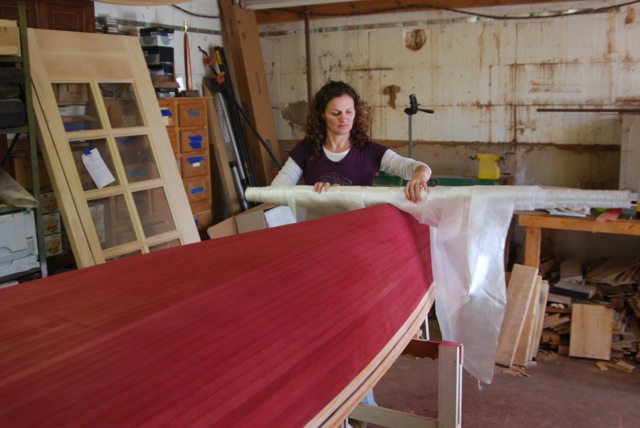
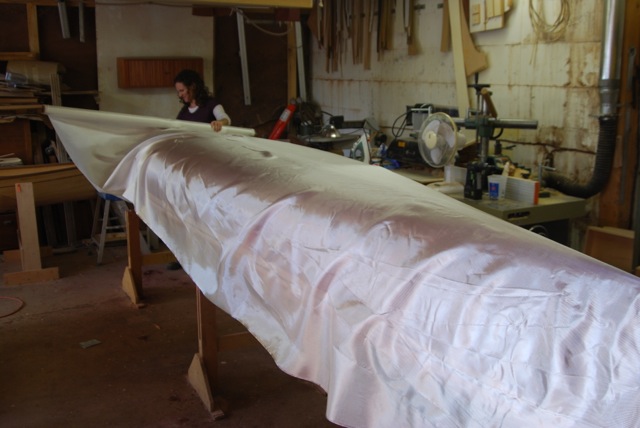
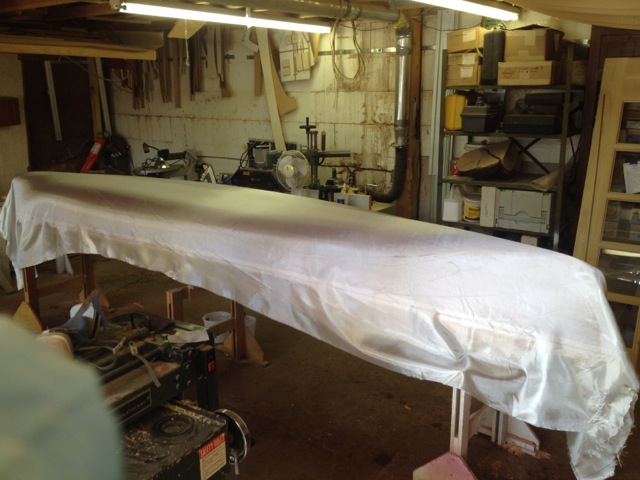
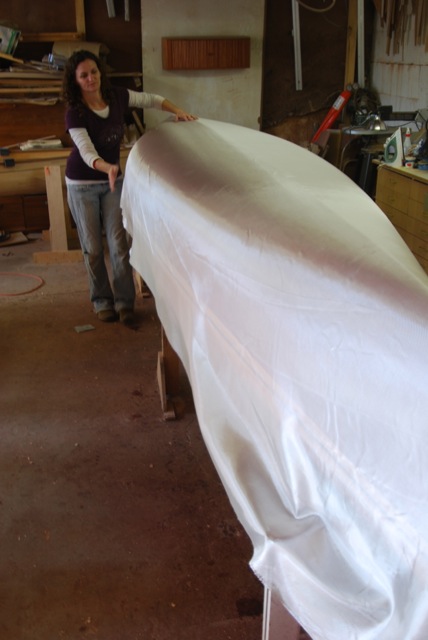
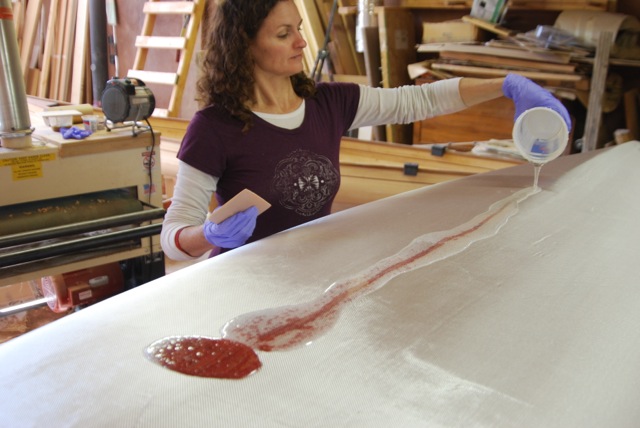
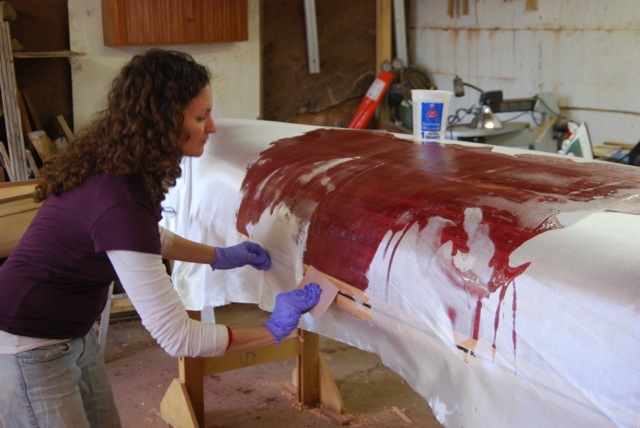
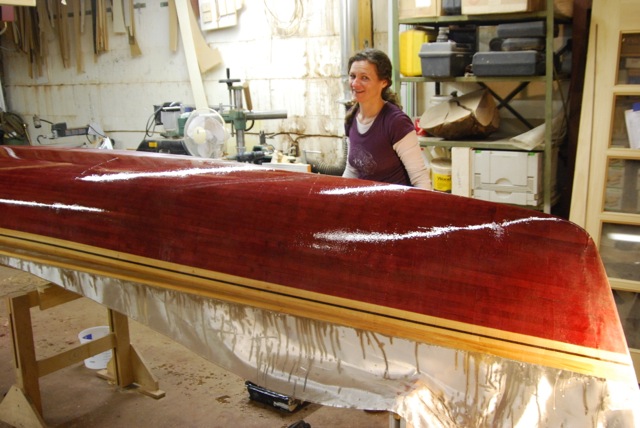
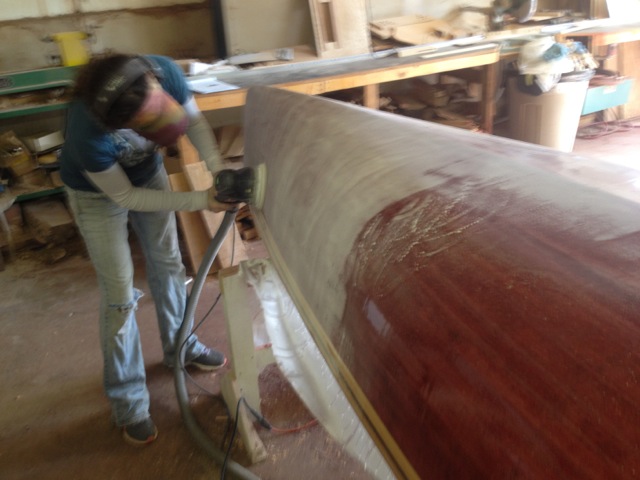
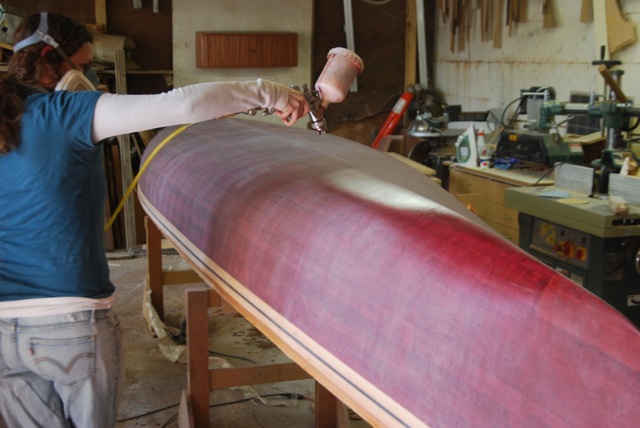
After the epoxy is cured it needs to be sanded smooth and sprayed with varnish.
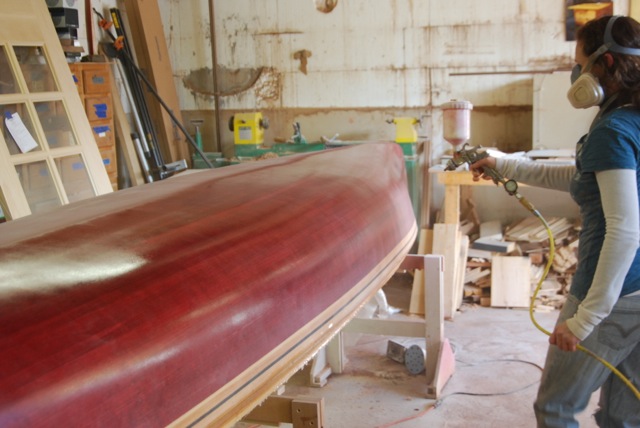
Then it's time to pop out the forms and flip the boat over.
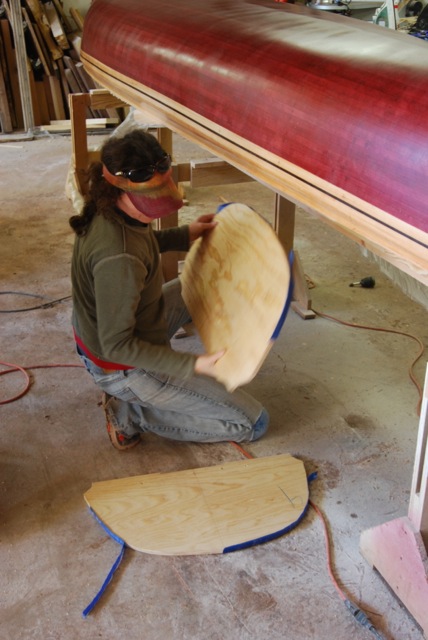
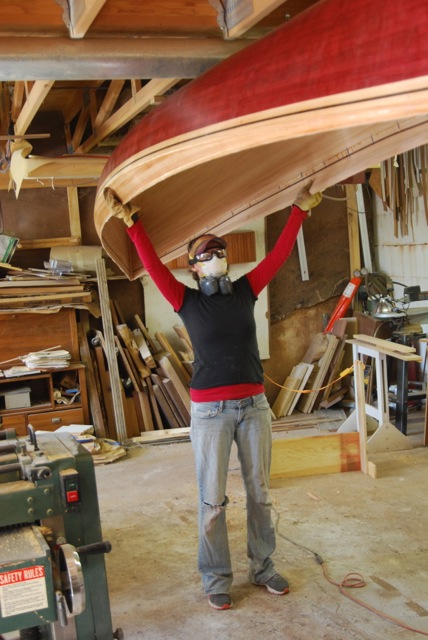
There's still a lot of weight left to go on with the interior glass and epoxy, seats and gunnels, but it being 29 pounds at this point was encouraging.
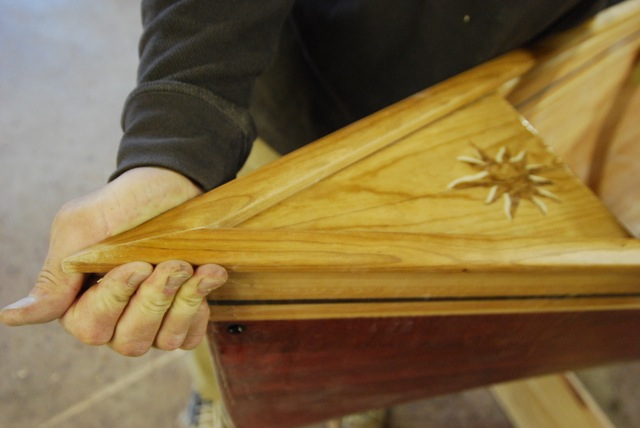
Kathi wanted to spruce up her cherry decks, so she decided to put a little marquetry on them.
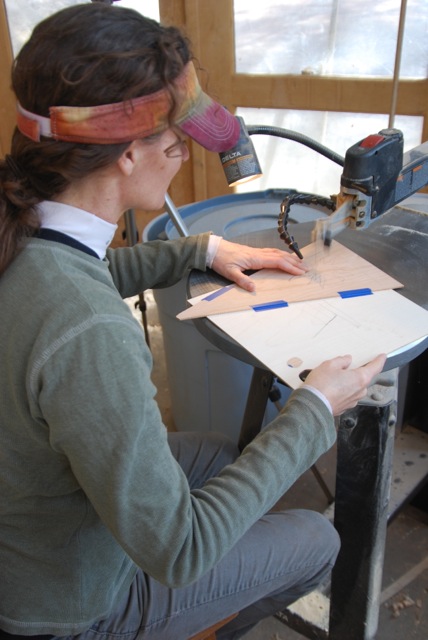
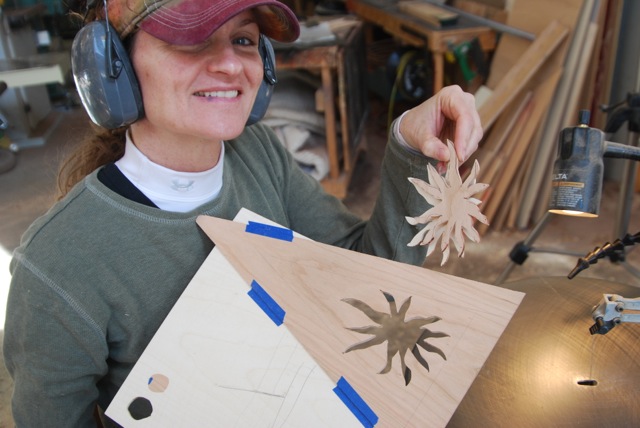
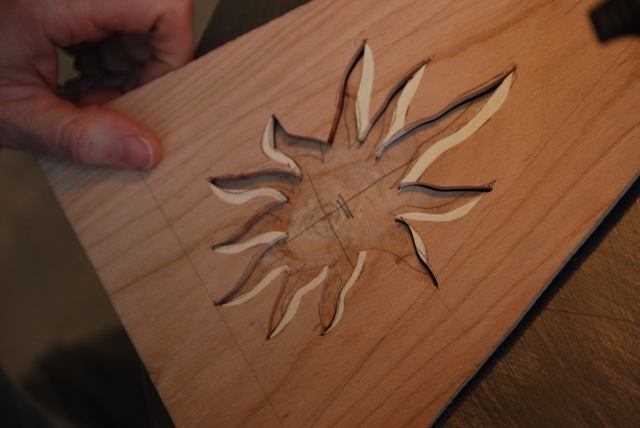
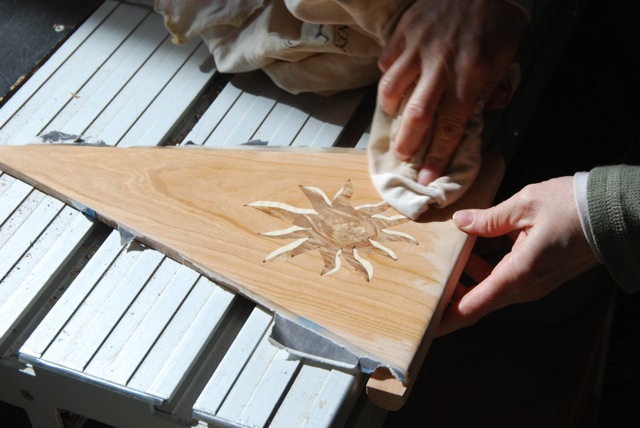
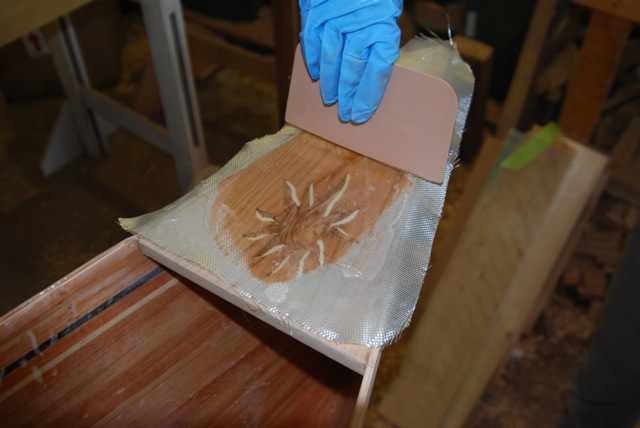
With the marquetry done, the deck gets glued to the hull and then has a layer of fiberglass wrapped over it and down onto the sides to make it an integral part of the hull.
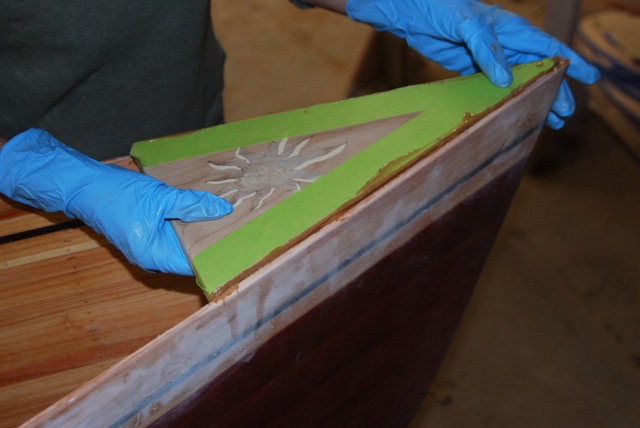
Fitting and glueing on the cherry gunnels is the next thing to do.
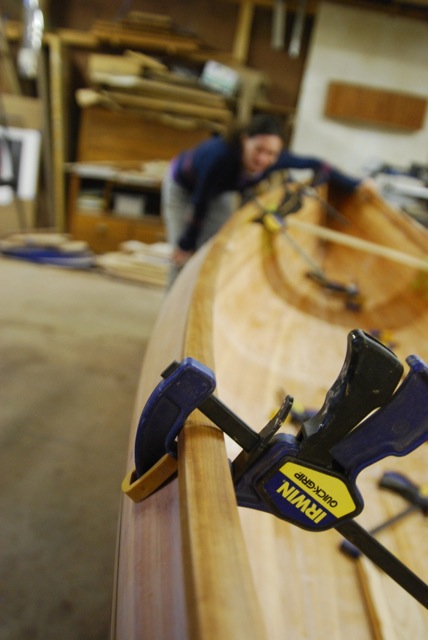
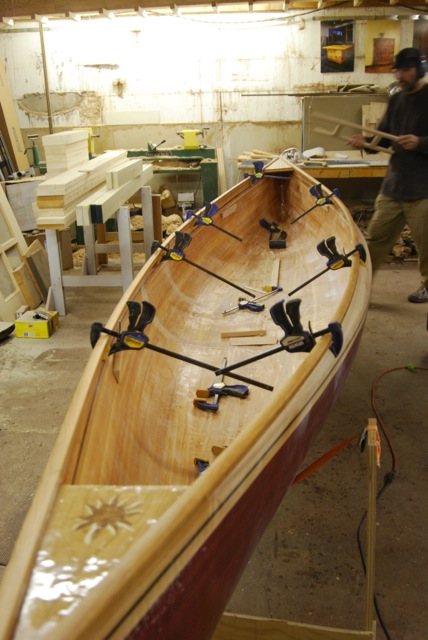
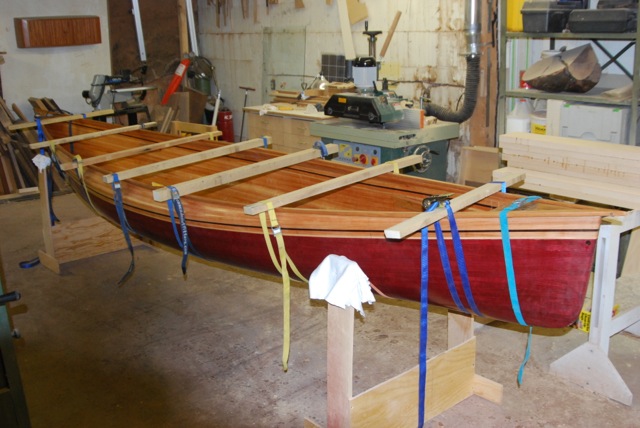
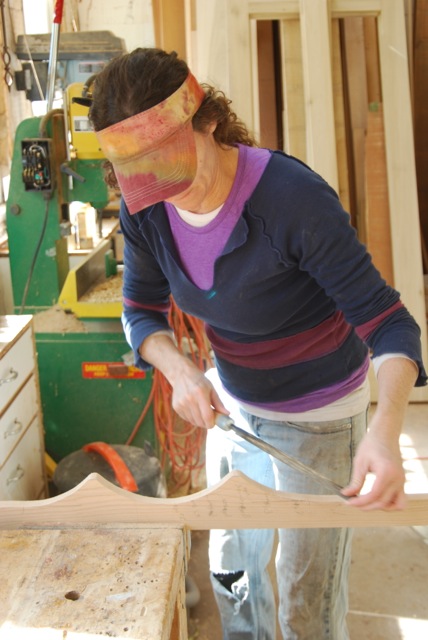
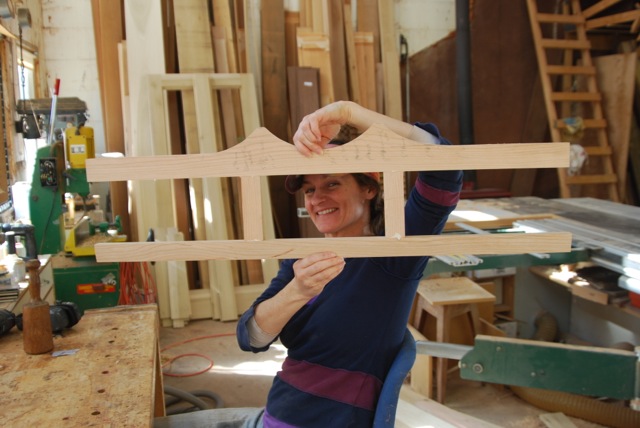
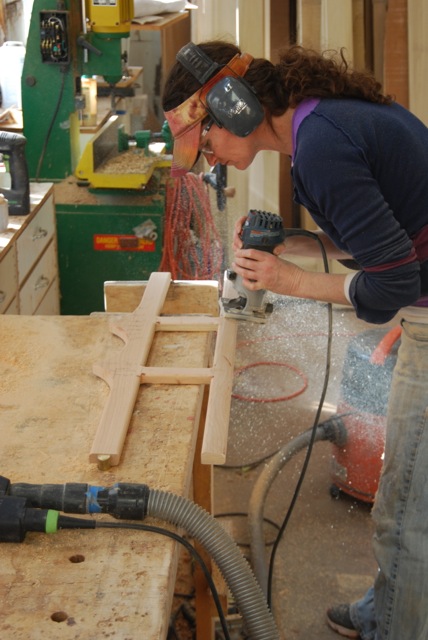
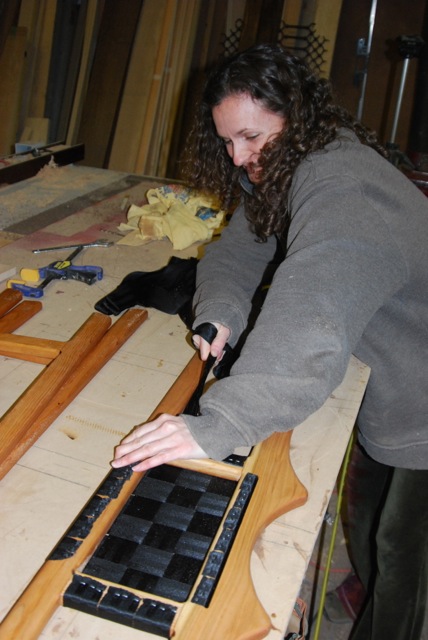
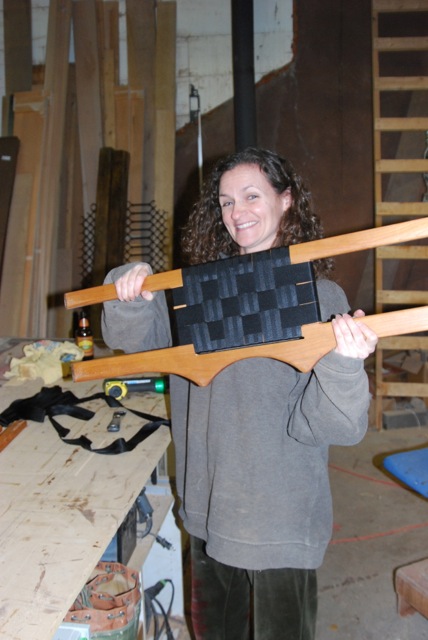
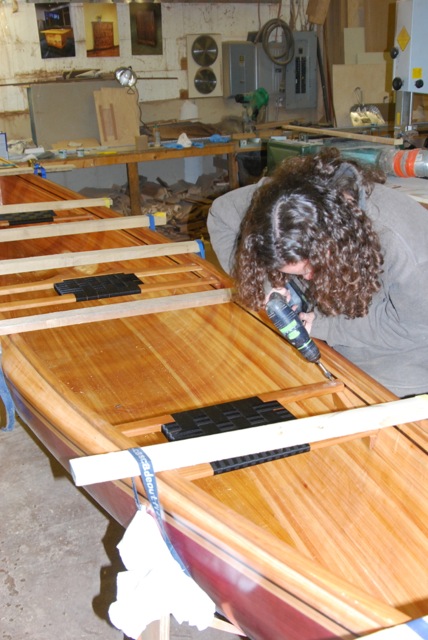
We used cauls and cam straps to clamp the gunnels on, and we worked on seat templates and seats while the glue cured.
Voila!
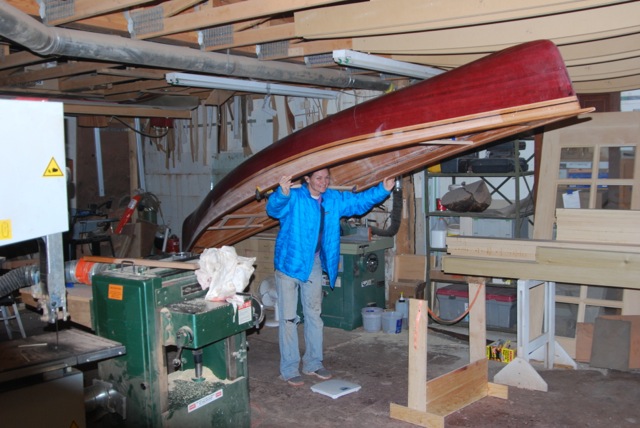
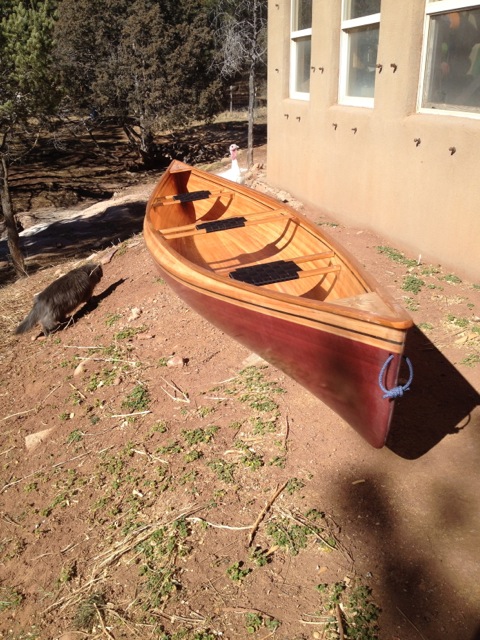
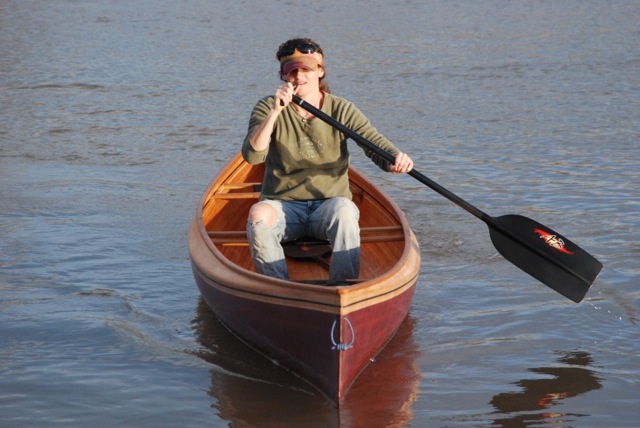
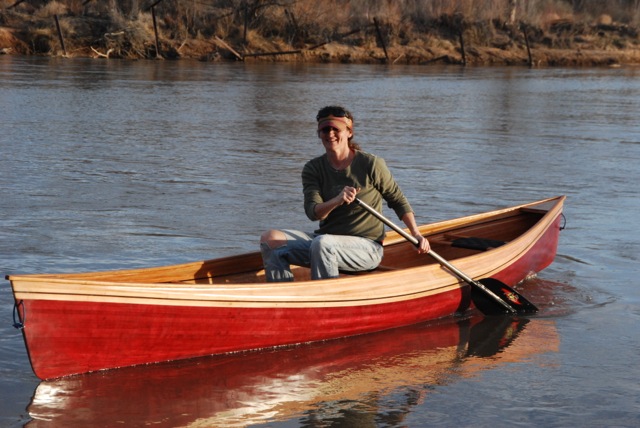
Time to go paddling!
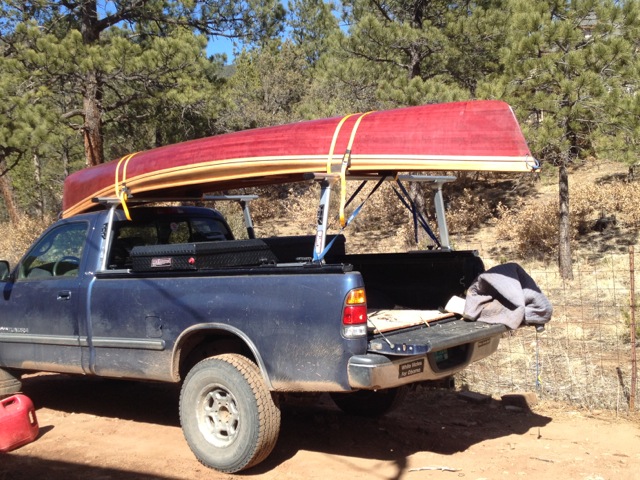
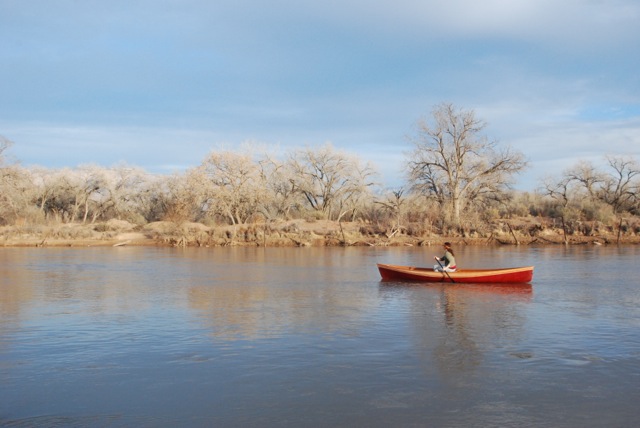
Here you can really see how much the tumblehome narrows the width of the boat at the gunnels.
Some Stats:
Length: 15'-6"
Width at gunnels: 32"
Weight: 47 pounds
Tools that were new to Kathi:
cordless drill, jig saw, bandsaw, handsaws, block plane, rabbet plane, rasp, file, spoke shave, pneumatic carver, pneumatic stapler, power plane, routers, random orbit sander, chisels, level, combination square, chalk line, quick grip clamps, epoxy squeegee, scroll saw, HVLP spray gun
When it was all said and done the Mattawa was everything that Kathi wanted in a canoe. It accelerates very quickly, turns on a dime, tracks really well and is an easy carry. It goes great solo and tandem. I've paddled a lot of boats over the years and I have to say that the Mattawa stands as a very special design. It's going to be great for day runs down the Rio Grande as well as short camping trips on the lakes of northern New Mexico. Kathi LOVES her canoe!


