Furniture Blog
Custom Furniture Gallery
Building a round side table with a shelf


As a furniture designer I have a fondness for building my own designs. I love meeting with a client, talking about the furniture they need and then designing them their perfect piece. It's like alchemy when you are able to take a short conversation and a few pencil sketches and manage to come up with something completely new that your client absolutely loves.
As a furniture maker I enjoy the challenge of figuring out the most efficient way to build pieces of custom furniture whether or not they are my design. In my 23 year career I have rarely built the same thing twice so I am constantly solving new construction puzzles. In my business I am regularly asked to build pieces of furniture that look like something the client has found but that they can't get in the size or wood species that they want. What I usually get to work from in these situations is a small image that they have scanned out of a magazine or catalog, along with some dimensions. It's up to me to figure out how to build it and then guess how long it will take me to do that so that I can bid the job. It's a new chess match every day.
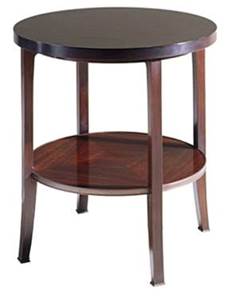
In the case of this table, the client sent me the picture below and asked me to build that table but with a diameter of 28" and a height of 24".
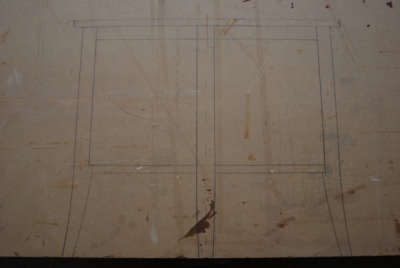
In the early years of my career I did very careful, full scale drawings complete with joinery, of every piece of furniture that I made. Those drawings were invaluable to a new furniture maker who wasn't very experienced at visualizing how things were going to go together. I saved those drawings with the idea that I would be able to use then again some day. As it turned out I've never re-used any of those drawings. Now I often just work from sketches on 8 1/2 x 11 graph paper. Or if there are some details or proportions that I'm unable to work out in my head I'll do a quick, full scale drawing like the one below, on the piece of plywood that I use as an assembly table. That's where I'll work out details like the actual curves on the legs and how the shelf is going to meet them.
The wood that this table was getting built from was Peruvian Walnut. It's darker than American Black Walnut, with a more consistent color and it doesn't have the knots or sap wood that are common in our walnut these days. It is really nice to work with. Unfortunately, it is only available locally in 3/4" material. That meant that I was going to have to glue two pieces together to get the thickness I needed for the legs. After using the drawing to determine the size of the leg blank I was going to need, I took wide boards, ripped them down the middle, book matched and glued them up. This gave me a really good color match on what would end up being the face of the legs.
Over the years I have saved lots of the templates I've made for different projects. The ones that tend to come in handy are the simple curve templates. I use them to make things like the leg template for this project. 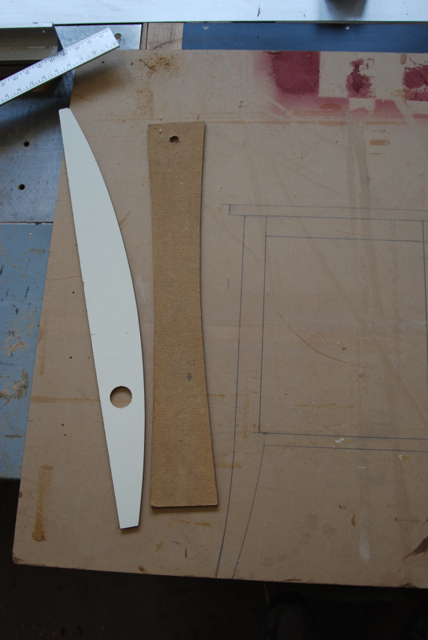
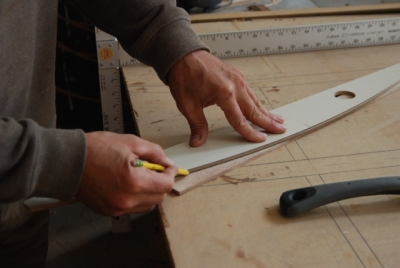
Once I've made the leg template I draw the outlines of the legs on each leg blank.
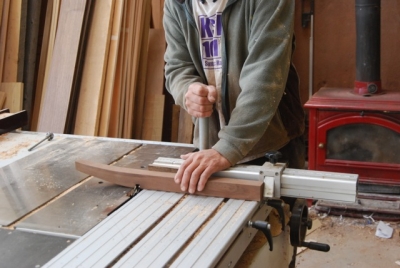
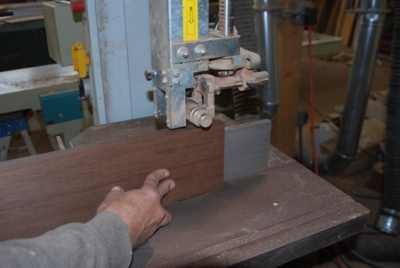
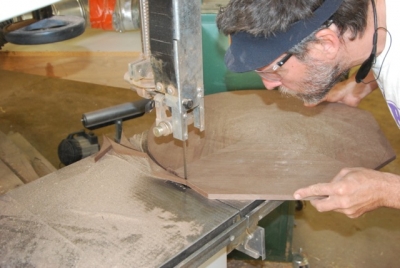
Then I cut the straight parts on the table saw and bandsaw the rest.
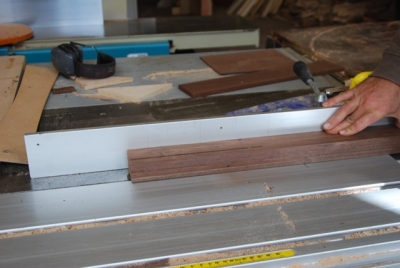

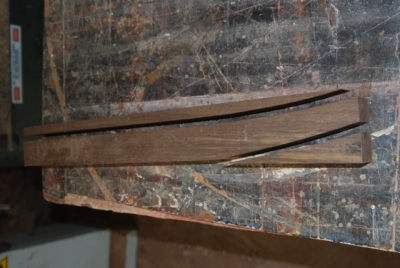
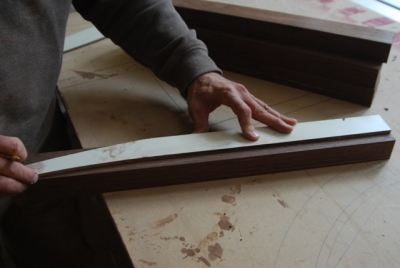
I also cut the dado that the shelf is going to go in into the leg.
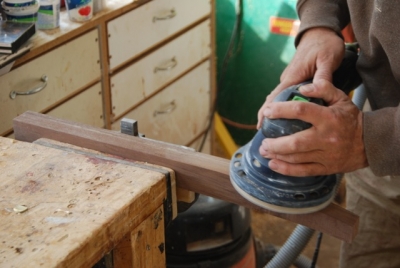
I sand all the parts before assembly.
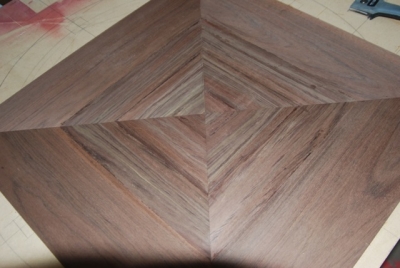
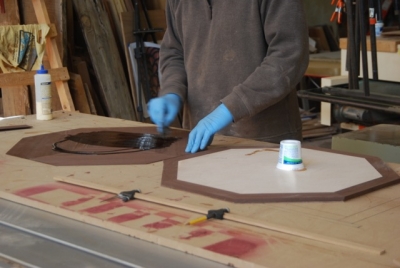
The decorator wanted the shelf on this table to have a 4 quadrant veneer pattern on it. I like using thick, shop made veneers. They are more durable than the 1/42" commercial veneers available these days and you know that they will match the stock that you are using for the rest of the project. I re-saw mine on the bandsaw and thickness them on my Woodmaster 36" drum sander. I have a really nice, carbide tipped, 3/4" deep bandsaw blade that I use for this kind of thing. It cost about $150 but it works great for this. It cuts fast, doesn't wander and leaves a really clean cut. It definitely pays for itself.
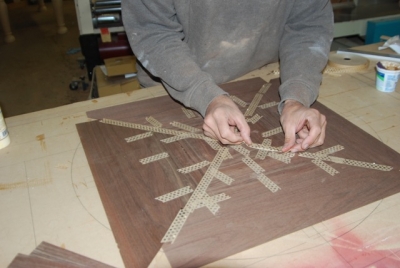
With the veneers cut and thicknessed I could tape up the 4 individual quadrants.
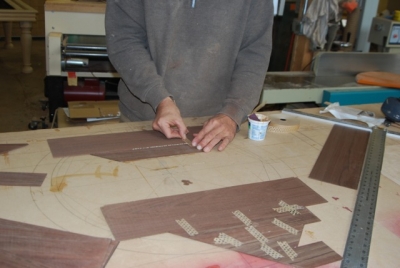
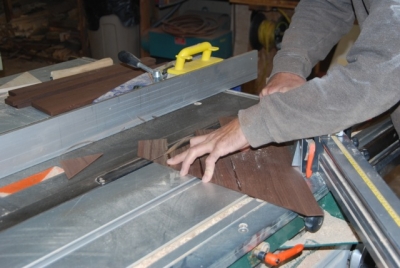
Then I cut them into wedges on my panel saw and taped them up to create the shelf face.
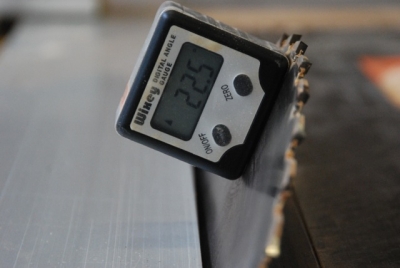
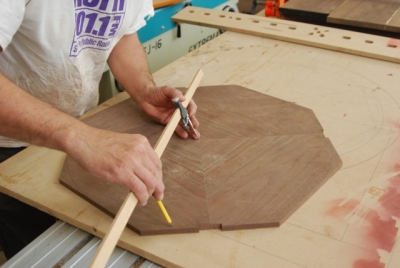
The veneer was getting laid onto a plywood substrate that had a solid wood nosing on it. I made an octagonal piece of 1/2" ply and put the nosing onto that. The nosing pieces needed to have 22 1/2 degree miters cut on their ends and the easiest, most accurate way for me to do that was to set the table saw at 22 1/2 degrees with my digital angle gauge. These things are pretty cheap and really accurate. They make this kind of set up a real breeze. I used to use my expensive Starett angle gauge for this but the digital one is faster and more accurate. They work great on the chop saw and the jointer fence, too.
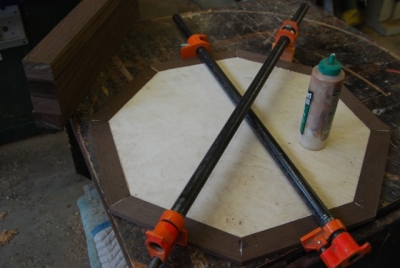
After gluing up the nosing I flushed it to the ply with the drum sander. You can spend $30K to $100K on a big fancy Time Saver type belt sander and if you have a big professional shop that is keeping that baby running every day it might be worth the dough. For a one man shop you couldn't possibly make a machine like that pay for itself. The Woodmaster 36" sander, on the other hand, is only about $3K new and I got mine used for far less than that. In a shop like mine that machine is a real money maker. It's a super simple machine that doesn't ever need any fussing or adjusting and it does a great job flattening table top glue ups, sanding doors, thicknessing veneers etc.
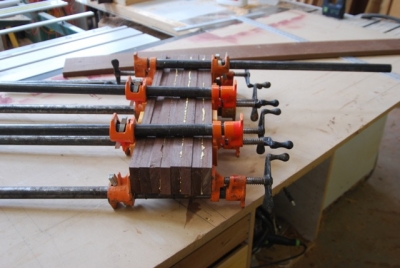
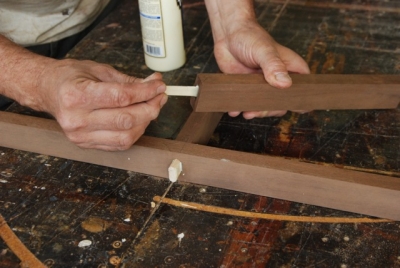
With the substrate prepared it was time to lay up the veneers. I used West System epoxy for this.
Once I had the veneers taped to the substrate I slipped them into the vacuum bag. In my early years I clamped things like this with platens, cauls and piles of clamps. It worked but that's about the only good thing you can say about clamping veneers like that. The vacuum system I have now is powered by my air compressor. You put your workpiece into a big vinyl bag with a platen in it, hook it up to the compressor, close it and suck all the air out of it. This gives you even and extremely powerful clamping pressure all across your piece. The vacuum system wasn't super expensive and it's handy for all sorts of things. I made a big torsion box table for it that I pull up to the ceiling when I'm not using it.
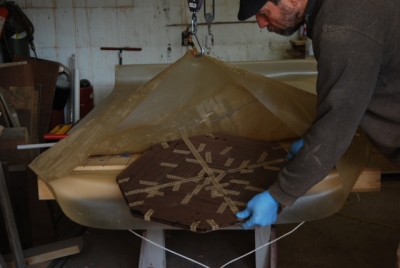
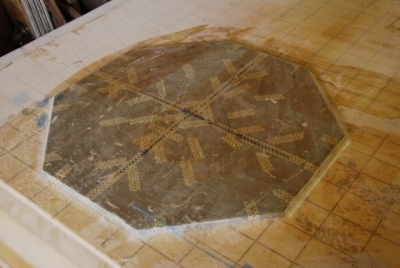
Here you can see the shelf in the vacuum bag.
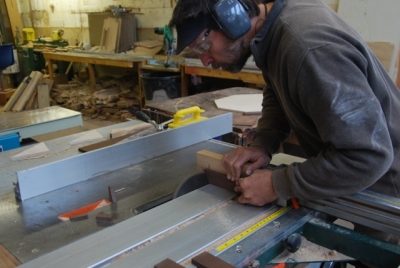
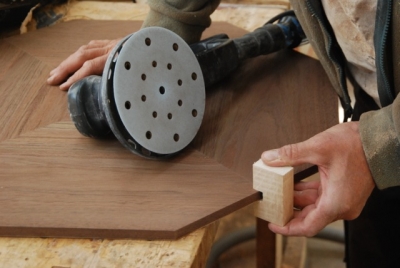
When the shelf came out of the bag I ran it through the drum sander to thickness it just a smidgen thicker than it's final thickness. The shelf was going to go into the dado in the side of the legs and I wanted to make sure it was a nice friction fit so I made a gauge block with the dado set on the table saw and finish sanded the shelf with 150 grit until the block would just slide onto it.
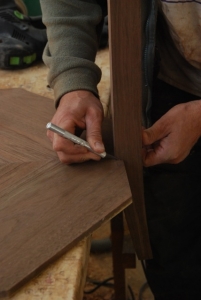
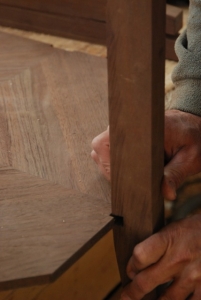
When the legs would fit over the shelf I put them on and marked the location of the notch on the shelf that they would slide into.
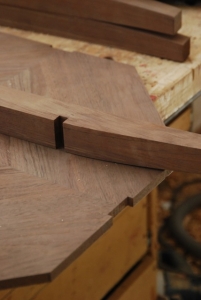
Then I cut the notch with the dado set on the table saw.
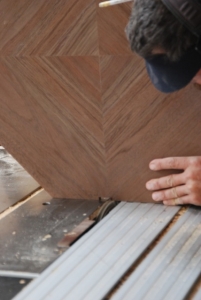
I used a trammel set to lay out the round cut on the shelf and the top, bandsawed them 1/16" oversized and made the final, perfect cut with a router on a pivot..

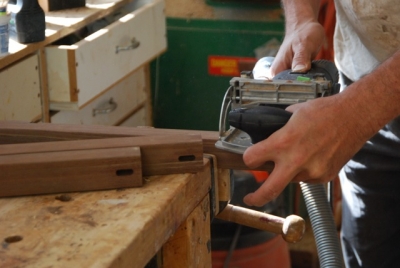
I used my Festool Domino machine to cut the joinery on this table. The Domino is an amazing tool. It cuts perfect mortises with a spiral router bitt type cutter. You then use their pre-made "Dominos", which are a loose tenon, to join your pieces together. It's basically like a biscuit joiner on steroids but unlike a biscuit joiner it makes perfect joints every time. I once built a big, fancy pair of doors with lattice work over glass and I plunged over 600 domino joints. Every one of them was perfect! The Domino is decidedly not cheap. It'll cost you about $1000 to get all set up with it, but I do so many things with it that I feel like it has paid for itself more than once.
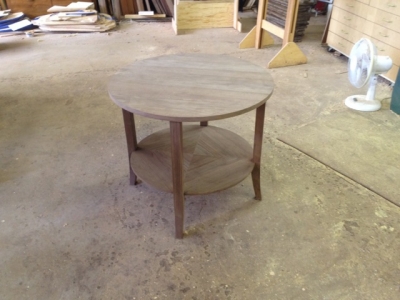
Here's the table before finish.