


Furniture Blog
Custom Furniture Gallery
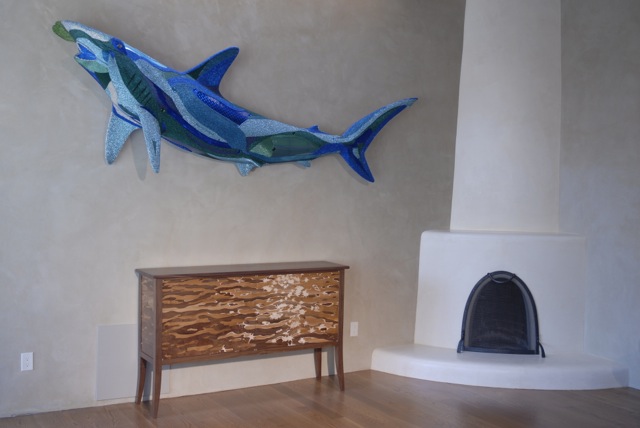
Building the Shark Tank marquetry cabinet


Marquetry is a technique where you cut various wood veneers on a scroll saw and piece them together to make pictures. The technique has been around for a long time. The pharaohs had marquetry on their furniture. It was big in the Renaissance, where it was often used in trompe l'oeil and it really hit it's stride during the Art Nouveau period. Since then.......not so much.
As a craft, marquetry requires precision, time, skill and the eye of an artist. Not to mention a range of wood veneers in various colors, tones, shades and grain patterns. When I designed this custom cabinet for my client I knew that it would be a challenge to make wood look like water.
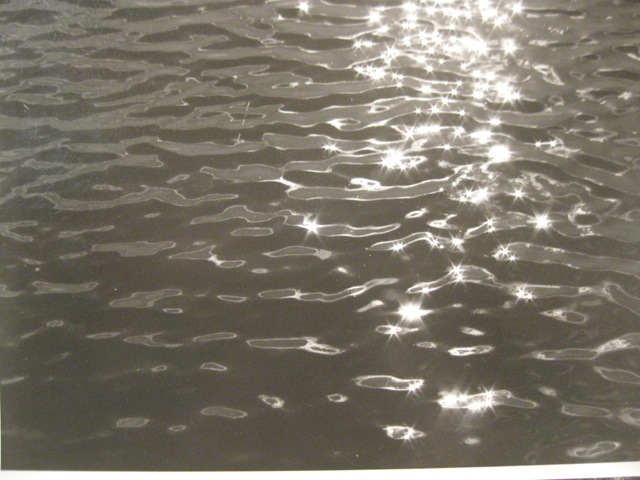
The photo I used to create the image was one I had taken years ago and I thought that the heavy contrast between the light and dark waves and the bright highlights of the sparkles on the water would lend itself to marquetry.
I enlarged the photo to a point where I could use it to "sketch" out some samples and see which woods had the best chance of creating the effect I was looking for. Most of that ended up in the wood stove, but it was informative.

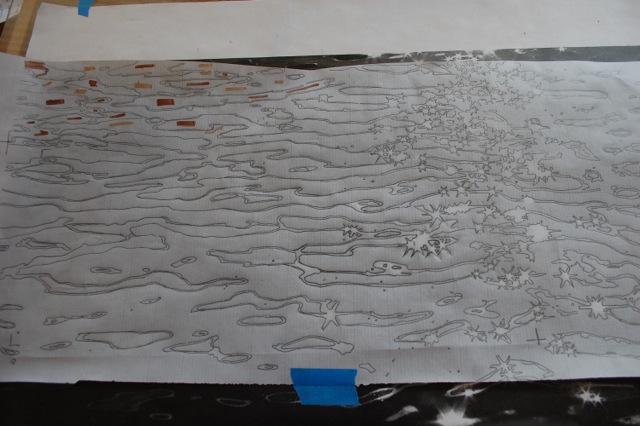
Once I selected the species that I was going to use (walnut, Russian olive and maple) I cropped the image to the proportions that I wanted and had it printed to the full size of the doors on the cabinet. Then I created an overlay sheet and traced over the individual waveletts and sparkles, deciding as I went which species of wood would go into each block of color. When I got it all figured out I made an acetate overlay that I attached to the photo with a tape "hinge" that allowed me to lift the overlay up and slide my veneers between the photo and the overlay.
The process involves laying your veneer between the overlay sheet and the photo and then using carbon paper to transfer the lines directly onto the wood. When you have the line drawn on the veneer you take a piece of the veneer that is going to be mating with that piece and you tape it to the underside and then cut both pieces at the same time on the scroll saw to the shape you've drawn. Simple.
Here are some images of the work as it progressed.
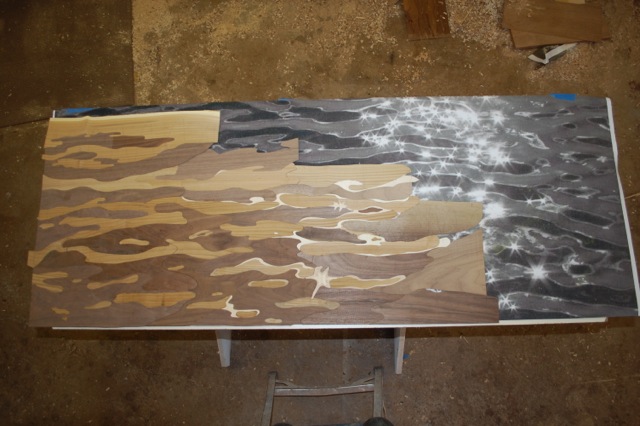
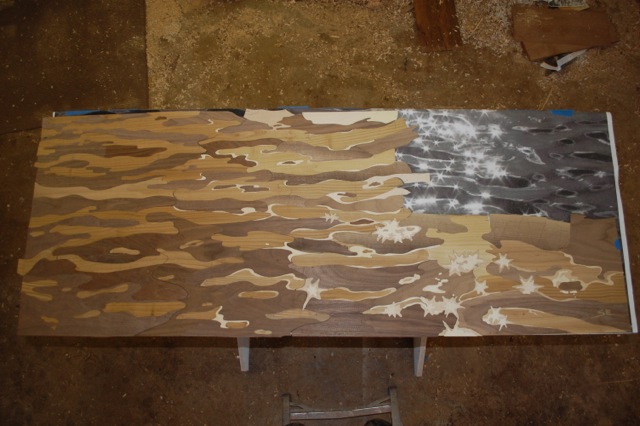
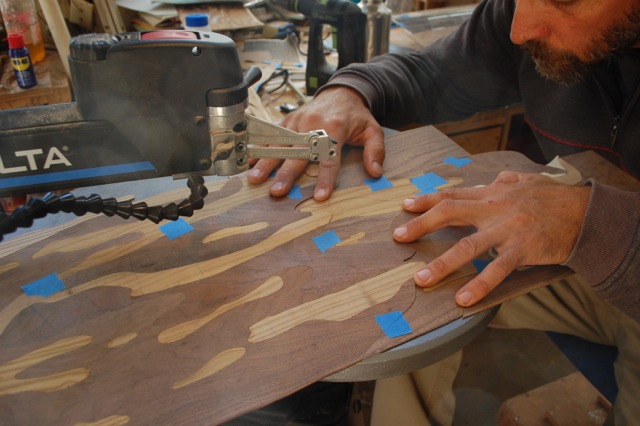
Technically, the big challenge was to figure out how to work on sections that would fit under the 20" throat of the scroll saw. Some of the waves spanned large portions of the image and wouldn't make it through the saw. That meant that I had to fit together sections of the image that would fit on the saw and cut them to fit against the next section. In that way I could work my way across the panel leapfrogging my way from section to section, leaving the first one behind as I carried on to the next. Each "section" got glued together and then individual sections were taped to each other to keep them in registration while I worked on them.
This series of photos shows the process involved in drawing and cutting in one of the sparkles on the water.
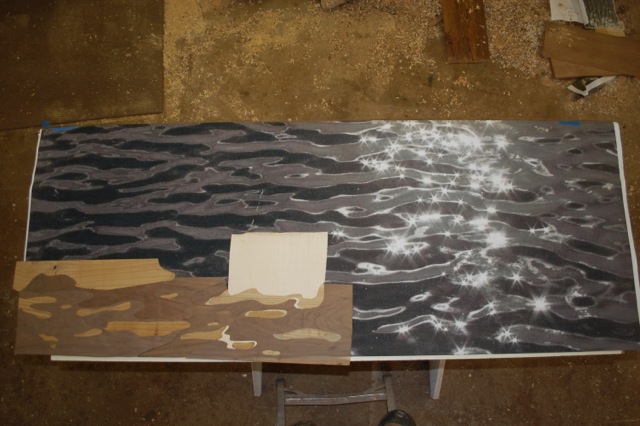
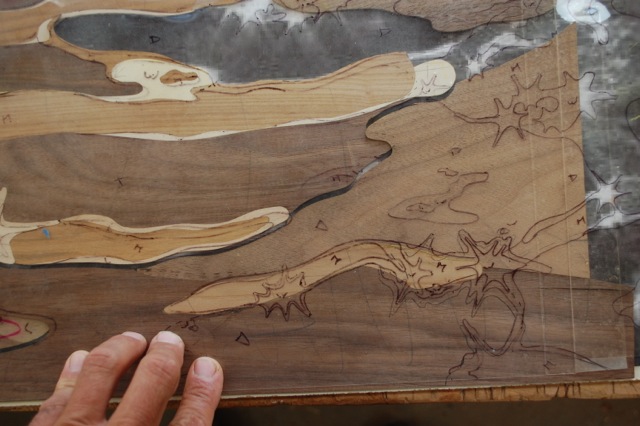
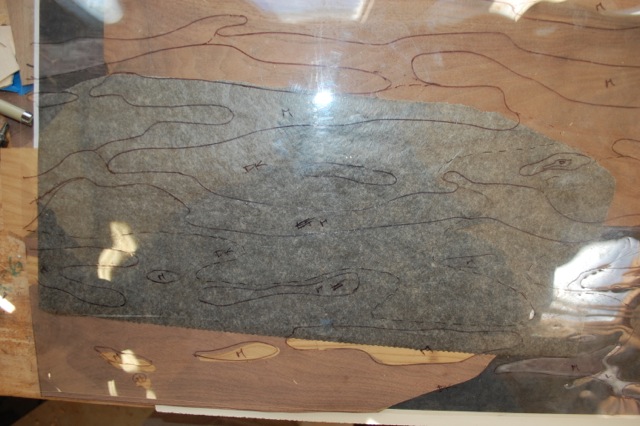
In this image you can see the enlarged photo on the bottom, two "sections" of veneers that I'm working on in the middle and the drawing of the individulal parts on the acetate overlay on the top.
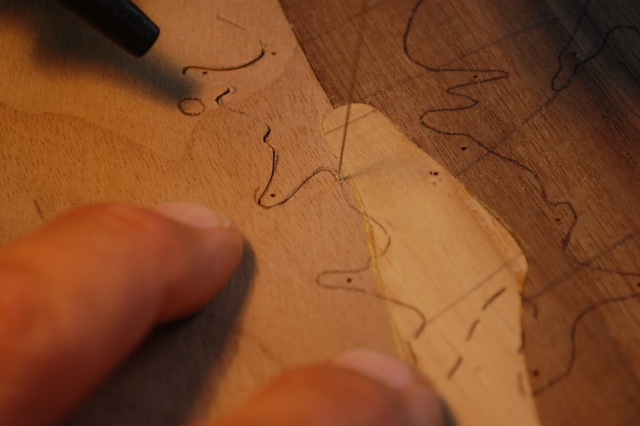
Here I've put carbon paper under the acetate overlay and am transfering the drawing to the wood below.
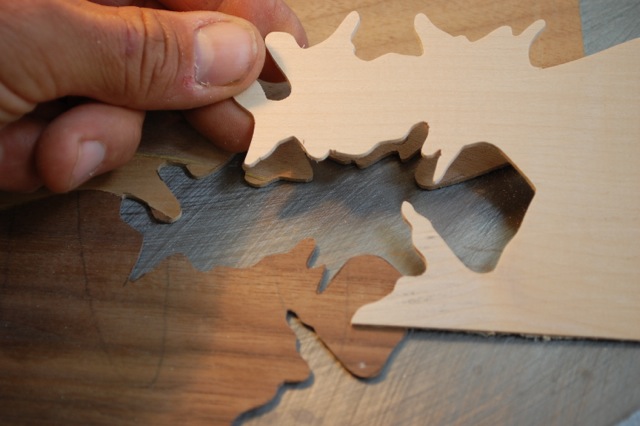
Then I tape the mating veneer to the underside and cut both pieces at the same time. You can see how small the scroll saw blade is in this picture. It is the thin straight line to the right of my finger.
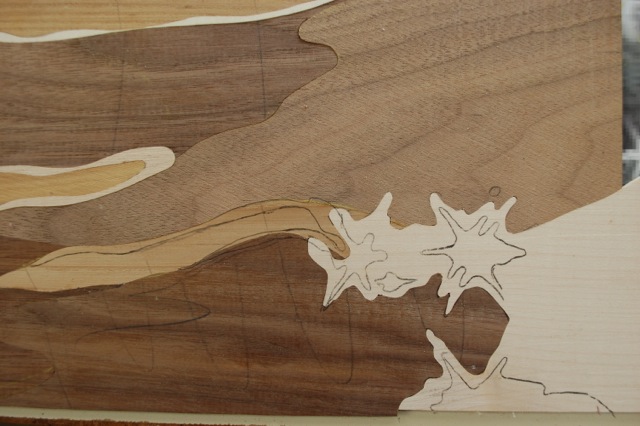
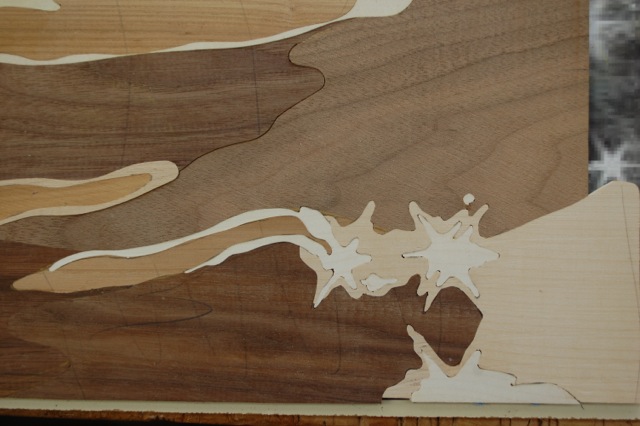
Once the outer, off white, part of the sparkle was glued in I drew in the inner super white part of the sparkle....
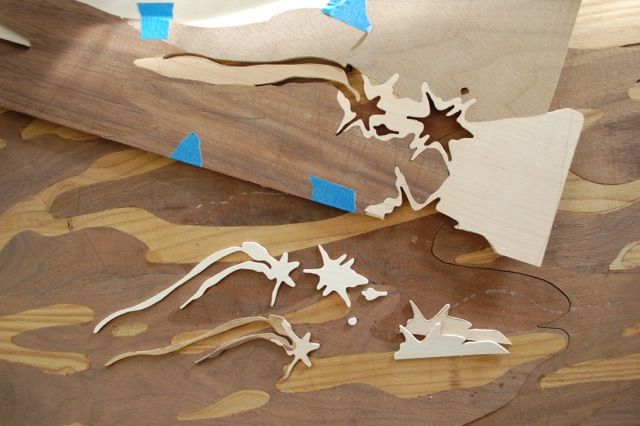
...and cut it out. You can see the waste pieces as well as the keeper pieces in the photo below.
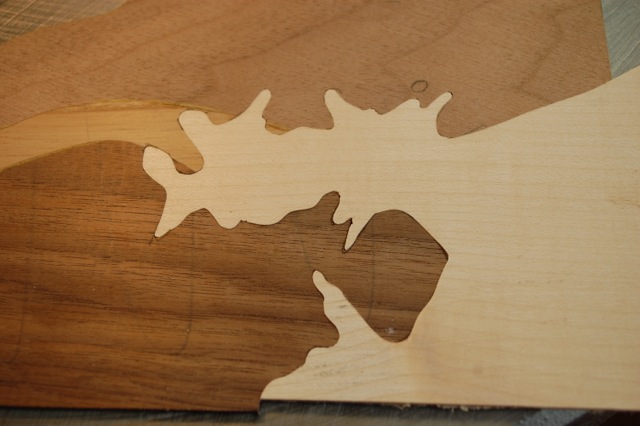
Here they are glued into the background.
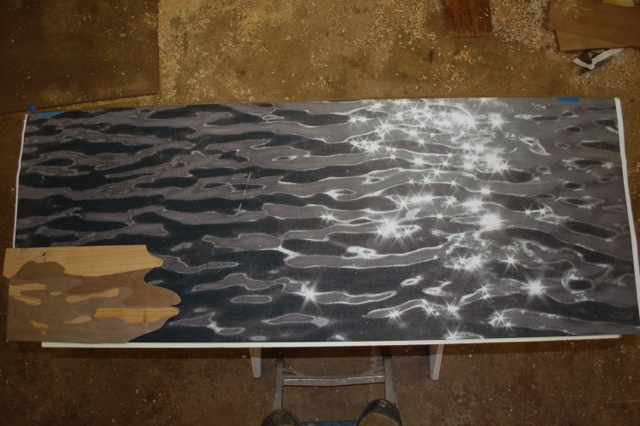
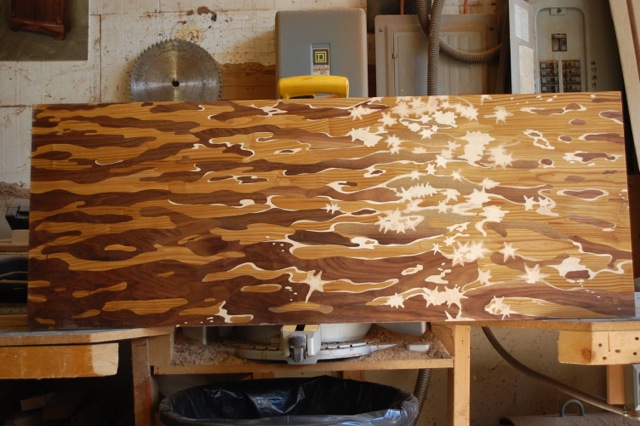
The artistic challenge on this piece was obviously how to make the image come to life and read as water. In the original photo you can see that the waves are darker on the fringes and then get blasted lighter as they get into the area of the reflections where the sun is sparkling. Both the light and the dark waves get lighter in that section and the sparkles fade from bright white to grey as they get farther from their center. To get these effects I worked with subtle gradations of tone in the same species of wood. The walnut ranges from very dark browns with a hint of purple, to dusky light tans of the sapwood of the walnut tree. The maple was the same mix of heartwood and sapwood.
I also played with the characteristic of "chatoyance" that some species of wood and stone show. It is an optical reflectance that gives the wood a glitter that changes as you see it from different angles or the light plays on it from different directions. All the woods in this piece display chatoyance. To really get the waves to come to life I broke individual waves in places and flipped the veneer over to use on the next part of the wave. The "color" of that wave was then the same along it's length, but if you view it from a different vantage point - walking by it for instance - the veneer that has been flipped reflects the light differently and flashes lighter and darker as you move. In the end it made the piece flash and move the same as the water would.
If you want to see more of my marquetry work you can check it out here.