


Furniture Blog
Custom Furniture Gallery
A custom carved desk


One of the things I like about being a maker of one-of-a-kind custom furniture is the variety. Every client has their own aesthetic and they each want something different. If you, as the builder, are ready to say yes to any kind of challenge you can find yourself in some interesting territory. That attitude has had me making everything from marquetry art pieces to airplane wings. Having clients with their own ideas keeps things fresh for me. Left to your own devices it's possible to find yourself in a rut of your own making.
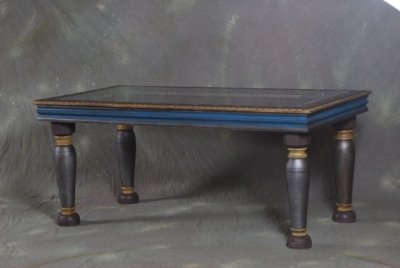
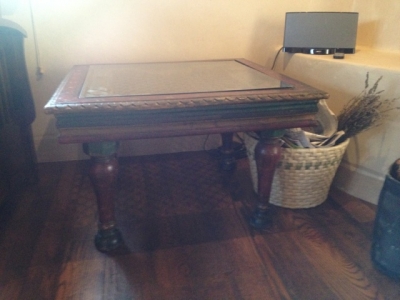
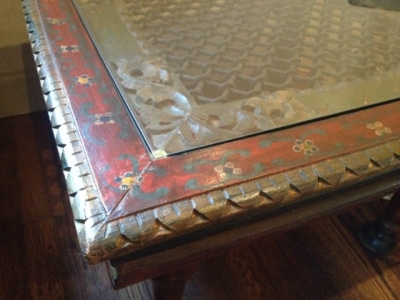
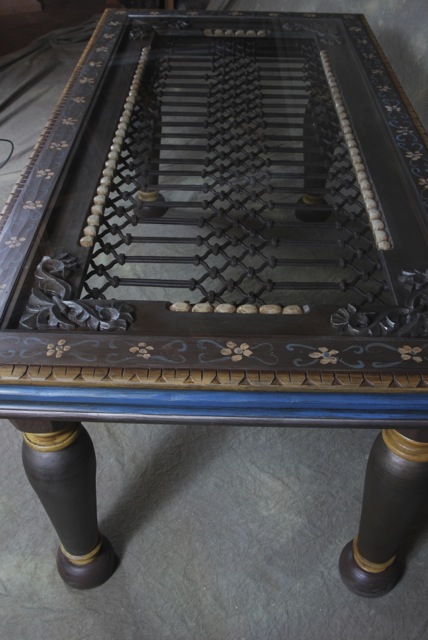
A client of mine recently asked me to build a desk for his wife that wasn't like any other furniture I've ever made. He wanted it to match an old side table that they already had which might have come from India or Morocco originally. The side table was pretty interesting. It had a wrought iron grille under a glass top, turned legs, an antiqued, painted finish and lots of carving. To give myself something to work from I took a couple of snapshots of it and went home to come up with a bid.
These are the pictures of the original table. They aren't very good, but it was enough to work from for my purposes.
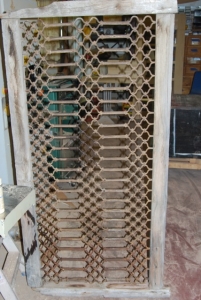
The desk needed to be somewhere around 3' x 6' but that was going to be driven somewhat by what I could find in the wrought iron grille department. There are several places in Santa Fe that have old stuff like that and by the second or third stop I had the perfect piece of iron work. It was from Morocco. I stripped off the old wood, gave it a coat of linseed oil to darken it and determined my final dimensions for the rest of the desk.
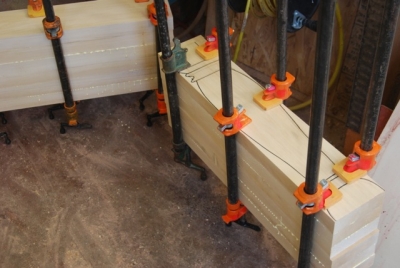
The next step was to scale up the leg design from the side table so that it was a nice proportion on this piece. When I had something I liked I glued up a bunch of 2" material to create my leg blanks. Since the desk was getting carved and painted I could make it out of anything I wanted, so I decided to use basswood which comes from the Linden tree. Basswood is a classic carving wood and was sweet to work with. Here you can see the leg blanks glued up.
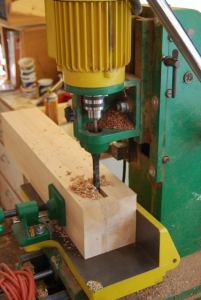
When the legs came out of the clamps I milled them 4 square, cut them to length and chopped the mortises on my hollow chisel mortiser.
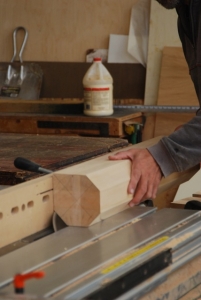
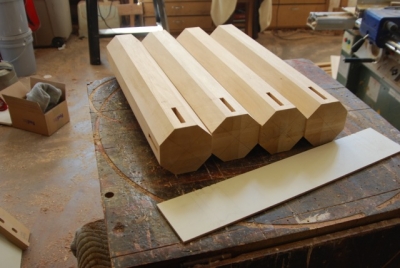
Before I started on the turning I ripped the corners off of the legs with the table saw to give the top of the legs the octagonal shape they were going to have where they met the rails.
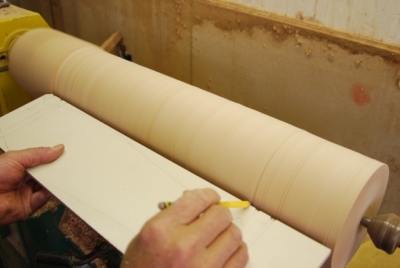
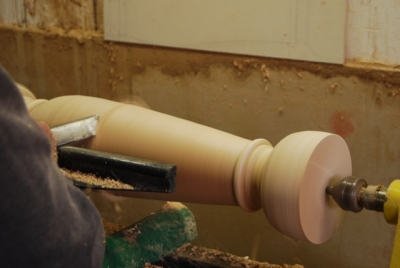
Then it was time for some lathe work. After I turned the blanks round I used my template to lay out the locations of all the beads, coves and high points.
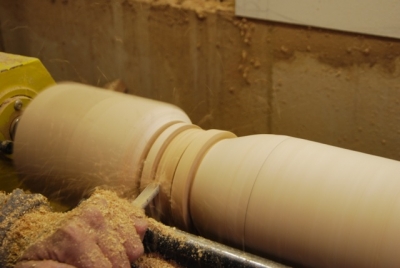
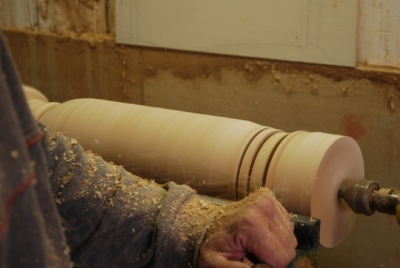
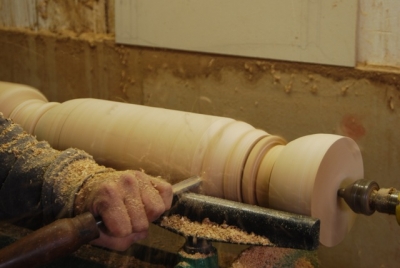
Then, after using a parting tool and calipers to cut high and low point locations, I eyeballed the coves and beads. This was a project where I was going to get the right look by being loose and leaving tool marks, so I didn't put too much effort into making anything perfect. Crisply turned, perfect legs were going to look wrong. As a guy who can go down the rabbit hole of perfection, I find these kinds of projects to be sort of cathartic. Woo Hoo, let's get ALL loosey goosey!
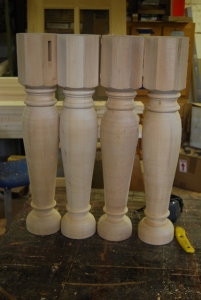
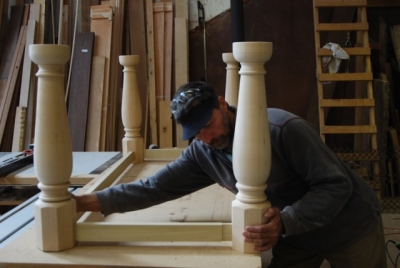
After turning the legs I made up the rails, tenoned them on my shaper and glued up the base.
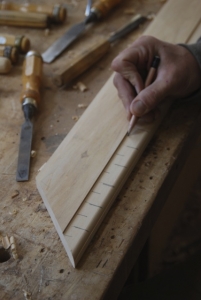
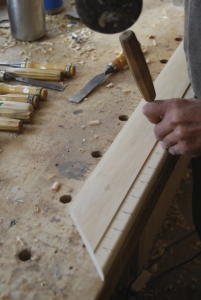
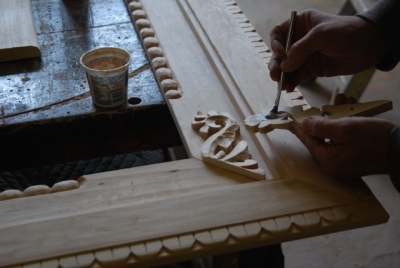
The top of the desk consisted of 2 mitered frames stacked on top of each other with a piece of glass rabbeted into the top one. Both of these frames were getting carved with a different pattern. To make them easy to work on I milled up the parts, mitered them and carved all the pieces before I glued them up. Here's a series of photos showing the steps I went through when I carved the outside lip of the top frame.
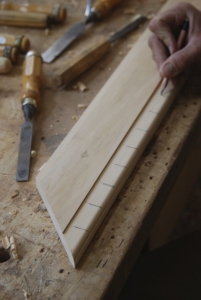
After the carving was done on each part I hit them quickly with a hand plane that has a slightly convex iron in it to give them a bit of a hand hewn feel.
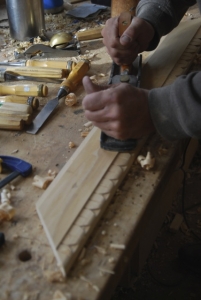
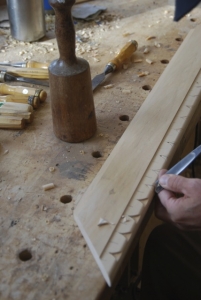
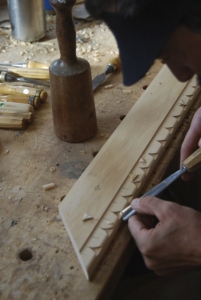
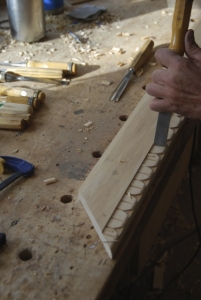
The bottom mitered frame was getting a repeating ball pattern carved into it's inside edge. This kind of carving is production work. The best way to approach it is to lay out the pattern, pick up the tool you need and make all the cuts you are going to make with that tool to complete the first step of the carving. Then you go to the next tool and do all the cuts you are going to use it for. If you cut one section of the carving from start to finish before moving on to the next one you spend all your time switching tools and it takes forever. This series of photos is a good example of this concept.
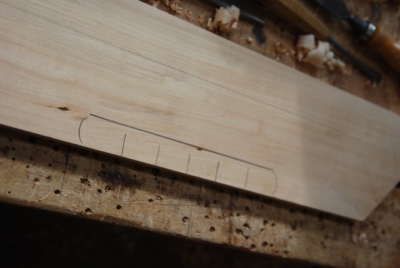
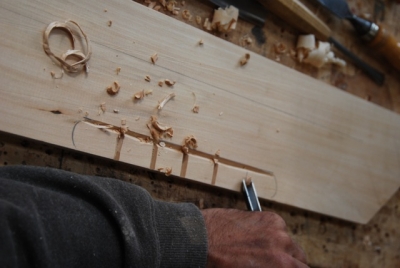
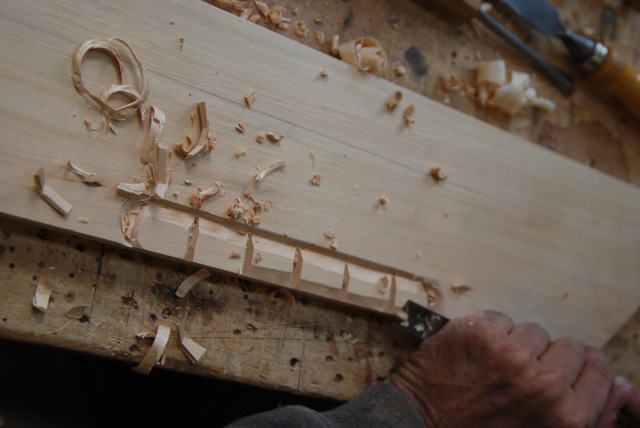
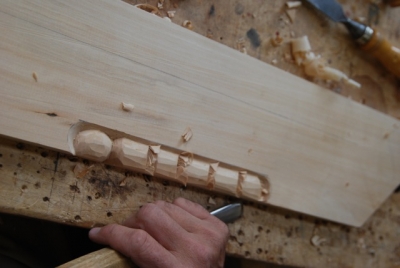

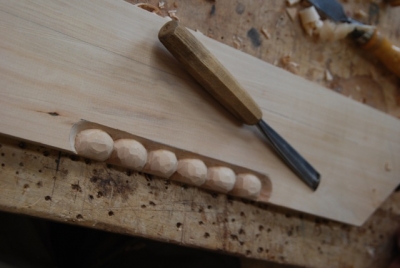
Again, this is pretty loose stuff. The hand of the craftsman should be readily apparent.
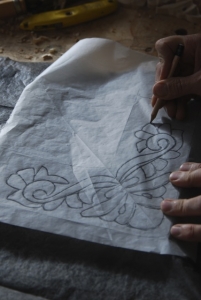
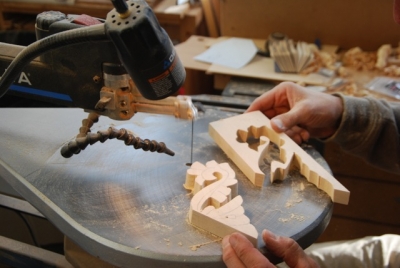
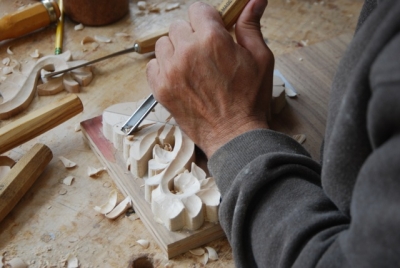
The corners of the lower mitered frame were getting a stylized leaf carving just like the original side table. To make it easy on myself when it came time to draw out the pattern I just took one of the photos I had of the side table carving detail, printed it out full size and traced it. Then I used that drawing with some carbon paper to transfer the design to my carving blanks.
I took those carving blanks to the scroll saw and cut them out before I started carving.
Then I used double stick tape to attach them to a piece of plywood that I screwed down to my bench with a single screw in the middle. That allowed me to spin it during the carving process to make it easier to work on.
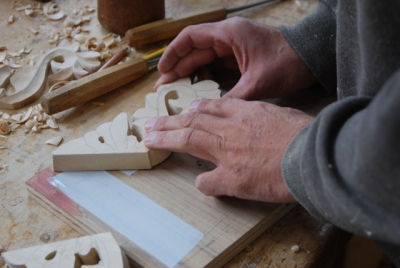
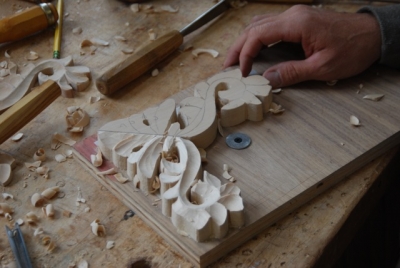
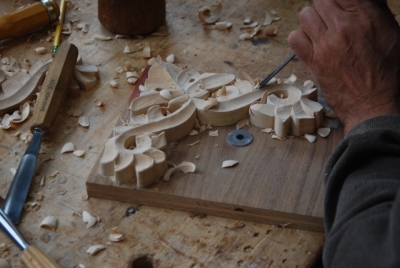
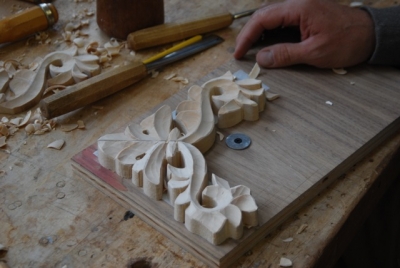
Here's the series of carving steps involved in carving this pattern.
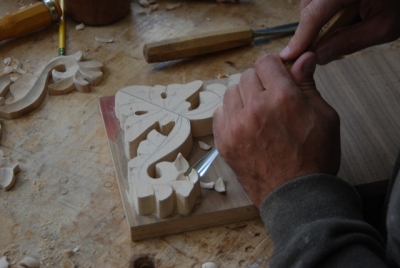
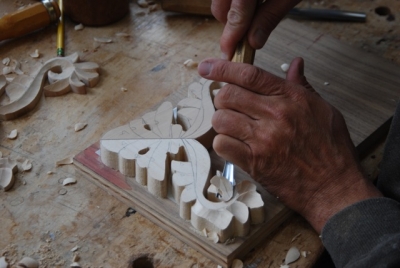
The double stick tape is plenty strong enough to hold the work while you are carving it. That also makes it hard to remove the pieces when you are done carving. To get around that I made the blanks extra thick and just band sawed them off when they were done.

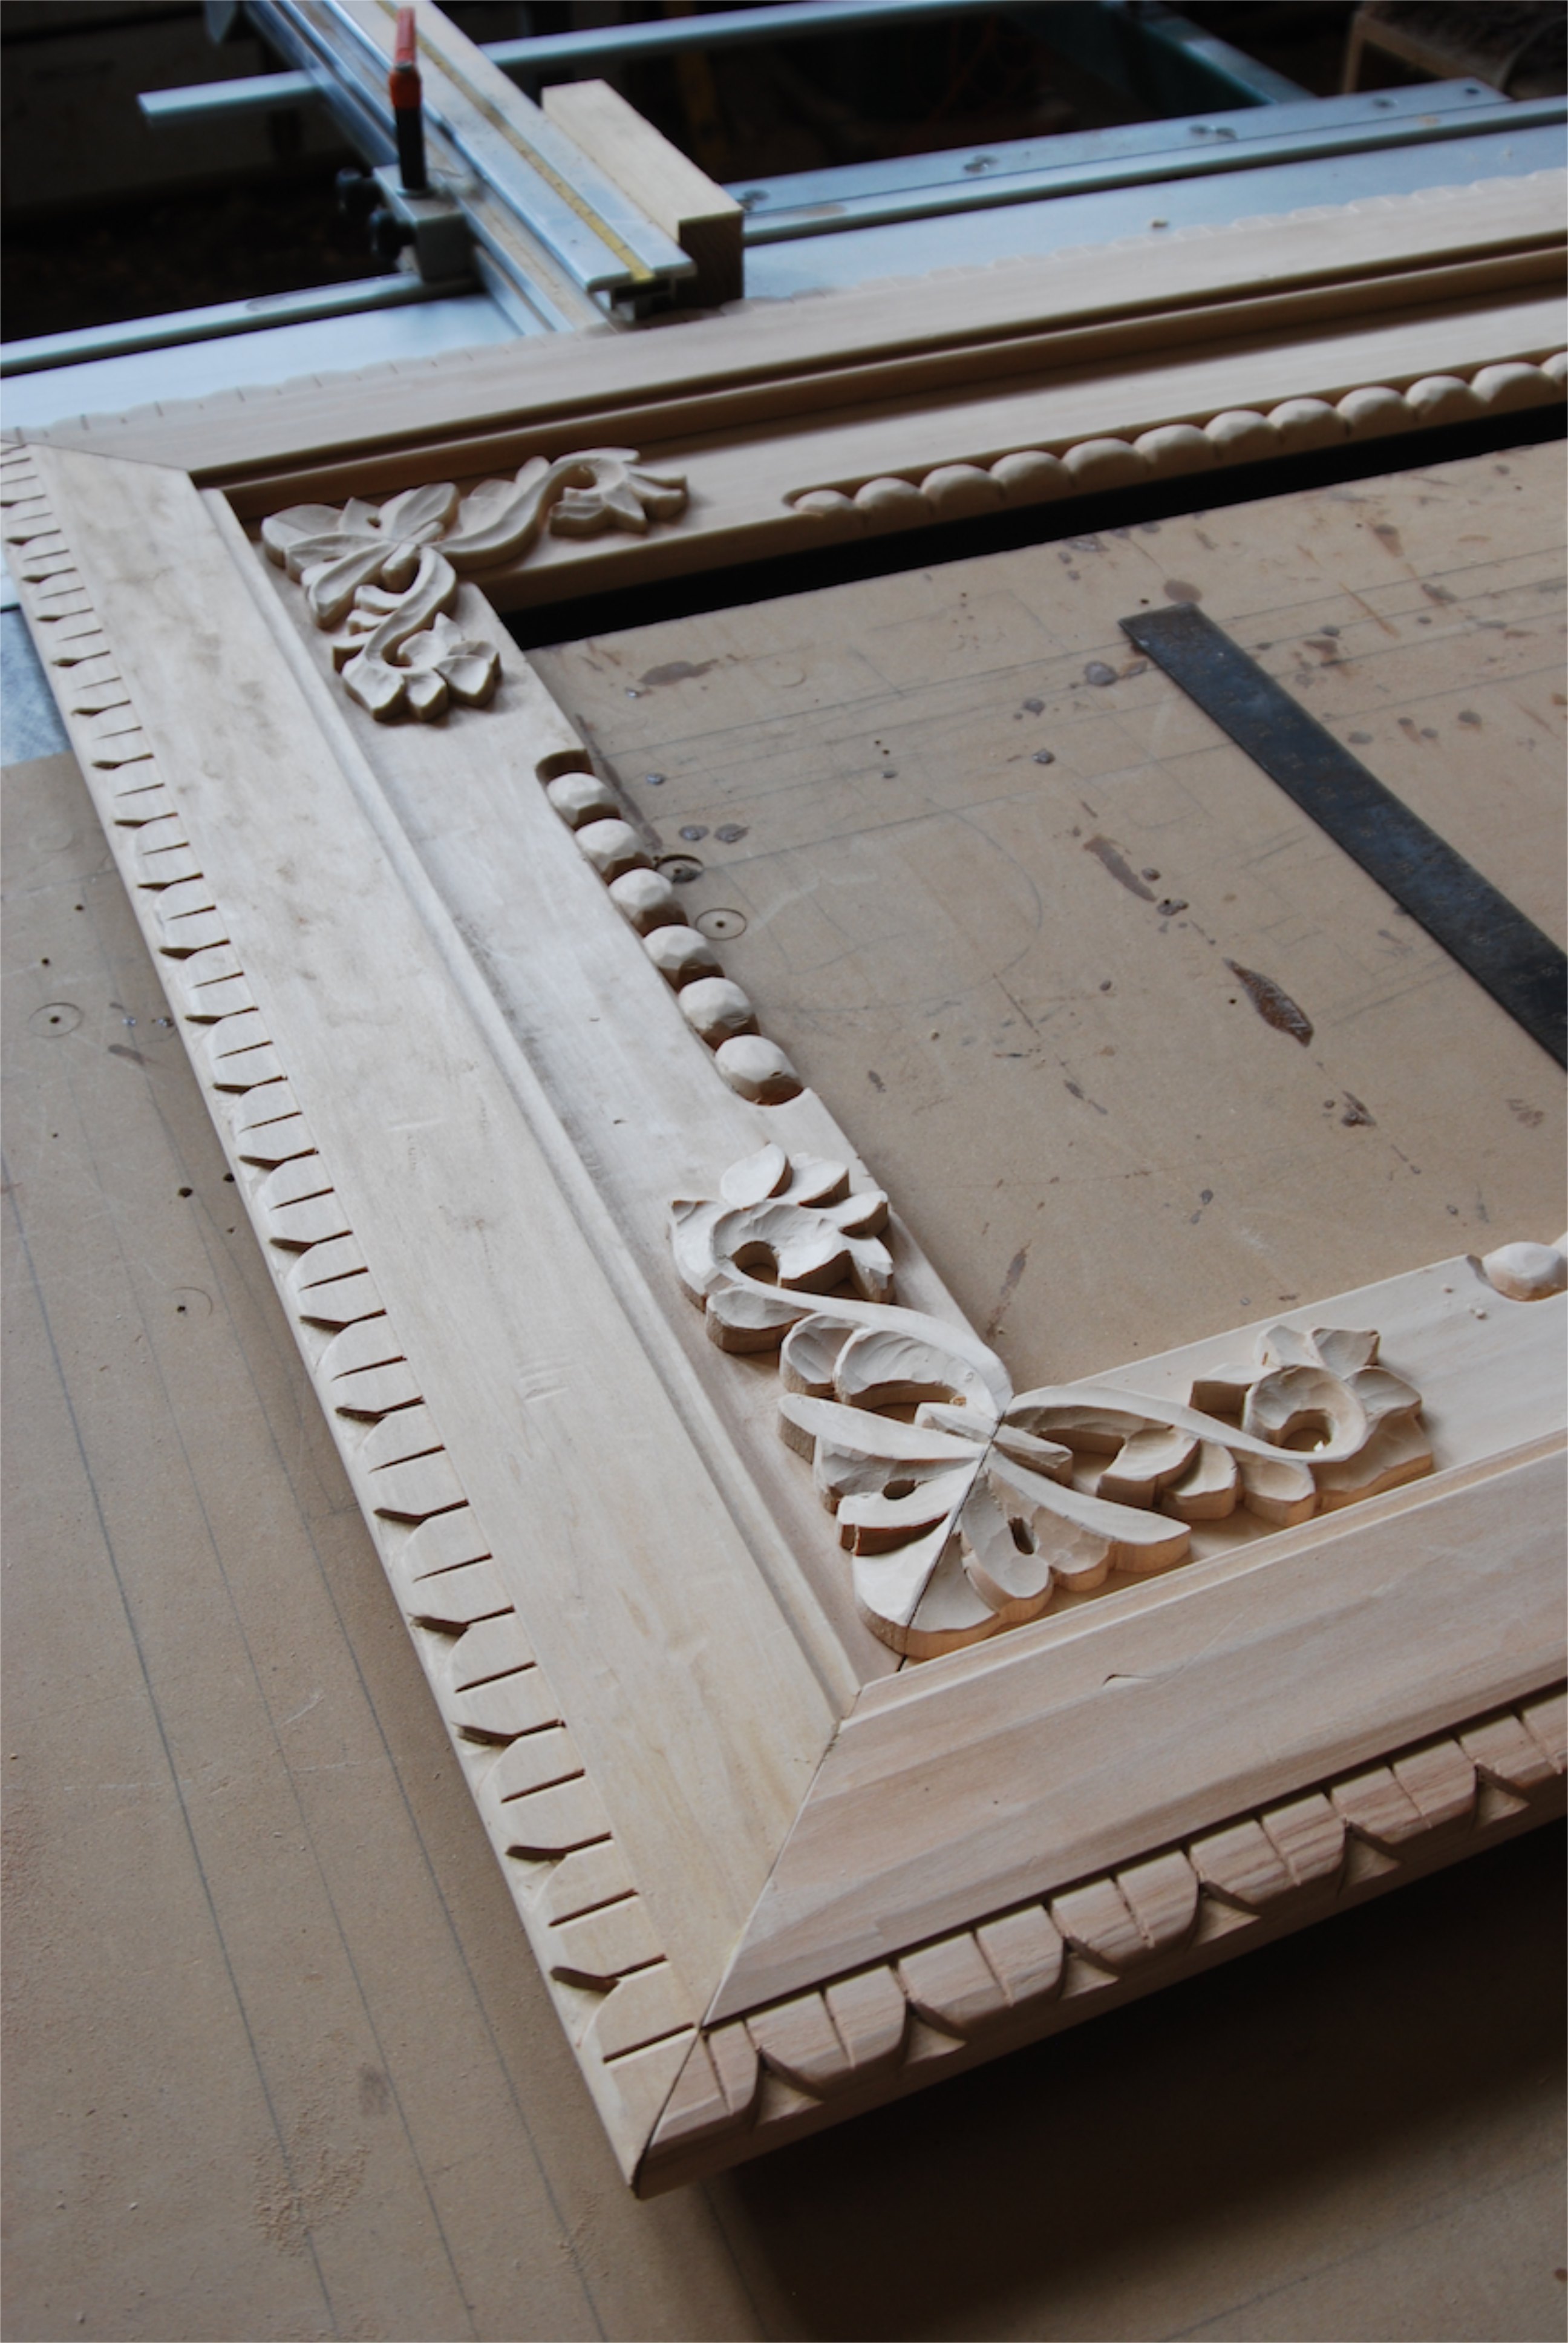
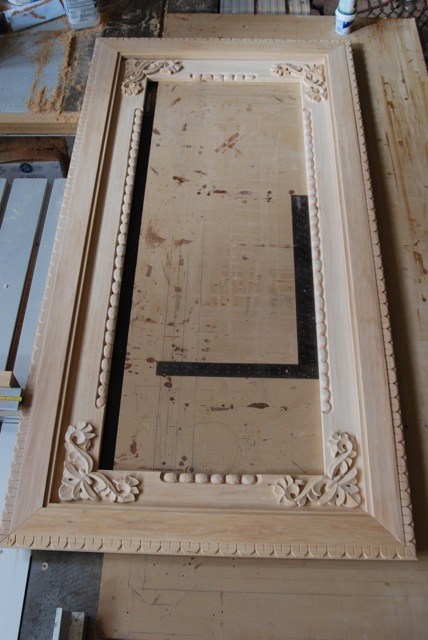
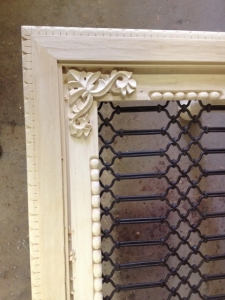
When they were all carved I glued them onto their frame.
Here's how it all looked when I was done with the carving.
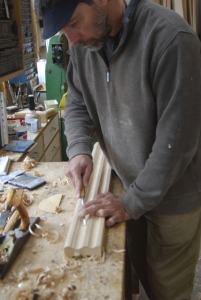
The last step was the rails. These had a cove and bead pattern with fillets. I milled the shapes into the stock with the router table and table saw, then I went over all of the surfaces with hand tools to loosen it up.
I purposely cut slightly sloppy miters on the ends of the rails, used my Domino machine to join them together and to the bottom frame of the top and glued them up.
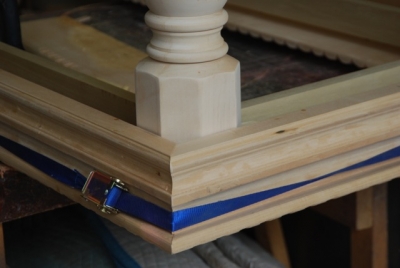
Here it is with the iron work in it.
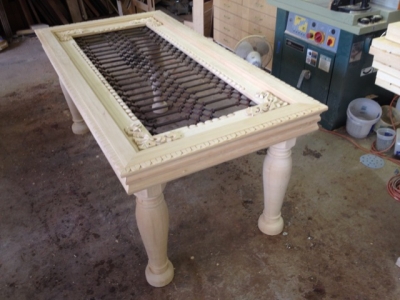
When I had everything all detailed I took the top / rail assembly off of the base and delivered it to the faux finisher.
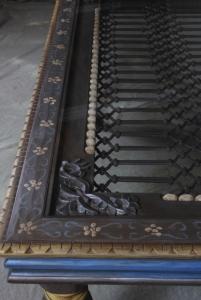
You can see some examples of other custom desks I've built in the galleries of this website.