Furniture Blog
Custom Furniture Gallery
Moroccan style parquetry
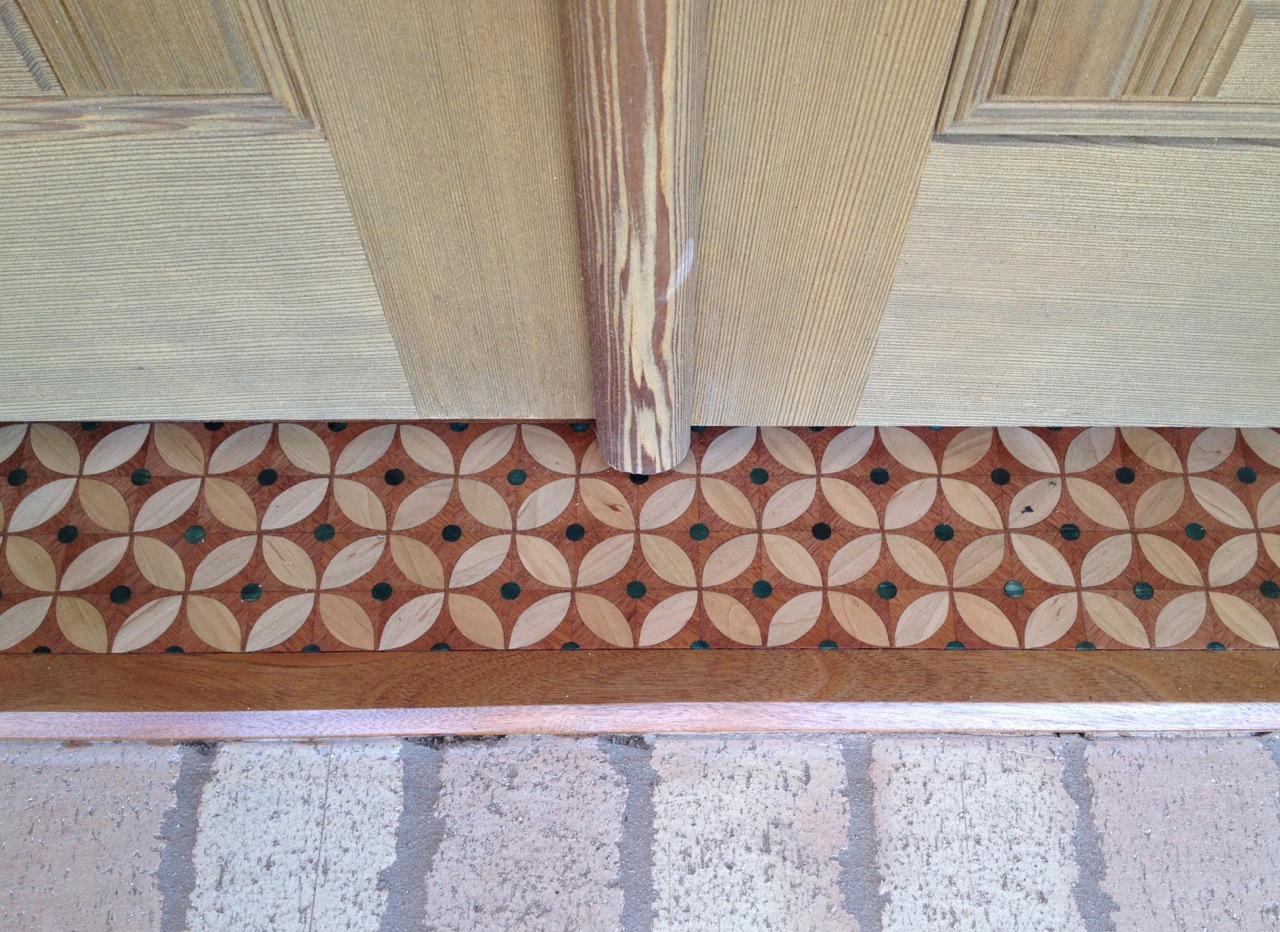
I’ve been working on an interesting job, off and on, for the last year or so. I started out building a complicated pair of doors and moved on to making some large gates, doing a bit of carving on some beams, building a carved desk and another desk that wasn’t carved. It’s been great. Each one of the pieces has been different and challenging in it’s own way and I love the variety.
A few months ago the decorator on the job mentioned to me that the client wanted to do something to spruce up the thresholds in one area of the place. They had run it by some of the other craftsmen on the job and no one had come up with any good ideas. There had been talk of carving something, inlaying tile, routing in a pattern, but nothing had really taken hold. Did I have any ideas? This is right up my alley. Creative problem solving 2.0.
The first issue was that the thresholds were already set into the slab, with finished tile laid around them. There was no chance of pulling them out and taking them to the shop to do whatever was going to be done to them. This meant that I was looking at either doing lots of careful work on my hands and knees, or I was going to have to figure out something to make in the shop that I could then go back and install when it was done. I considered for a while making some sort of router template that I could use to route in a design and then inlay wood into the recess that I’d routed. The thought of doing that much careful work while crawling, with plenty of opportunities to make a mistake kind of gave me the screaming willies. Then I landed on the idea of doing a parquetry pattern. That meant that I could do the bulk of the work in the shop and then take it to the job for installation. The rough plan would be to make up parquetry faces out of shop made veneers and then laminate the parquetry onto a thin substrate. These would be cut to precise uniform sizes so that I could make router templates to cut the recess into the thresholds that the parquetry would drop perfectly into. Glue them down, sand them flush and finish in place. No problem.
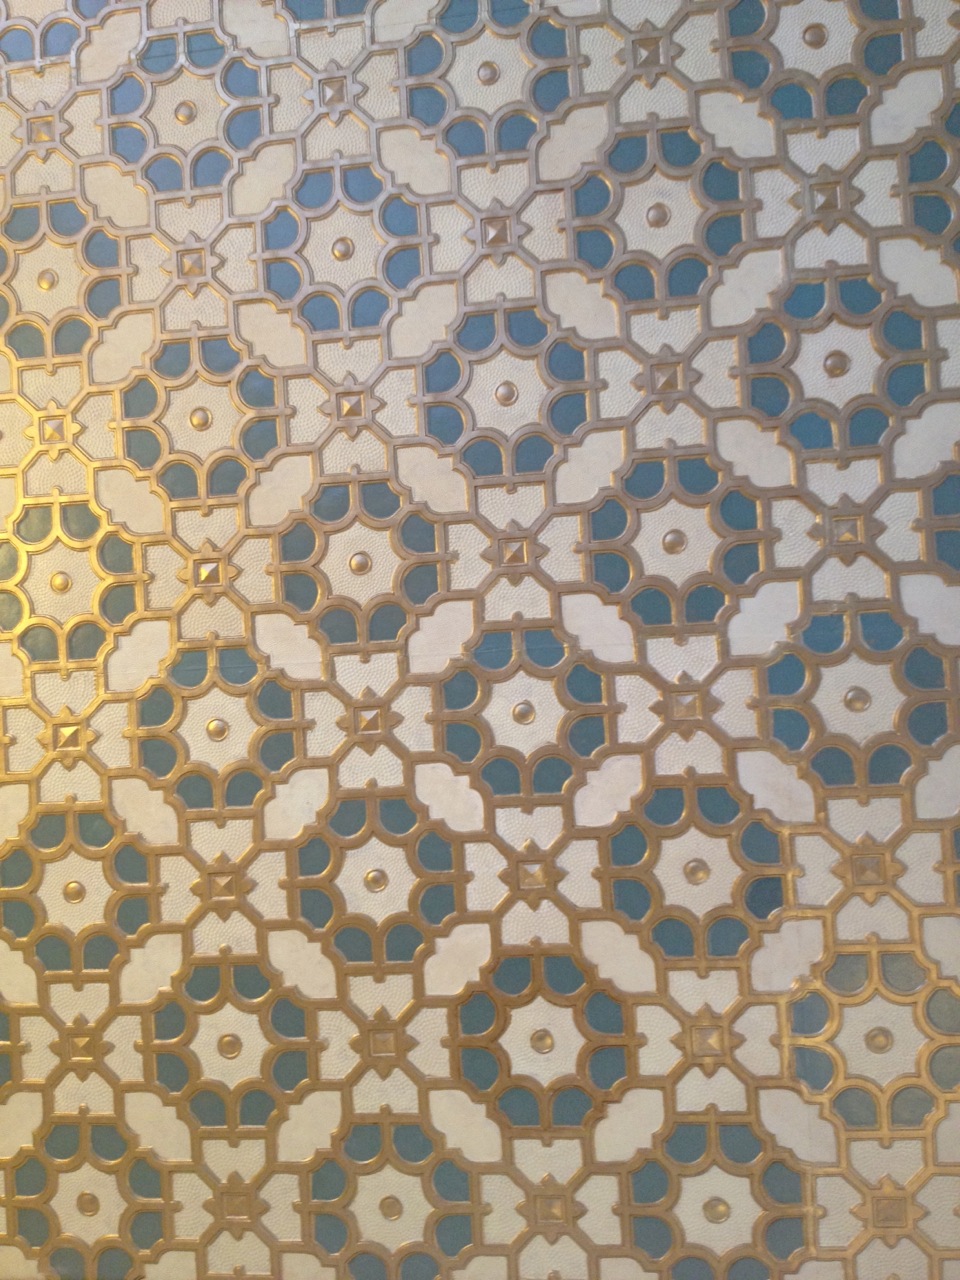
The second issue was figuring out what the parquetry pattern was going to be. I wanted to keep it relatively simple (although “simple parquetry” is already an oxymoron). The part of the project that this was going to go into has a Moroccan / Turkish theme and there were already a lot of different patterns going on. The ceiling was covered in an embossed, hand painted wallpaper with one pattern.
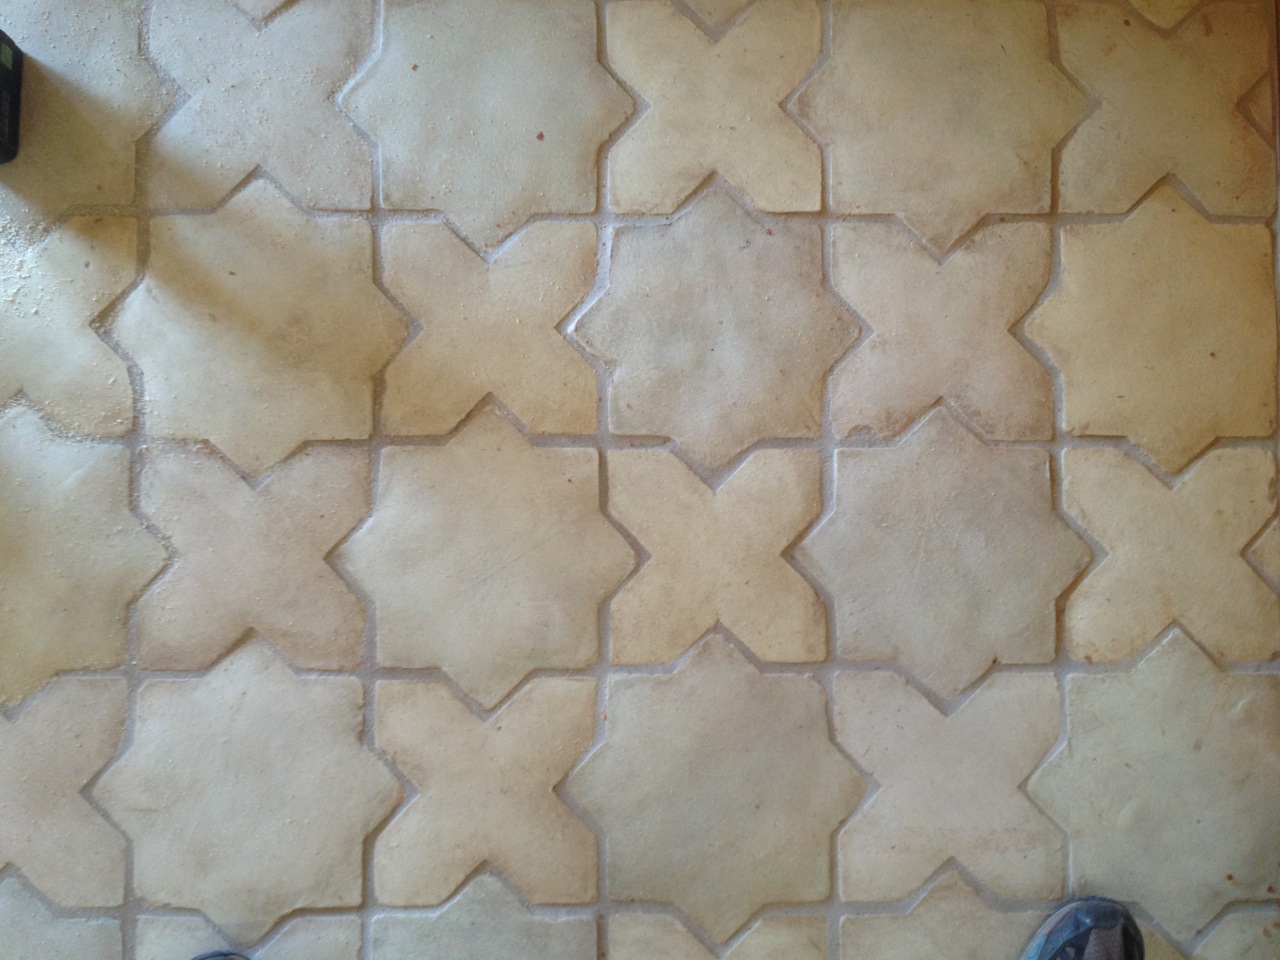
The tile designs on the floor ranged from a herringbone to a herringbone with colored square accents to a classic Moroccan stars and crosses pattern.
There were other patterns in the glass........
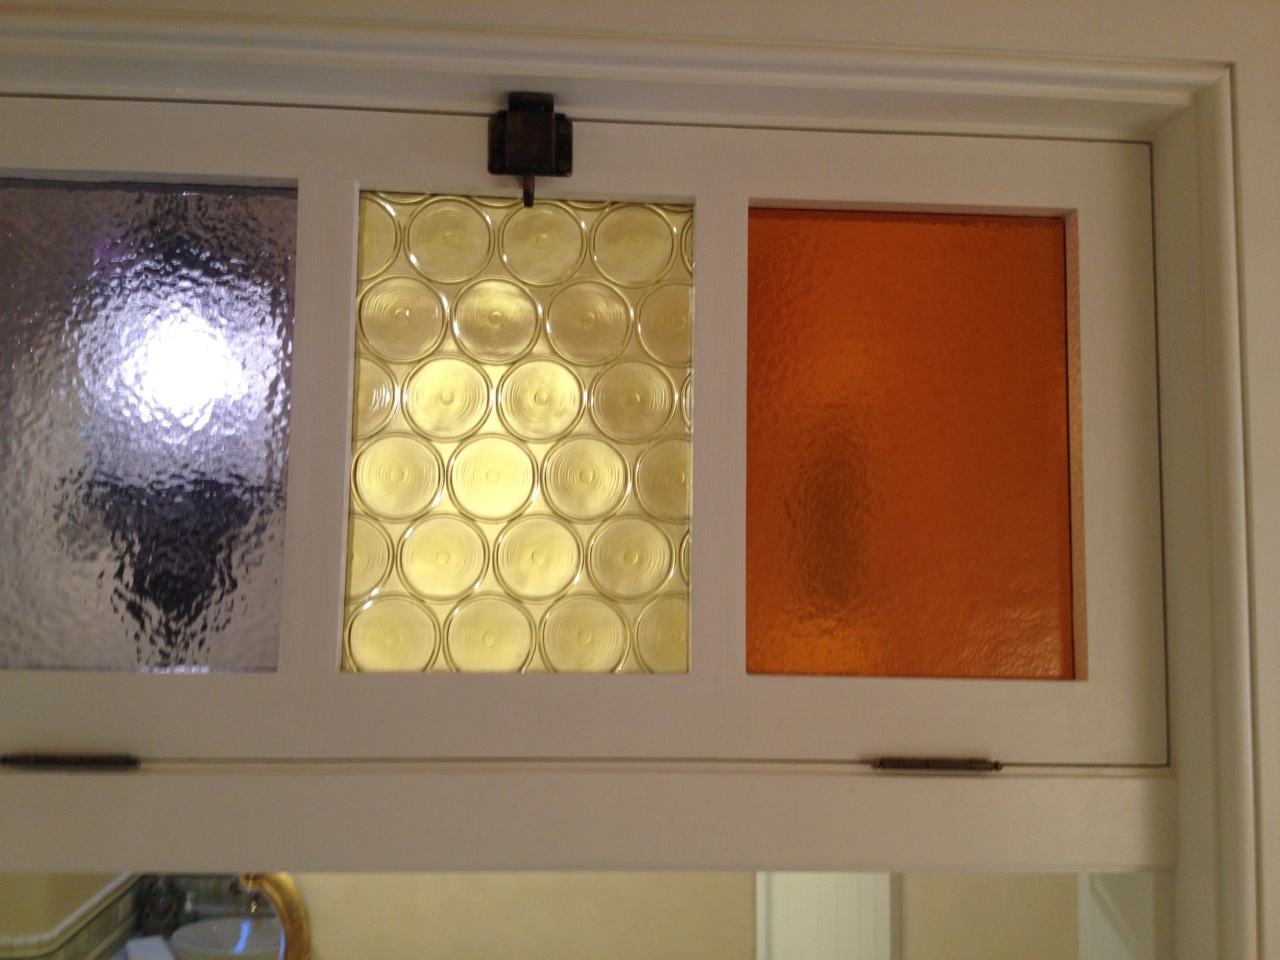
.....on the walls.......
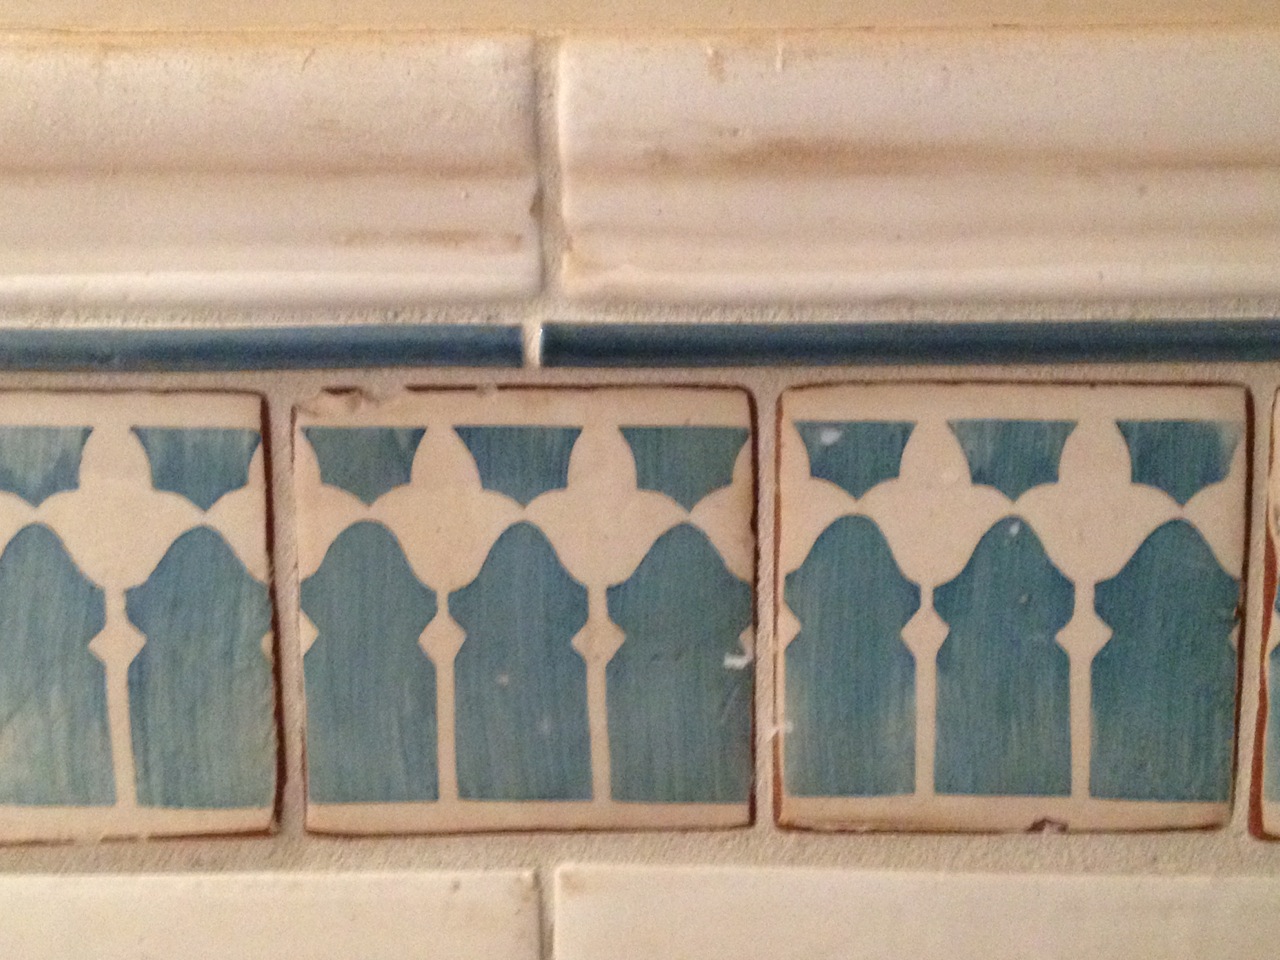
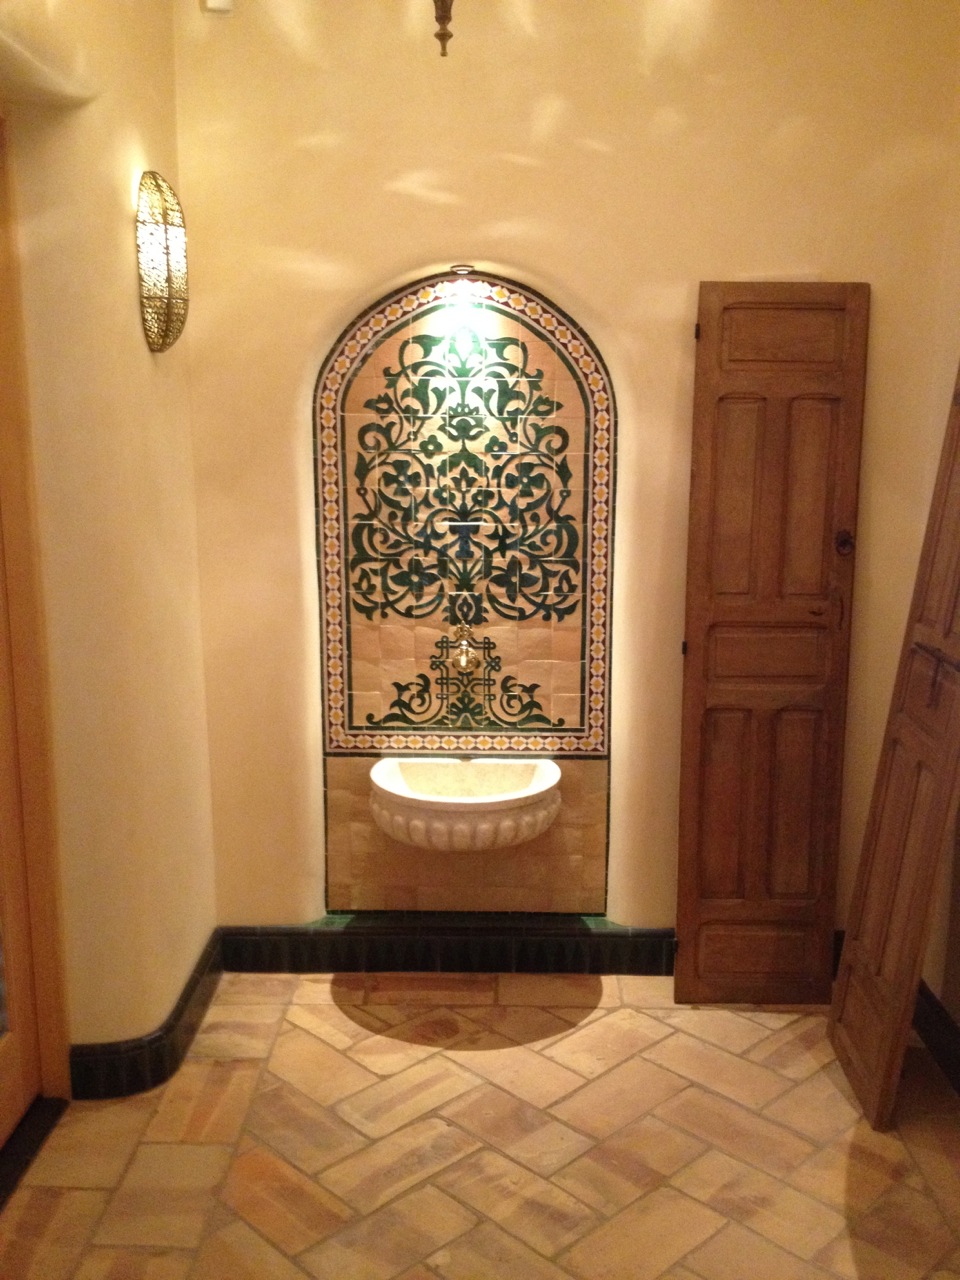
.....and on the doors.
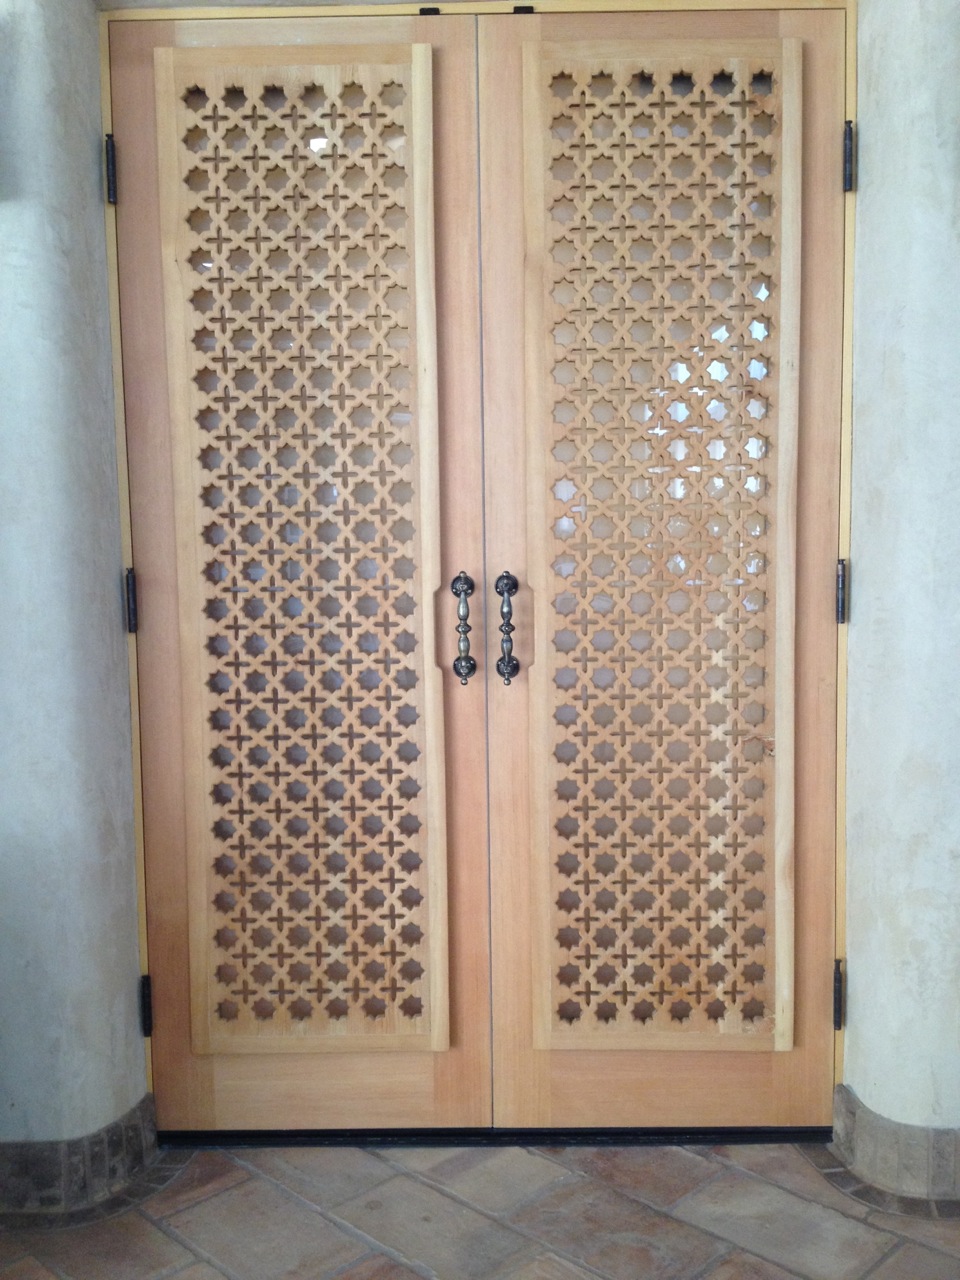
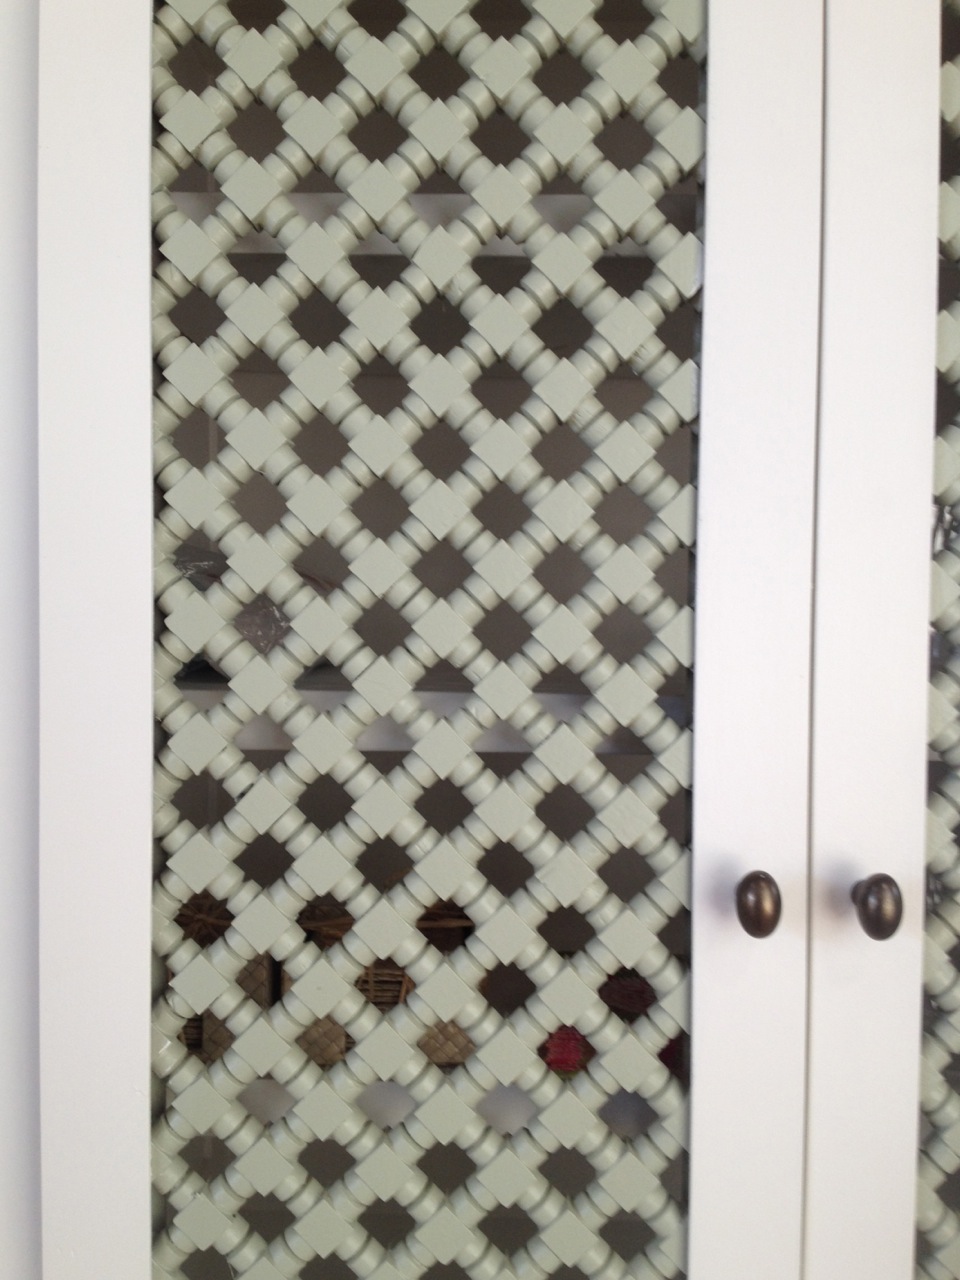
You would think that with all of this going on the place would feel like a total cacophony but it absolutely doesn’t. It is really refined and tasteful. For a guy who has worked on lots of projects for the last decade where the idea of ‘contemporary’ means straight lines, right angles and dark finishes, this project has been a real panacea. The word on the street is that pattern is back and this job is the epitome of that.
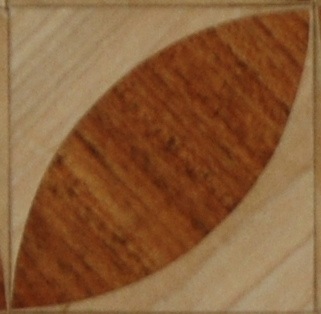
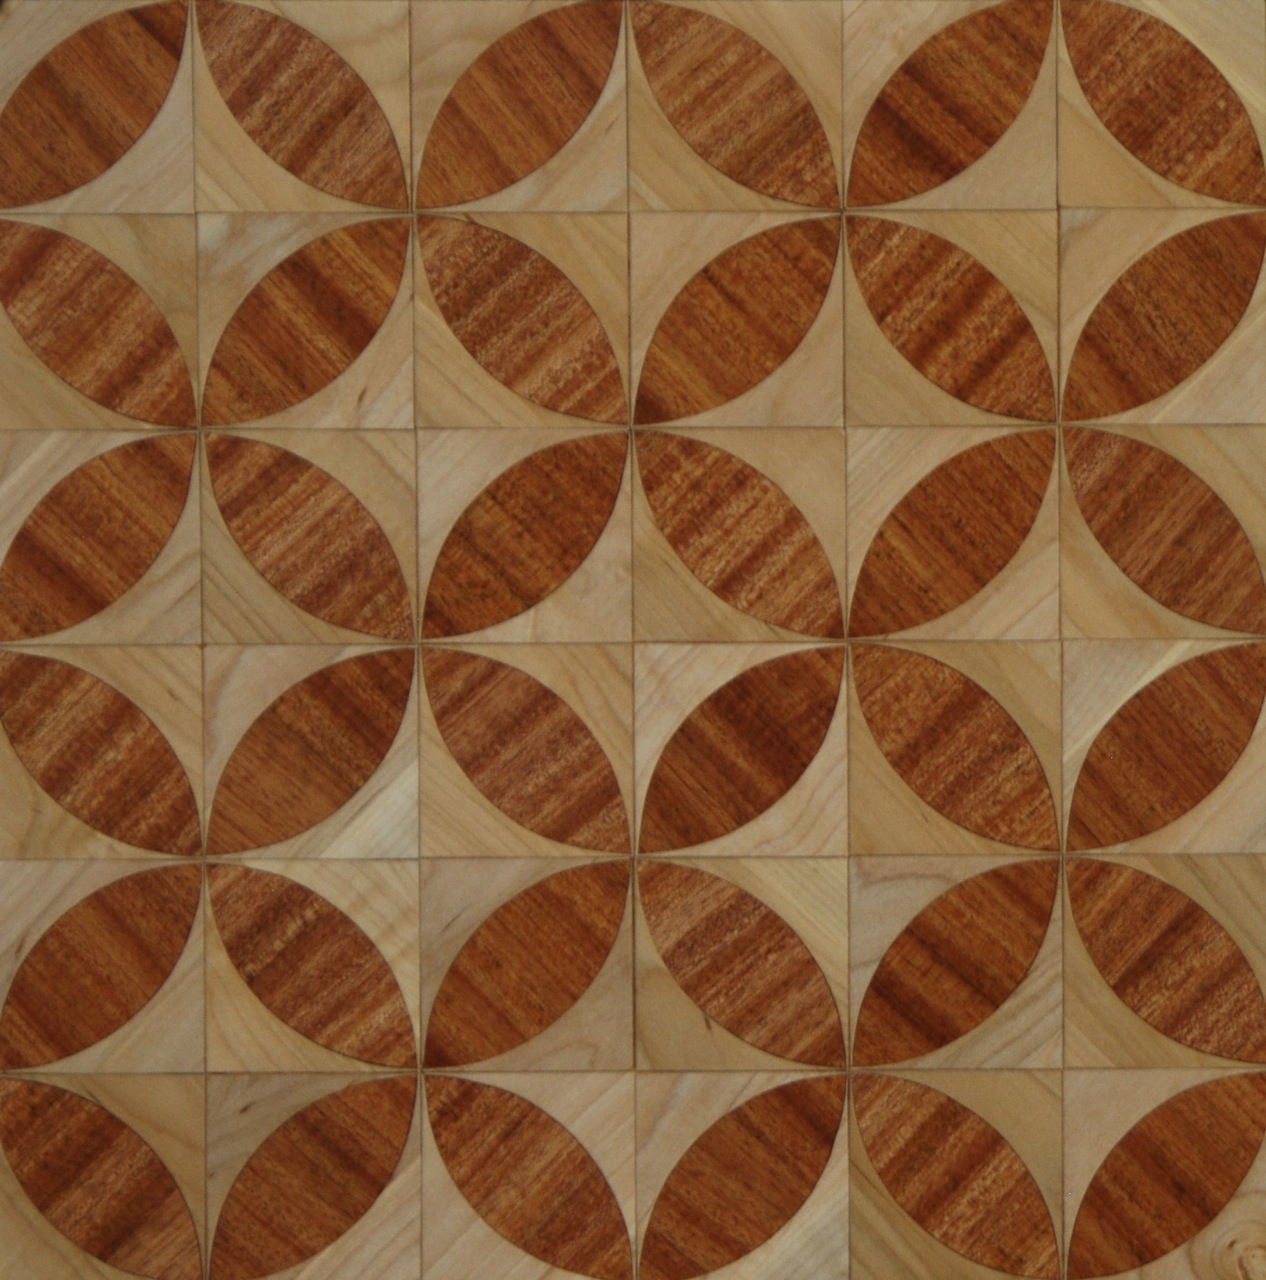
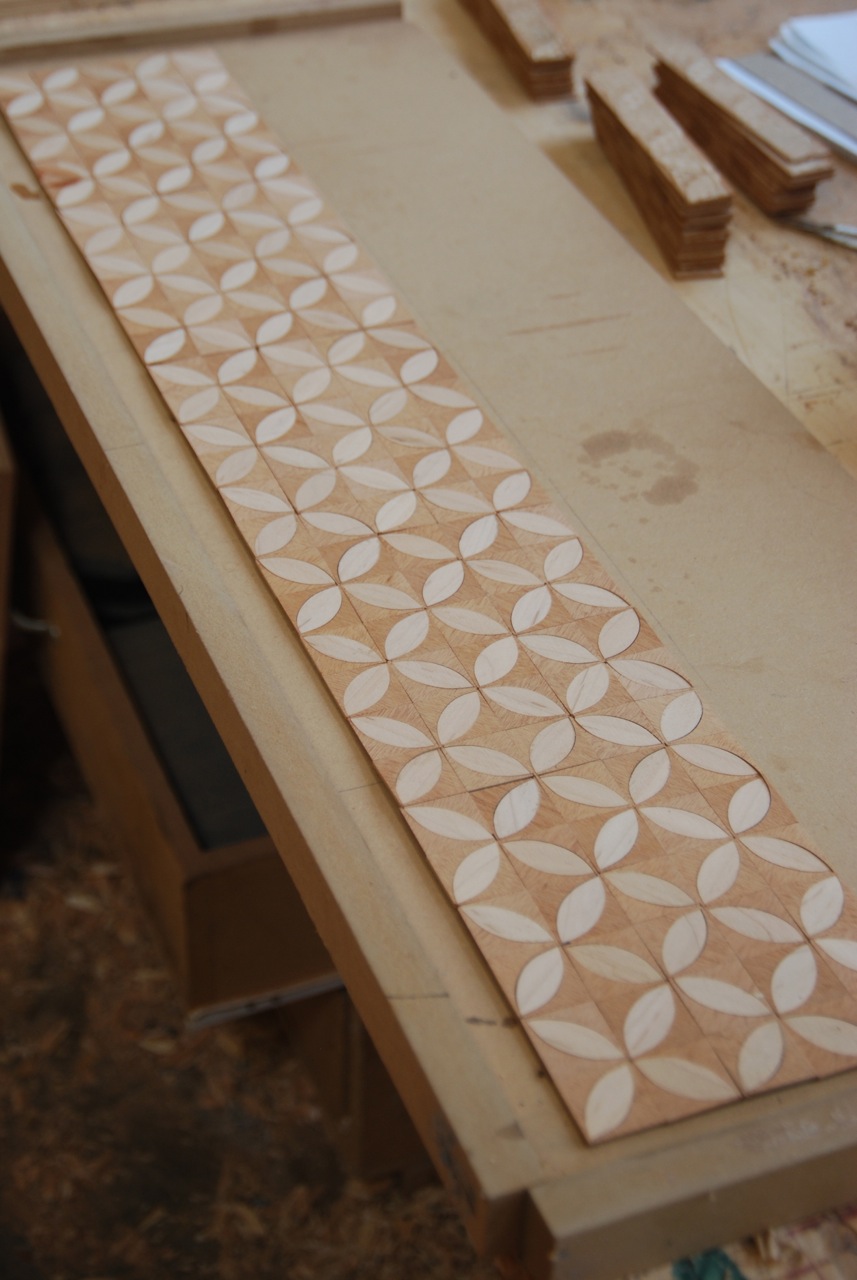
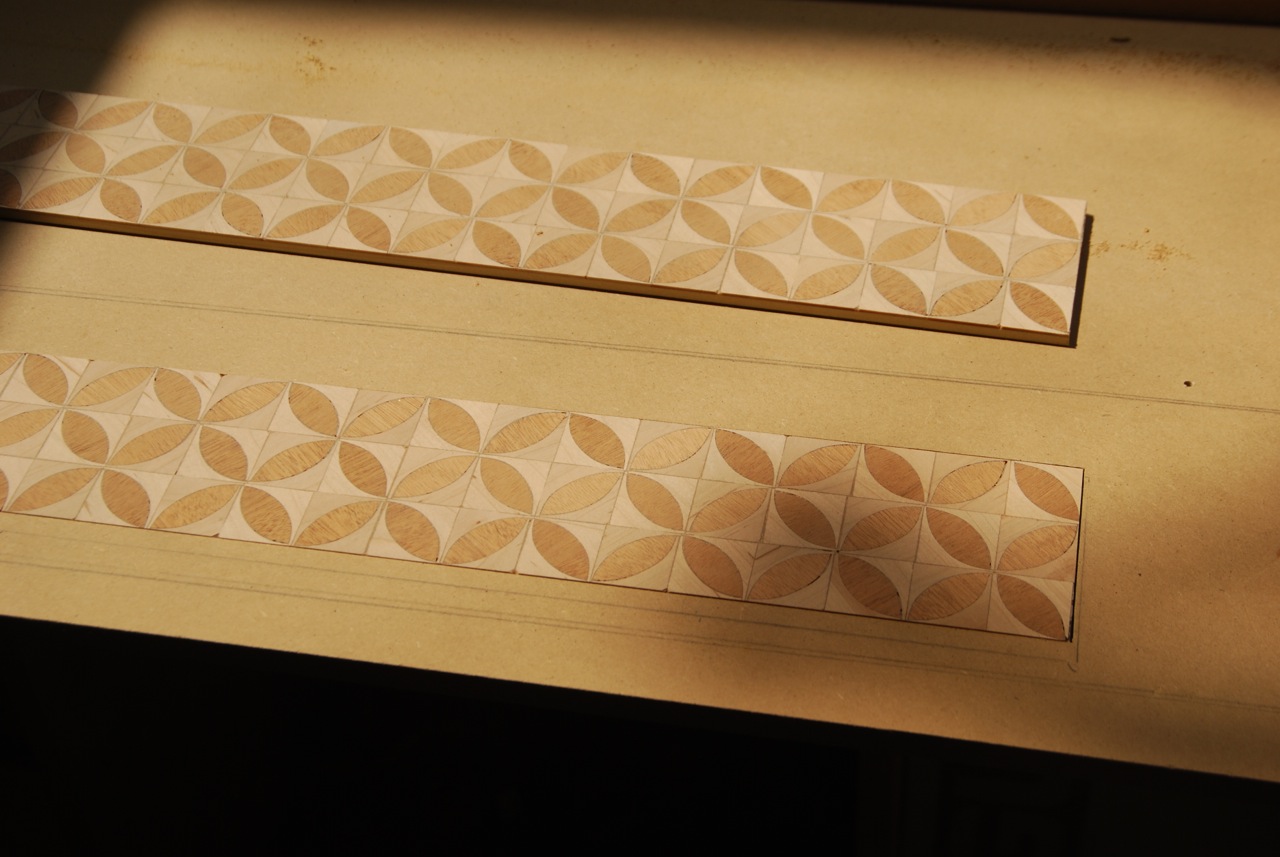
Moroccan architecture, furniture and design are filled with amazing repeating geometric patterns that play with positive and negative space so I spent a little time researching and looking for one that would lend itself to a parquetry pattern. I finally saw one carved on a piece of furniture that seemed like it would work. It was a series of interlocking circles that changed into flower petals if you looked at it another way. If you blinked it turned into interlocking diamonds. Fun. The thing that made it right for parquetry was that the the whole pattern was based on a repeating square with a football shape in it that ran from corner to corner.
Repeat that a bunch of times and you end up with this.
To see if it was going to work (and to have something to pitch to the client) I went into the shop and made up a quick sample.
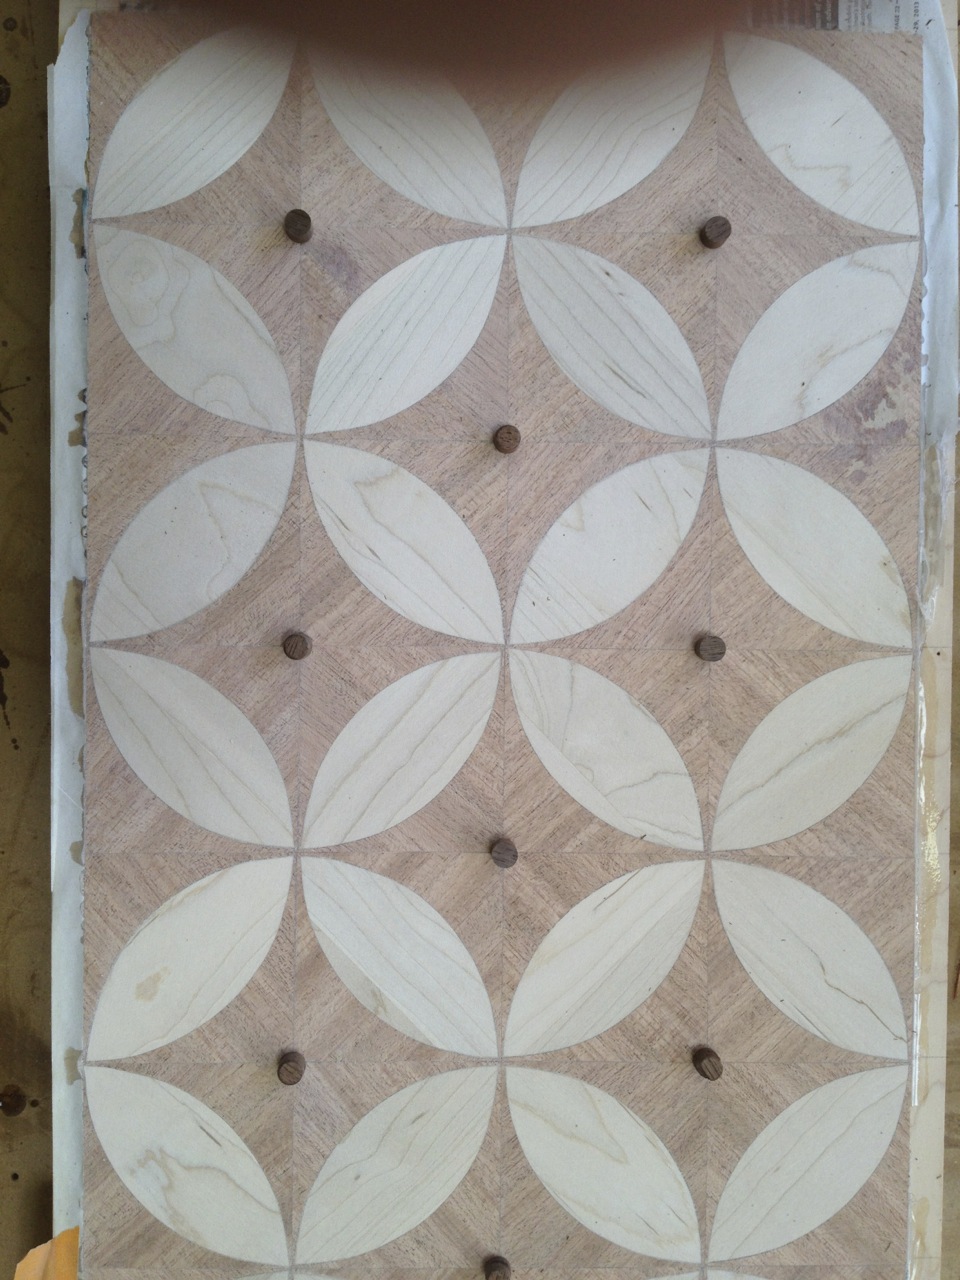
The client liked the concept and that led to several more samples in slightly different woods and sizes. There were going to be 8 thresholds with this inlayed in them. One double door opening was going to have mahogany diamonds with maple circles built around a 1 1/4” square and the others were to have a 1” pattern with maple diamonds and mahogany circles.
The next big challenge was figuring out how to bid it all. The size of the pattern was going to make a big difference in the cost. If you think about it, a square foot of the pattern made with 3” squares has 16 squares in it. A square foot made from 1” squares has 144 squares in it! It takes just about the same amount of time to cut the football out a 3” square as it does to cut out it out of a 1” square. I had kept careful track of how long it took me to do the samples so I had a pretty good idea of how long each of them took me to do the parquetry work. I took those numbers and divided them by the numbers of squares in the sample to come up with the amount of time it took to do one square. Then I added up how many squares it would take to make all the thresholds (about 900) and multiplied that by my shop rate to come up with a price for the parquetry work. Then I scratched my chin for a while to estimate how long it would take to make the routing templates I would need for the 4 different sizes that I would be installing. I also spent some time thinking about how many days it would take to go to the job site, route out the recesses, glue down the parquetry panels, sand them and put on 3 coats of finish. I was pretty pleased at the end of the job when I crunched the numbers and found that I had come really close to making my standard rate on a job as complex as this.
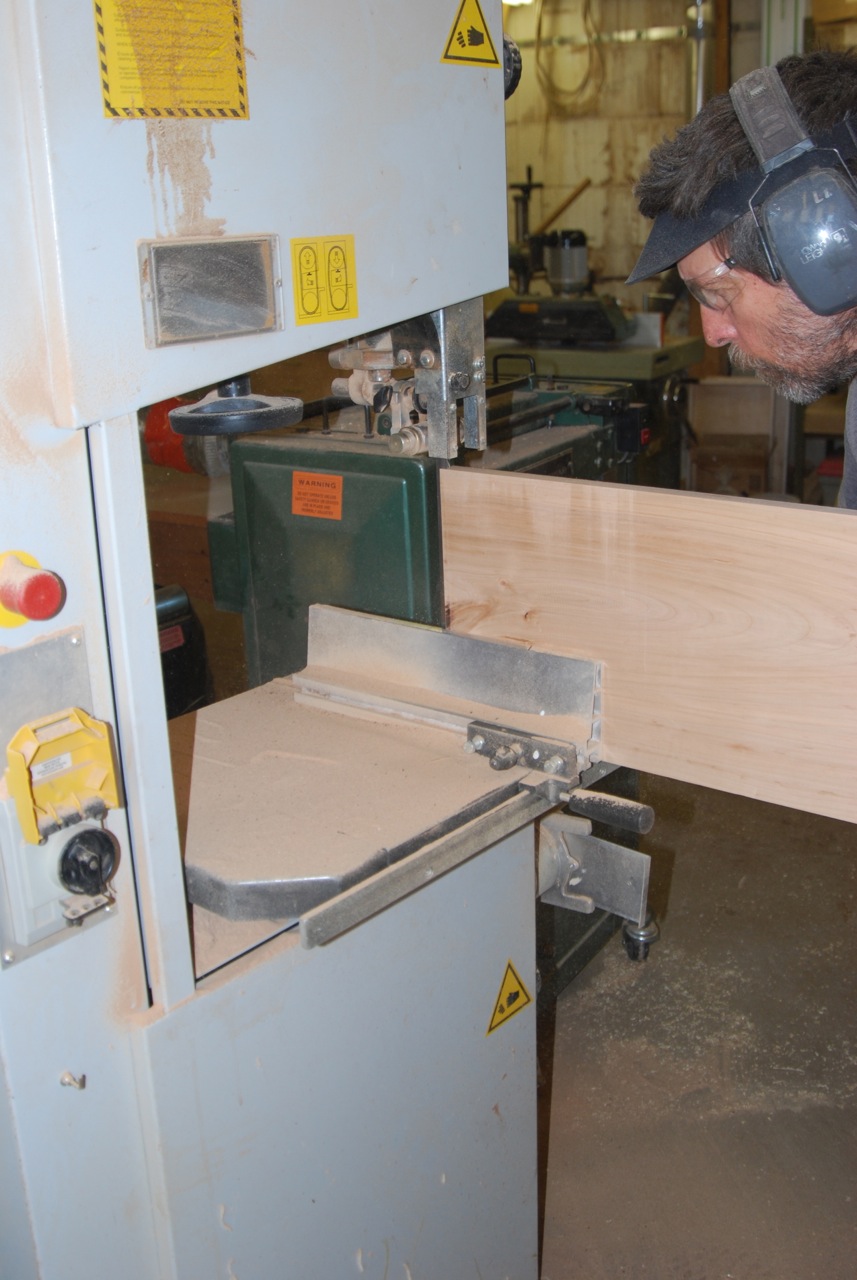
The first step in doing all of this was to make the veneers. I wanted all of the thresholds to have a good color match so I picked a plank from each species that was big enough to get all of the pieces out of it, jointed them, then resawed them on the bandsaw into fat 1/16” leafs. I have a 1” carbide tipped bandsaw blade that did a great job of resawing these wide boards.
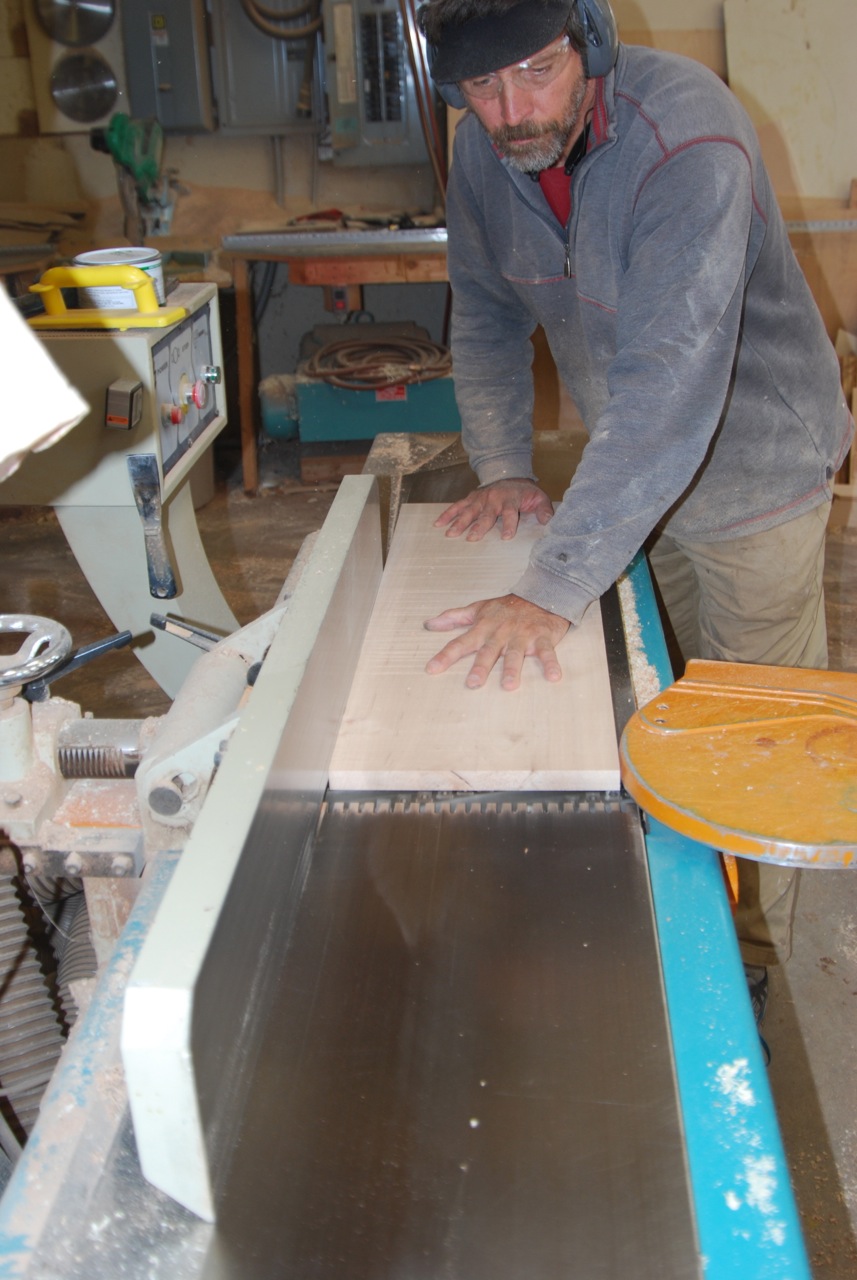
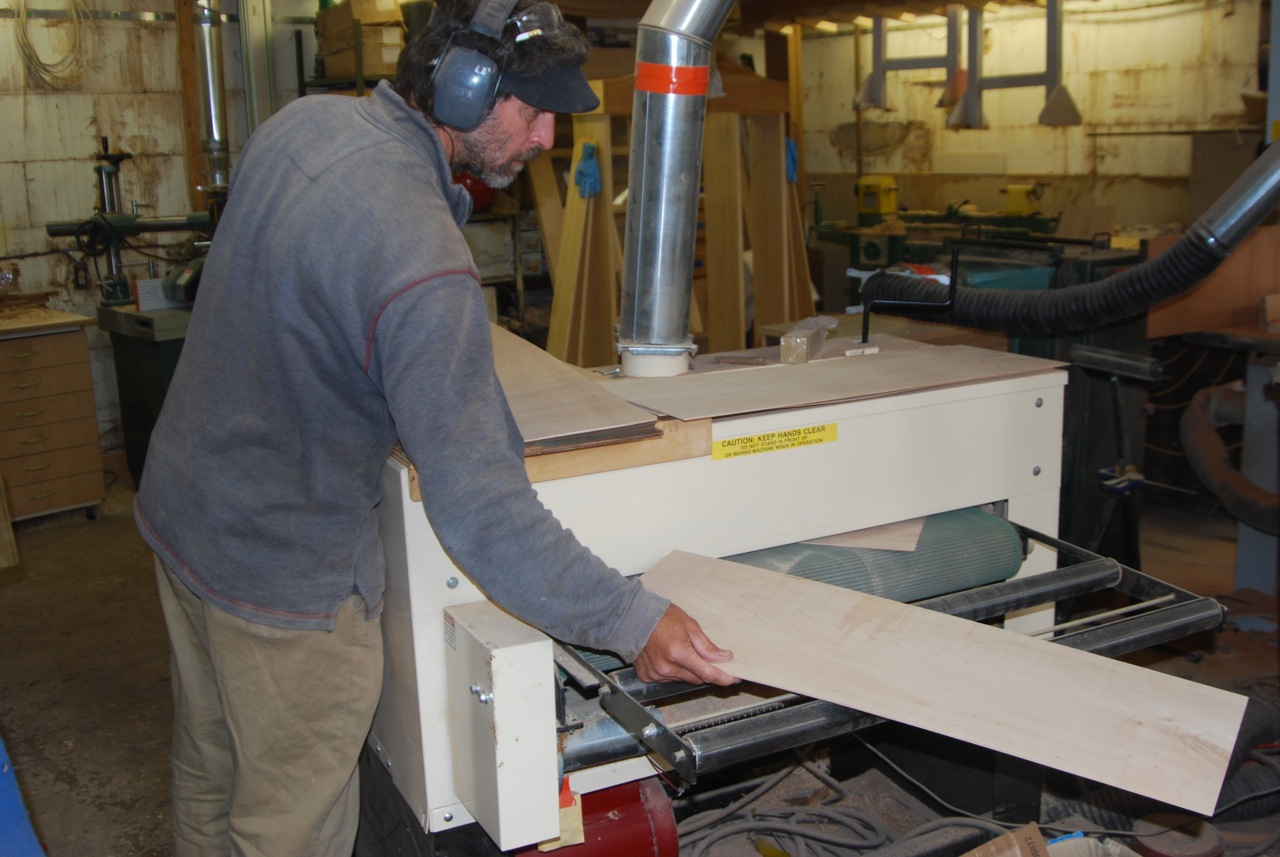
I then took all of those leafs to my drum sander and ground them down to a consistent 1/16” thickness with 80 grit sandpaper.
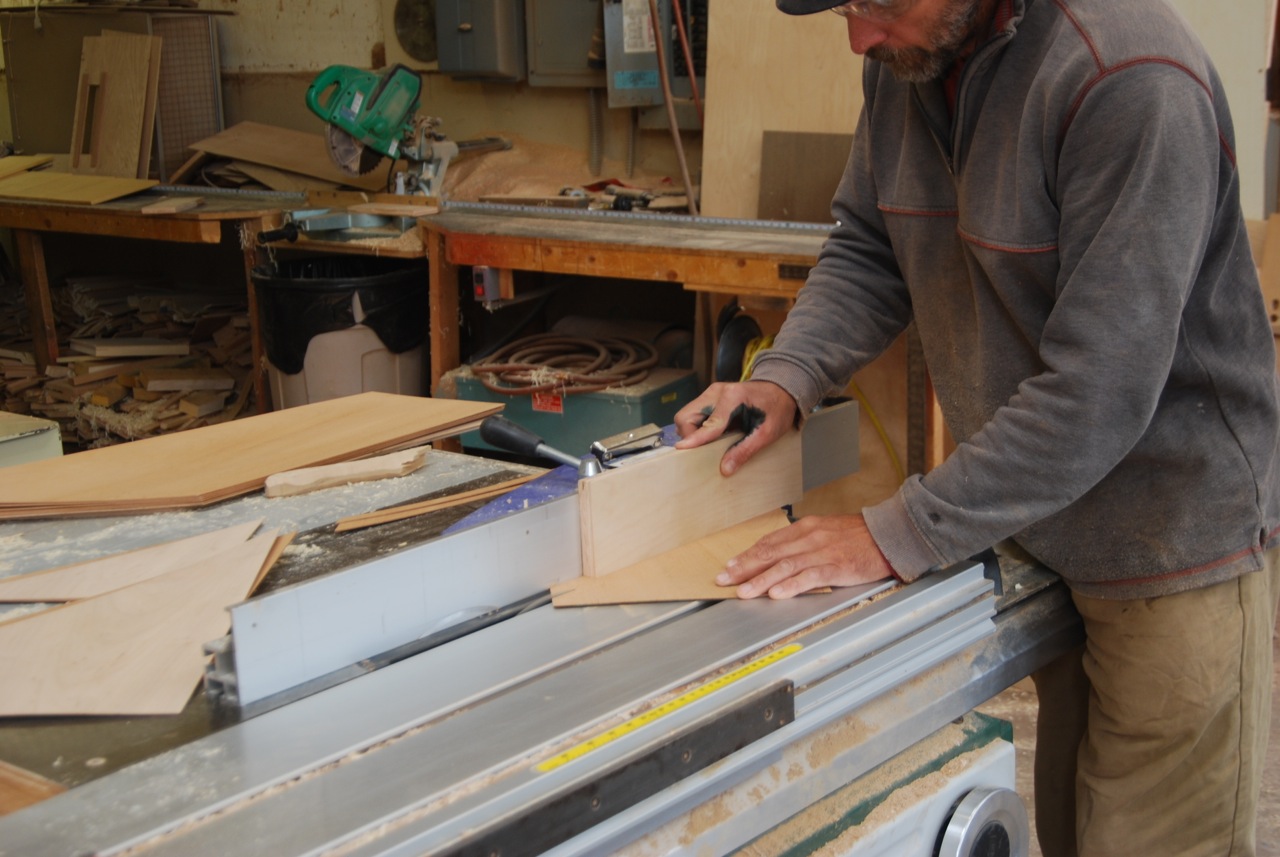
In the pattern the grain of each species runs on a 45 degree angle, each species oriented 90 degrees to the other. That meant that I couldn’t just rip the leafs into 1” strips parallel to the sides of the leaf. Instead I had to start by cutting a 45 degree angle on the ends of the leafs and then rip my strips off of that new edge. To control those little strips I made a long push stick that would hold the entire strip flat to the saw table while I ripped it.
I kept all of the strips in order with their grain oriented the same way.
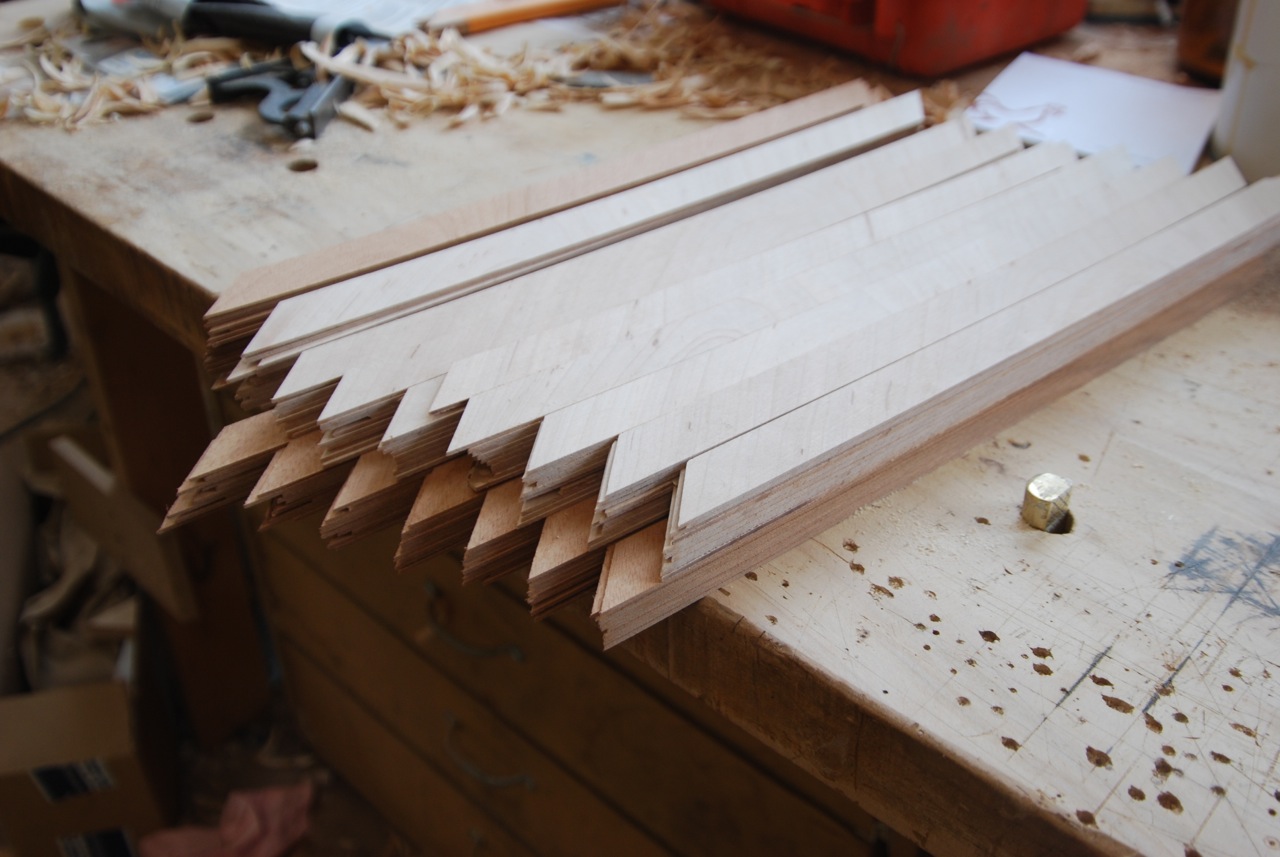
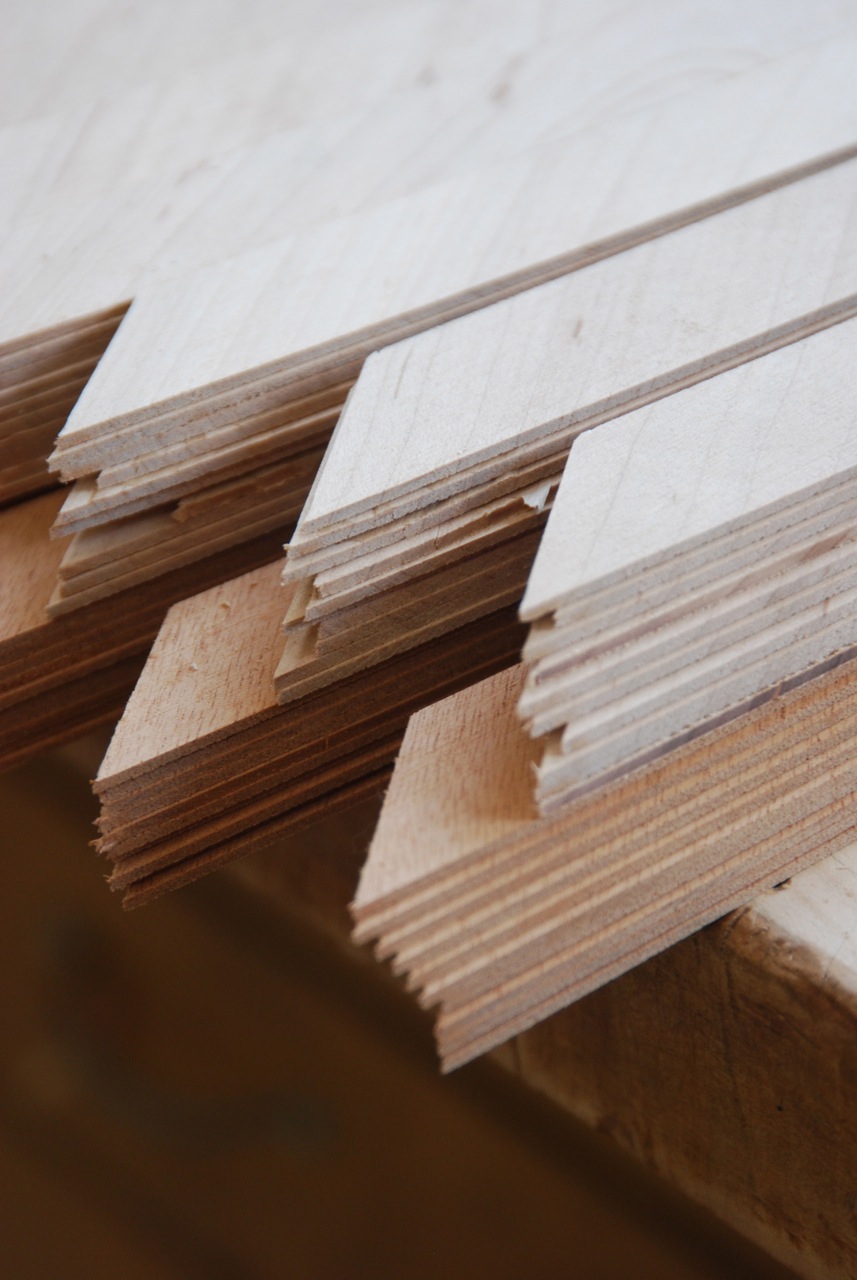
Then I flipped all of the strips from one species so that the grain ran the opposite direction of the other species and made up stacks of 6 strips. Three of each species alternating in the stack.
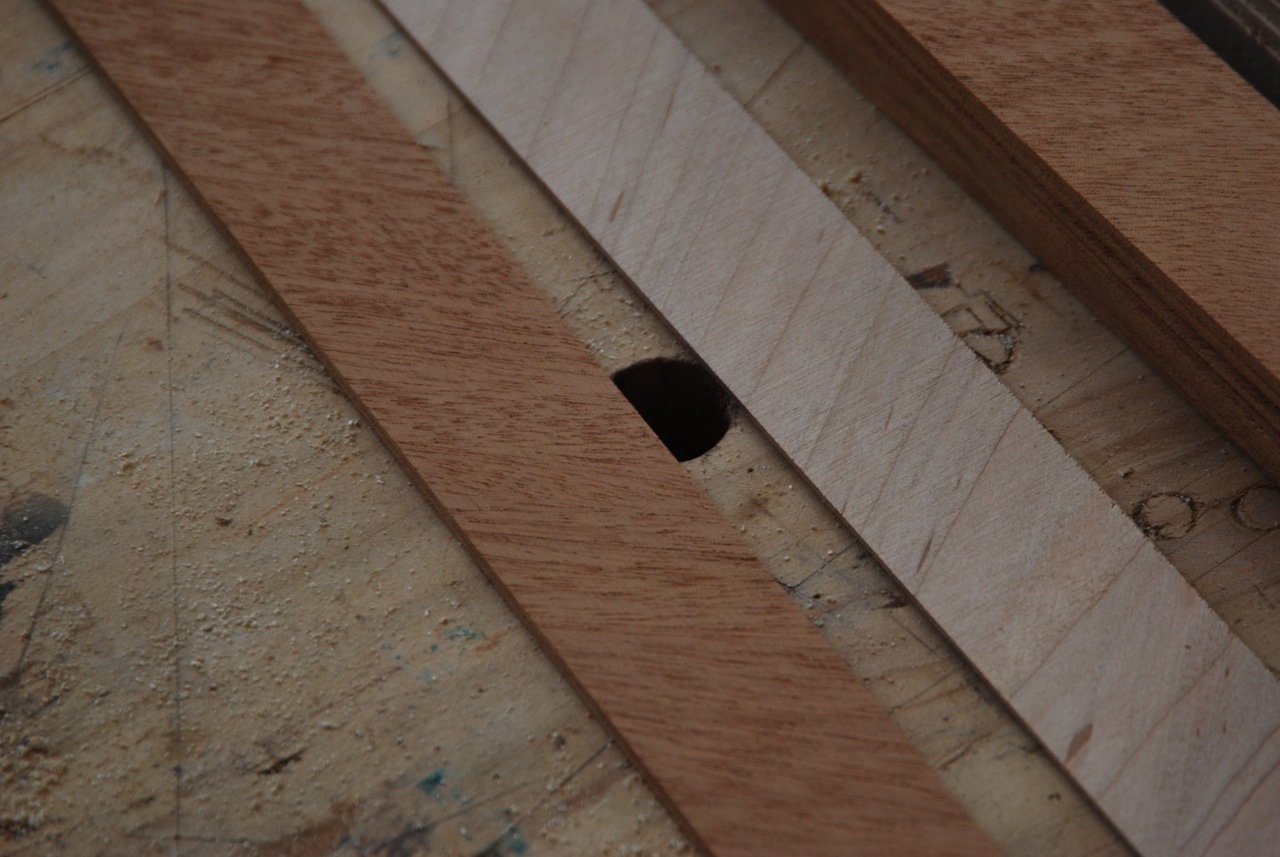
I carefully lined up the stacks so that their edges were flush and clamped them in my vise.
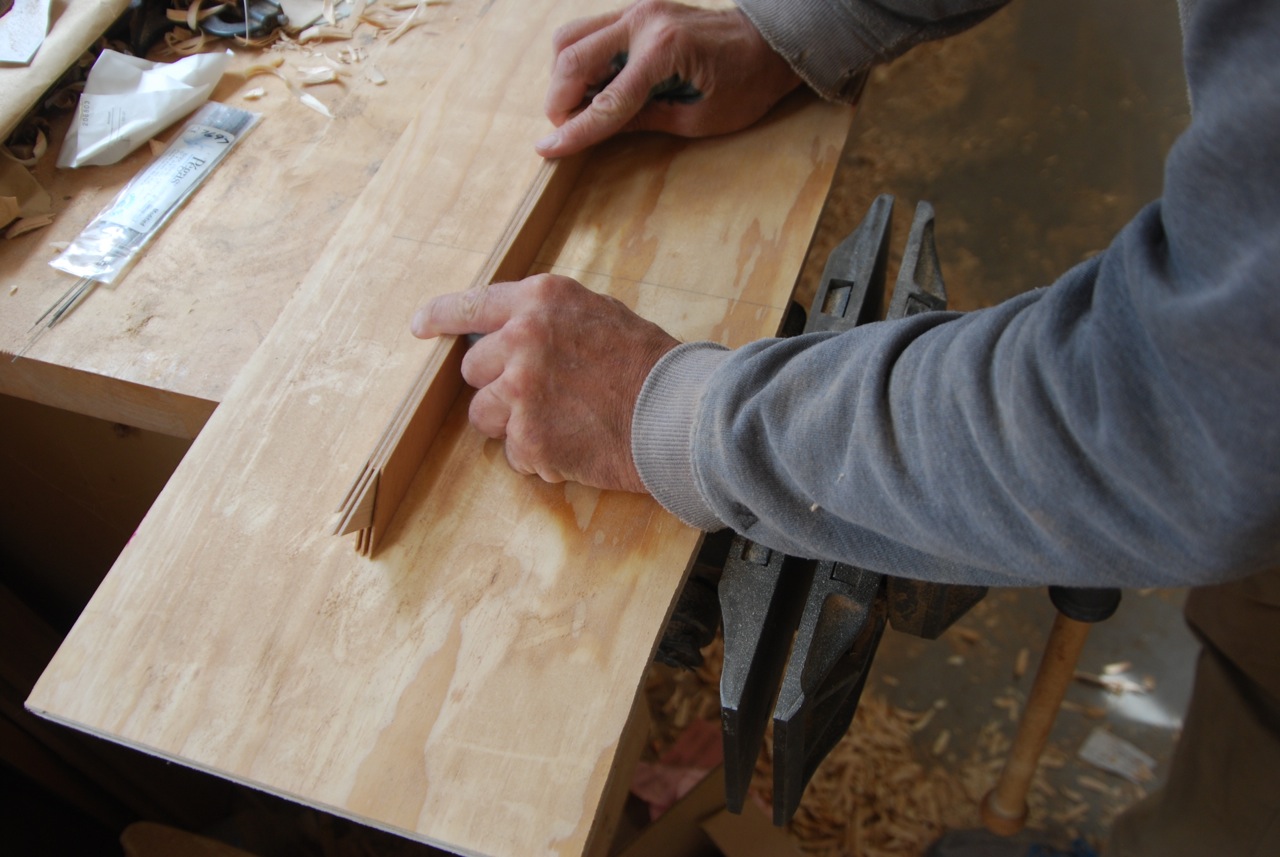
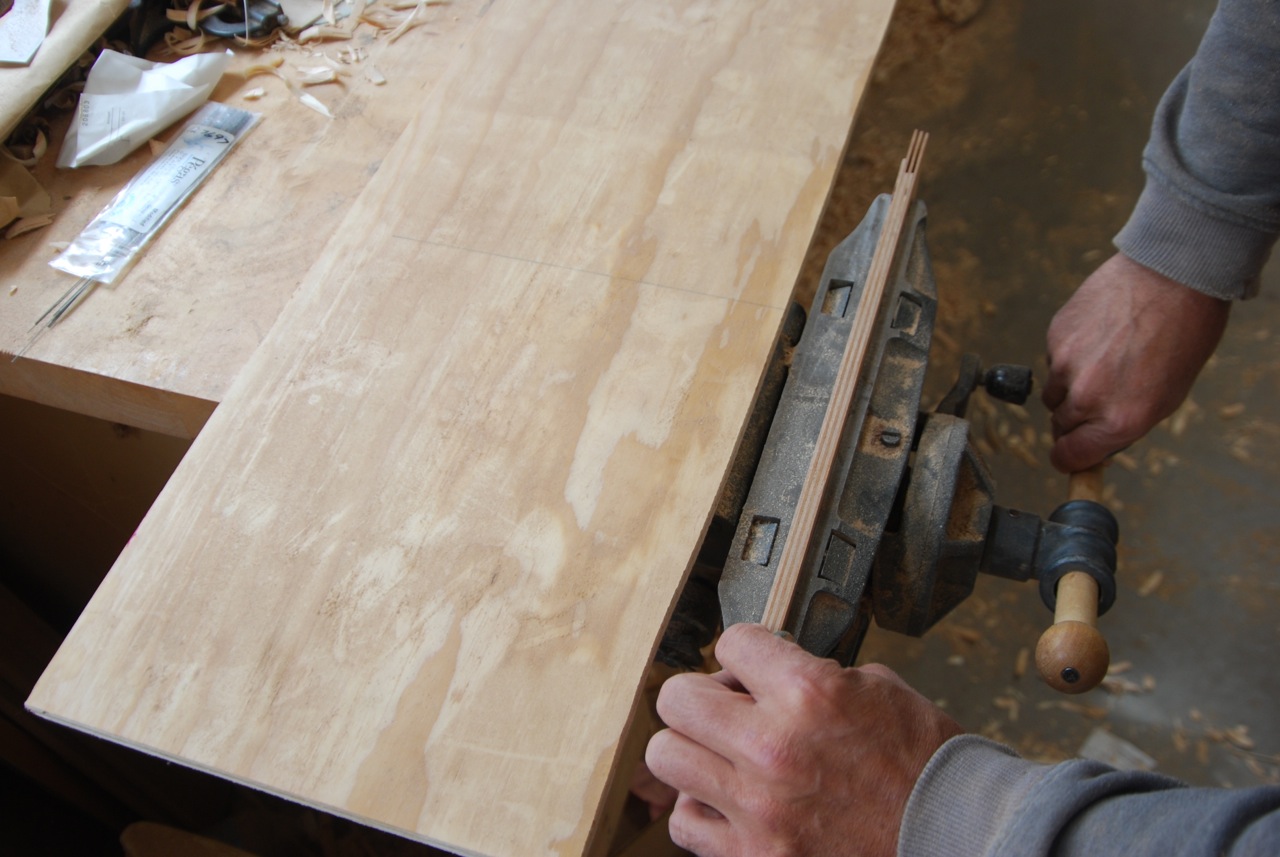
Then I taped the long edge with painters tape. I used the painters tape because it comes off easily. I had made some of the samples with a stickier tape and found that it took quite a bit longer to remove it than it did the painters tape. I was going to have to take the tape off of 300 little cubes of veneer and the difference in time between the two types of tape was going to really add up. Since I live by the axiom that efficiency is nothing more than creative laziness I tend to think about these sorts of things.
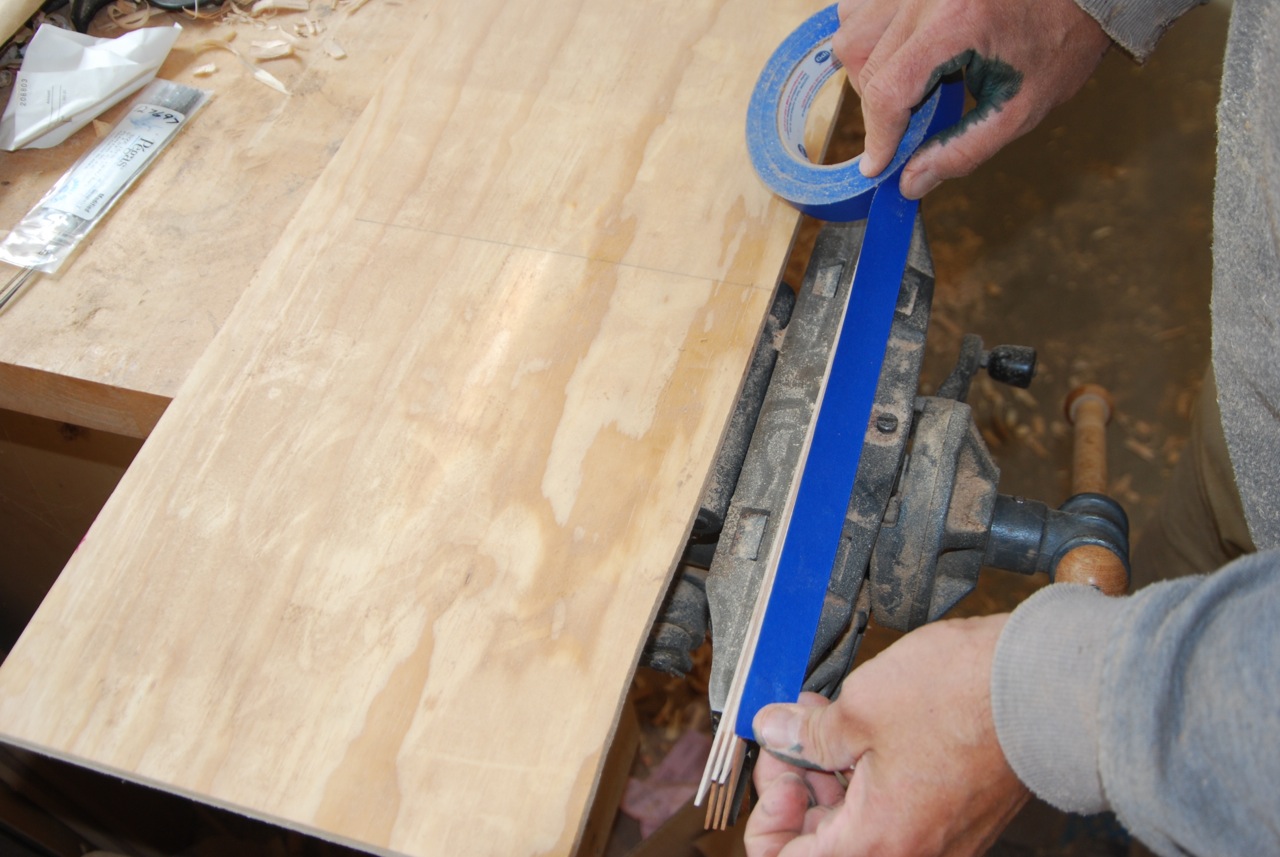
With one edge taped I could take the stack out of the vise and tape the other edge. This gave me nice packs of veneers that would stay in alignment while I did all of the cutting.
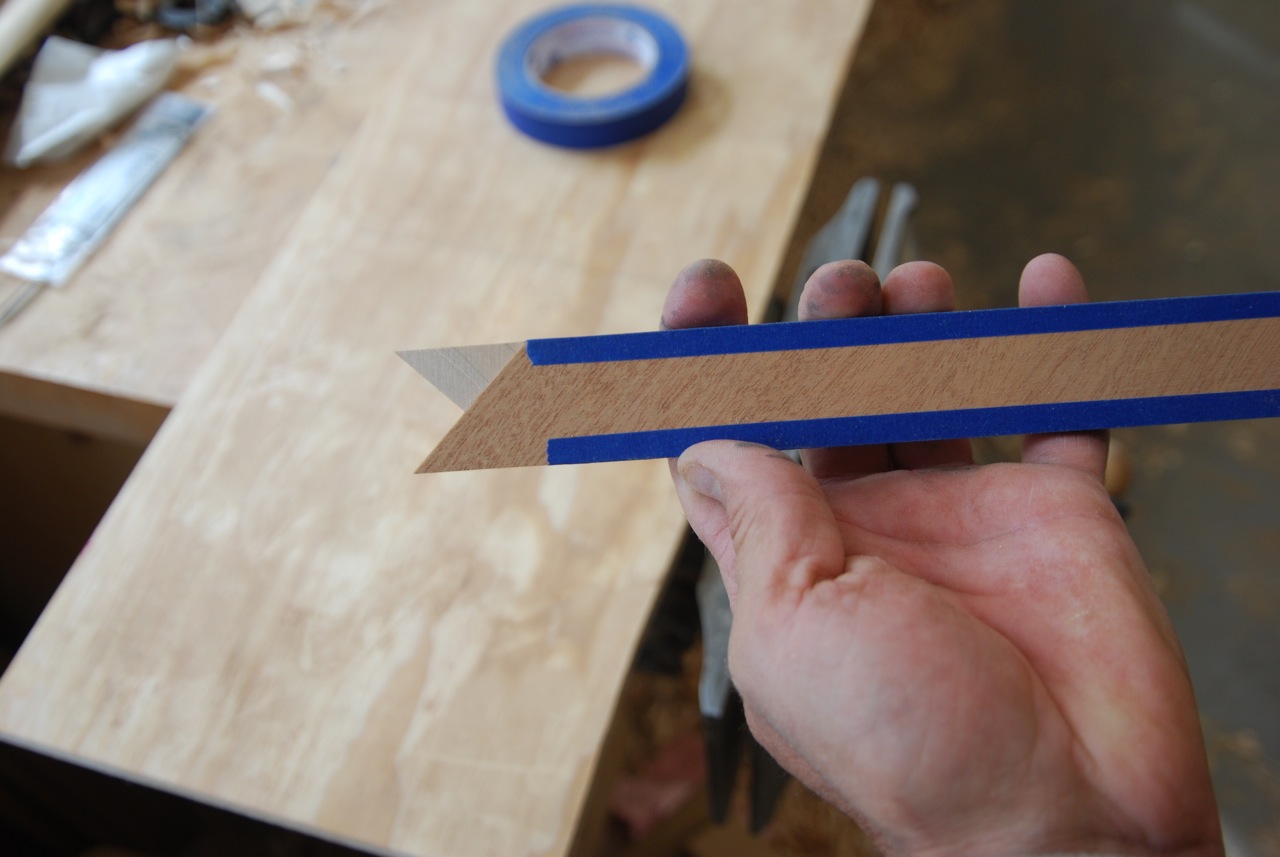
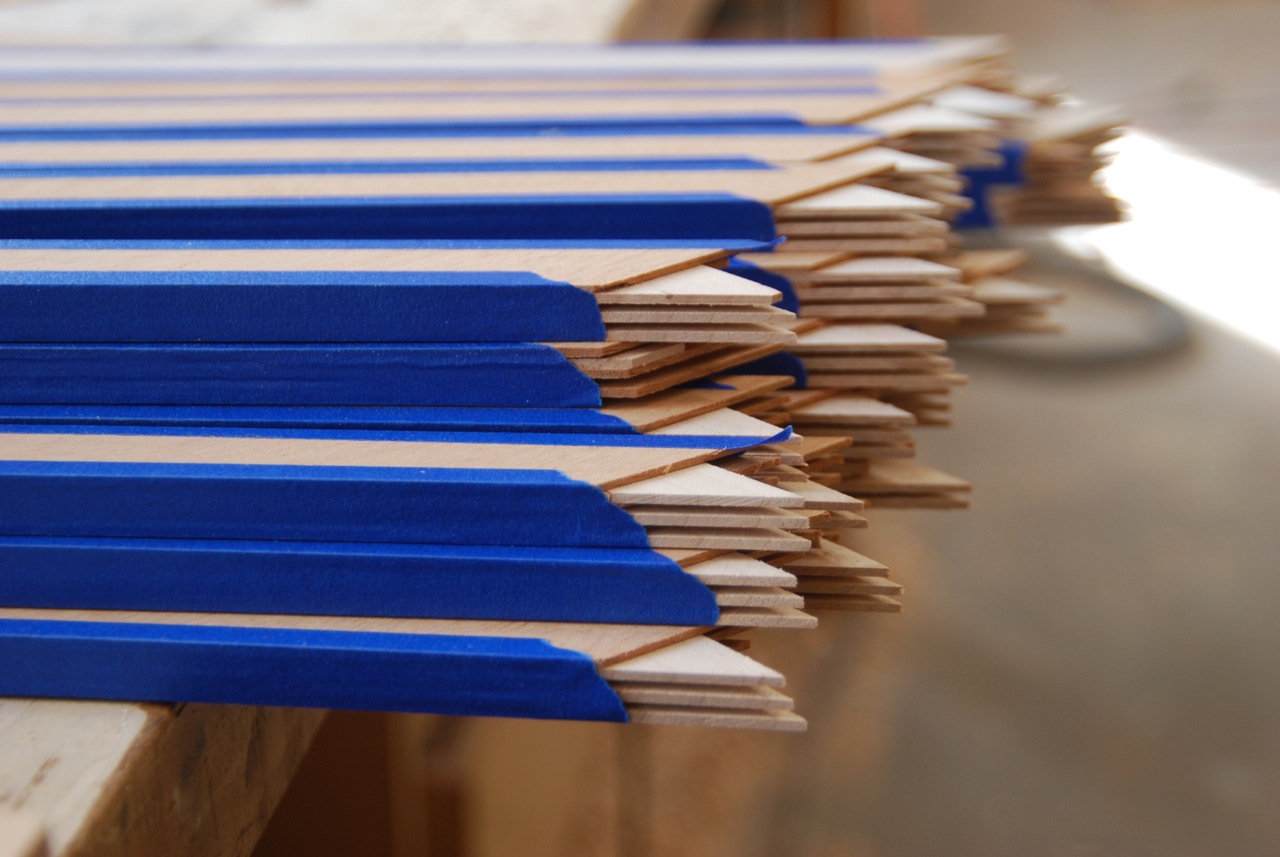
It was really critical that all of my parts were exactly the same size. A 64th of an inch difference in the size of the squares multiplied by 30 squares would have my pattern off by a half inch. To give you an idea of what that really means, the period at the end of this sentence is about 1/64th of an inch. The way to be sure that everything would be super exact was to cut them all with the same set up on the saw. There would be no going back and making a few extras later. You can be sure that I checked my math twice to be sure that I was making enough parts - plus some extras.
Once I had all of my packs of strips taped up with the proper grain orientation I took them back to the table saw and started cross cutting them into cubes having left the fence untouched since I did the ripping. I made a quick boat out of plywood to support the strip and the cubes as I cut them off and I clamped it to my sliding table crosscut fence. I used a stick to hold the little cubes so that they didn’t get caught by the blade and thrown at me.
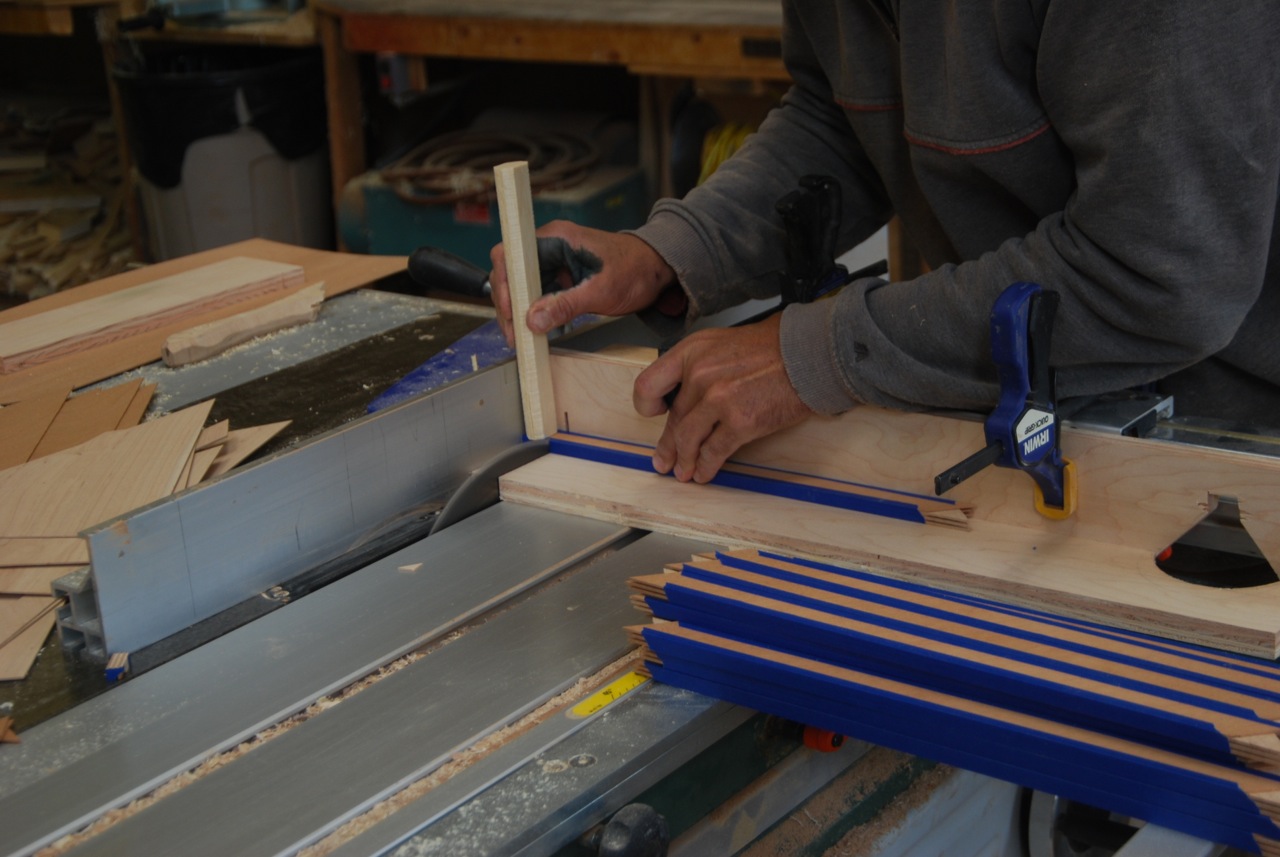
As I cut the cubes I was careful to keep them oriented the way that they came out of the strip so that I would have the proper grain orientation in the finished faces. As I cut more and more I was really careful not to knock over any stacks and loose that orientation. I soon had a pretty large stack of little 1x1x 1/2” cubes.
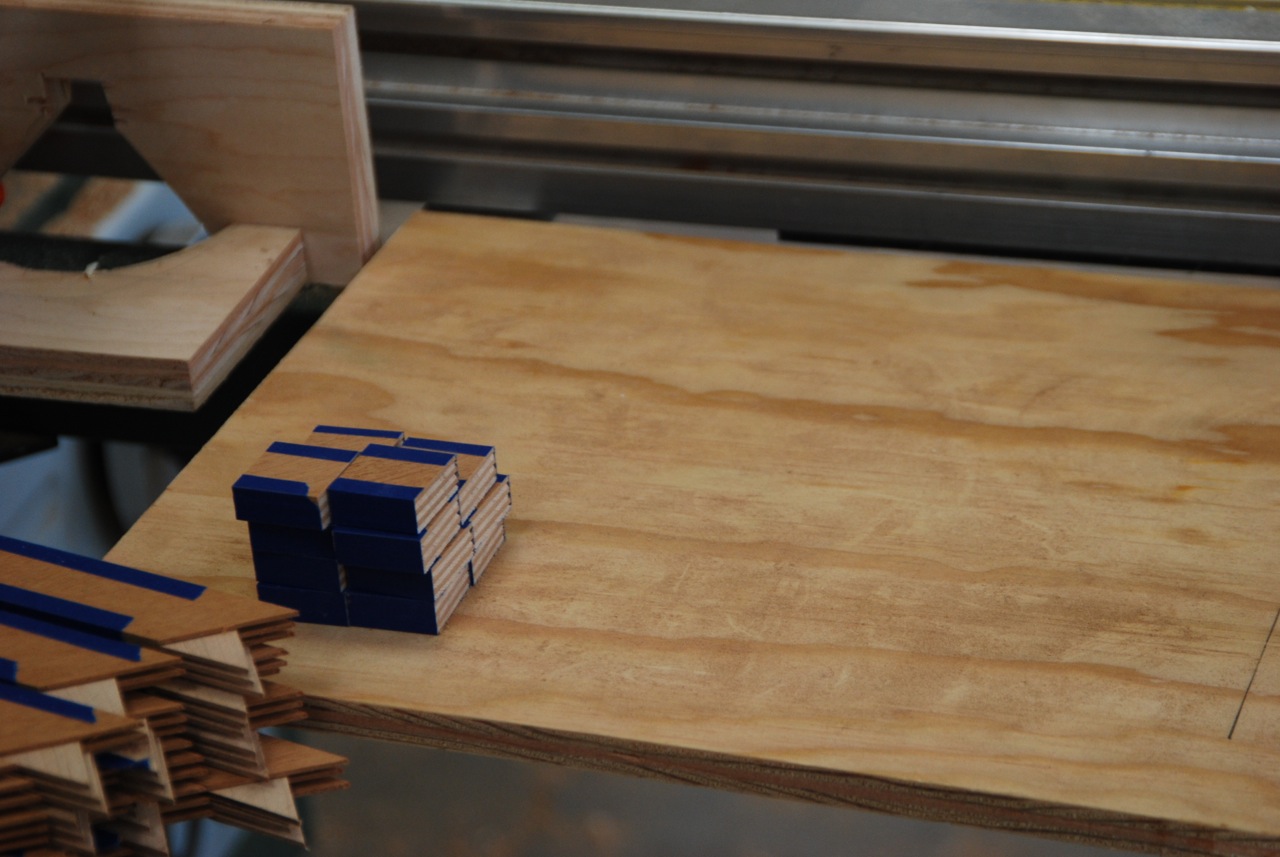
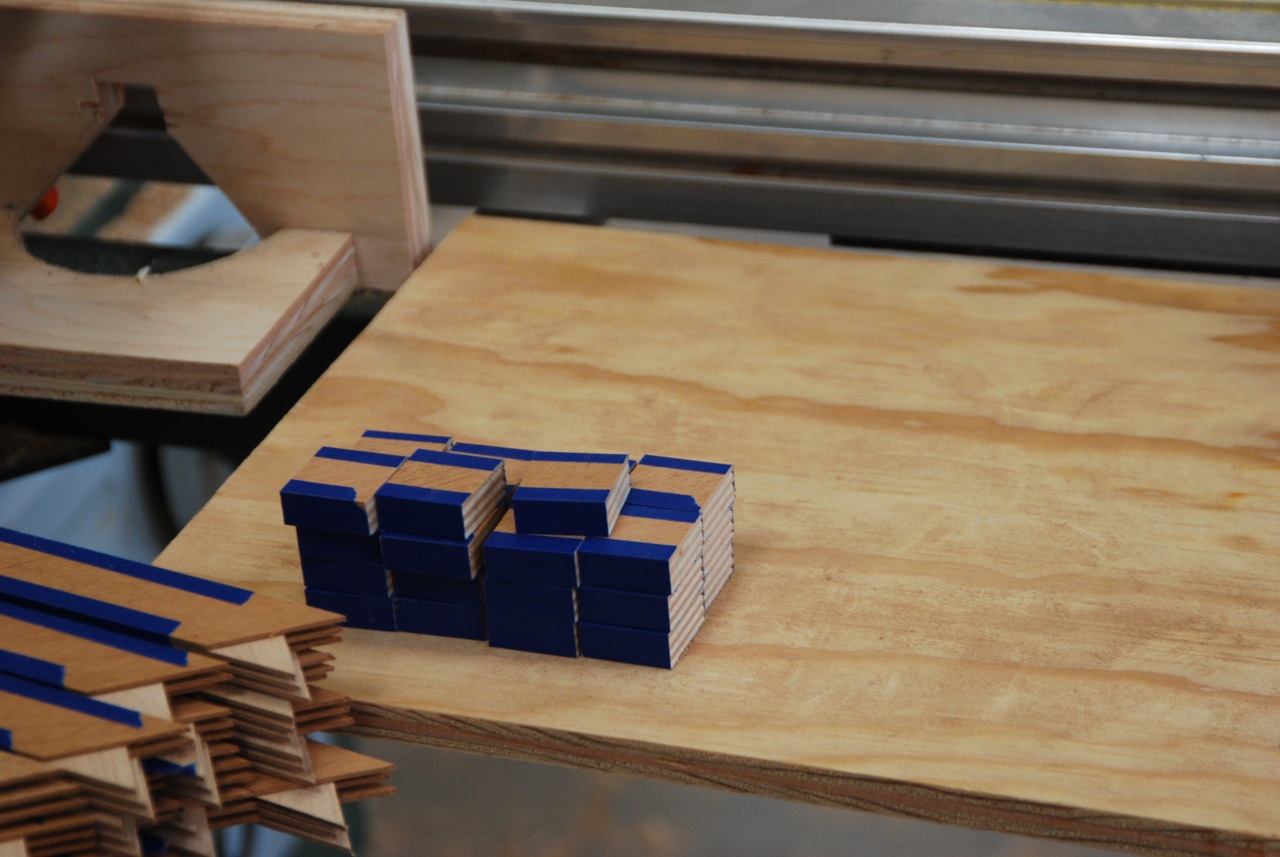
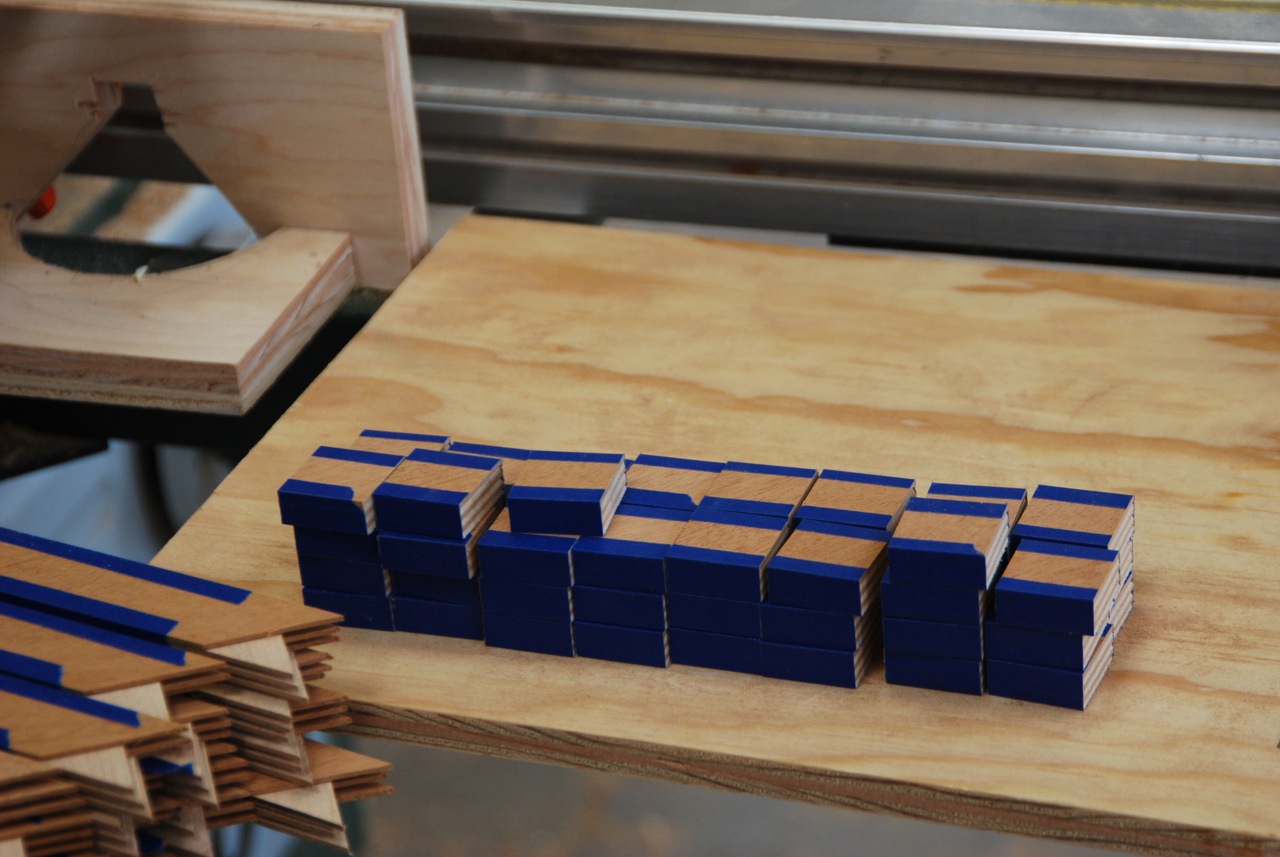
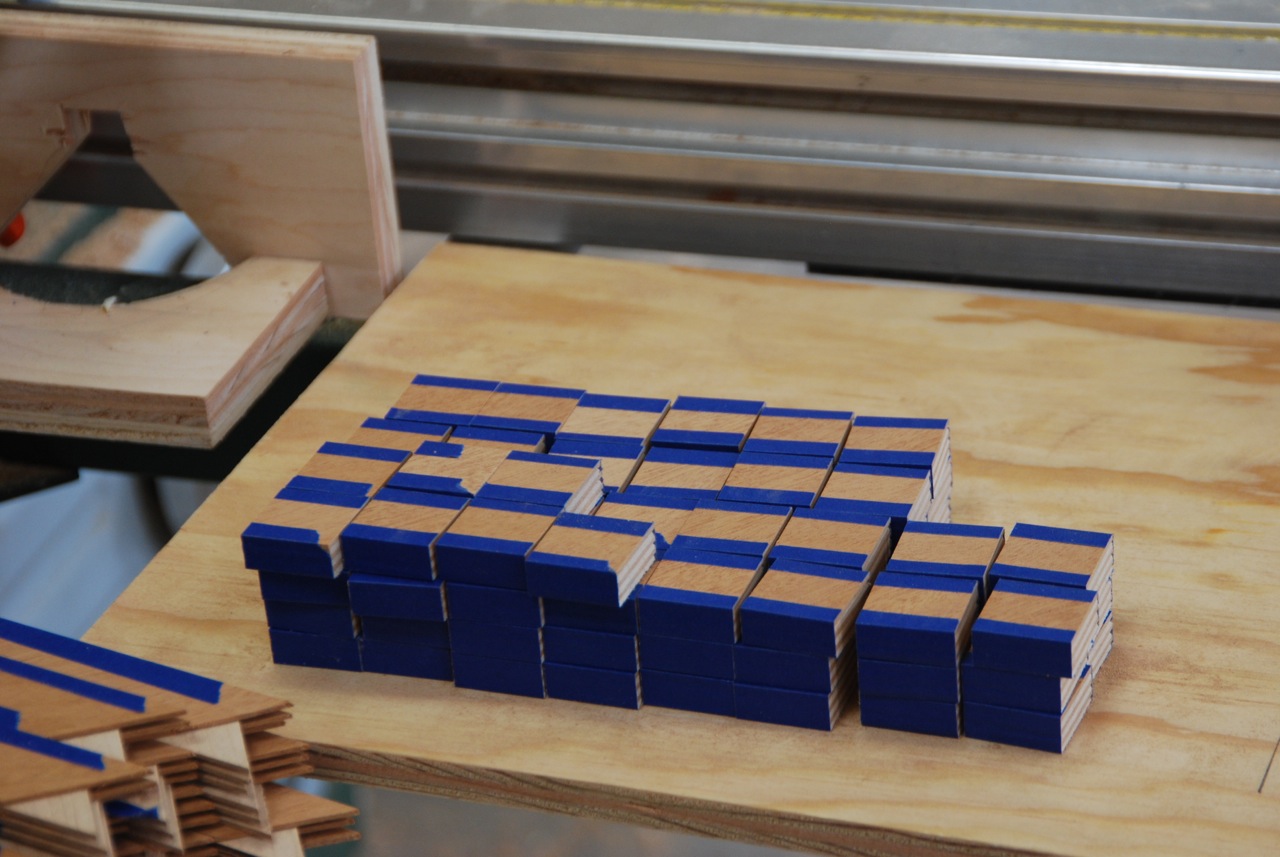
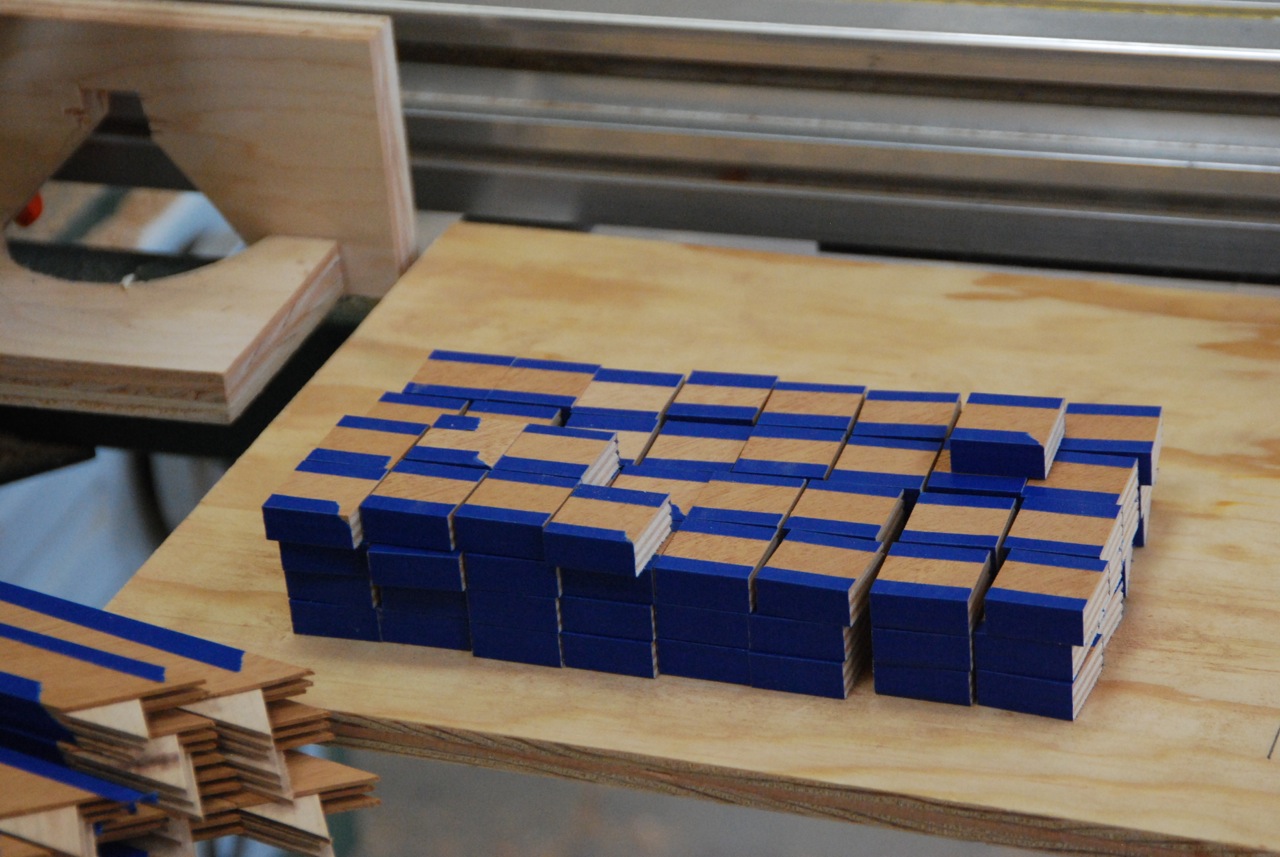
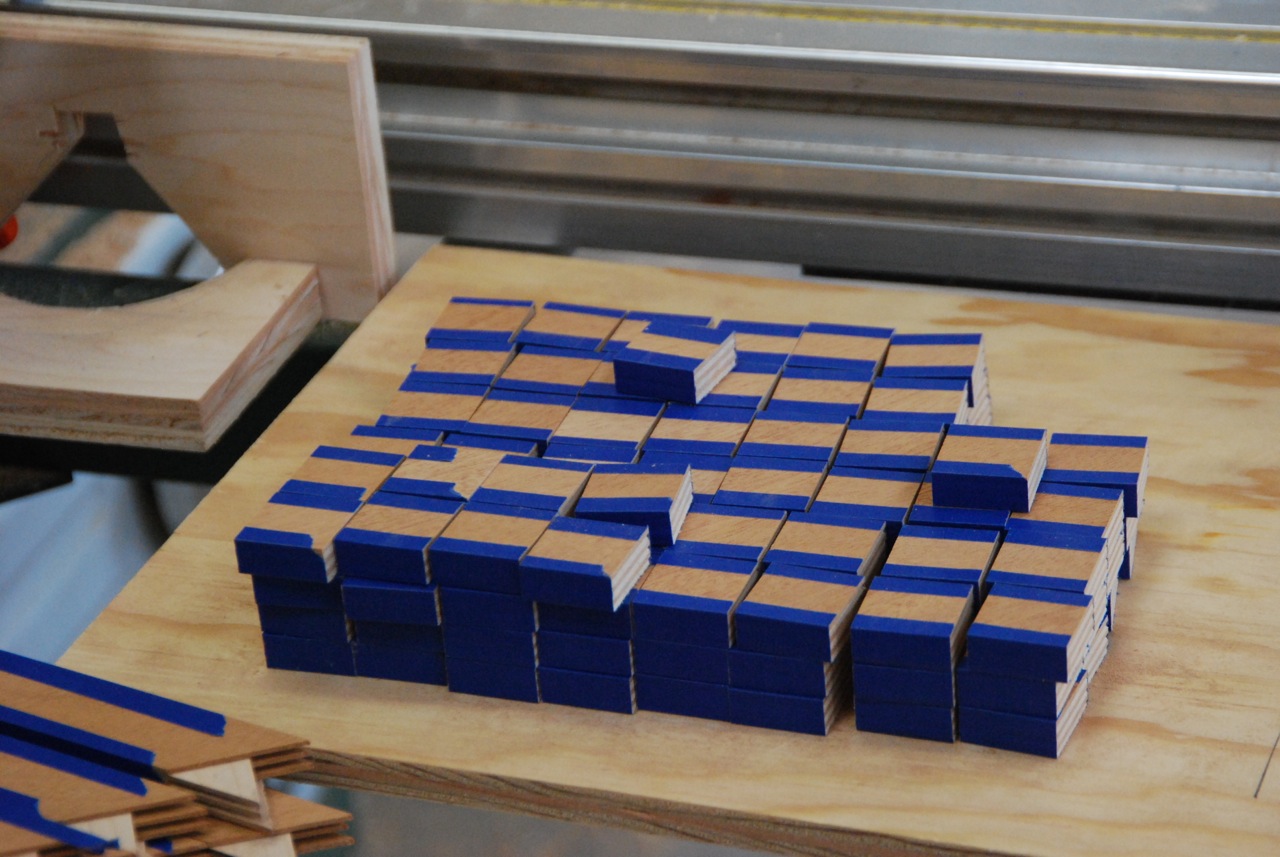
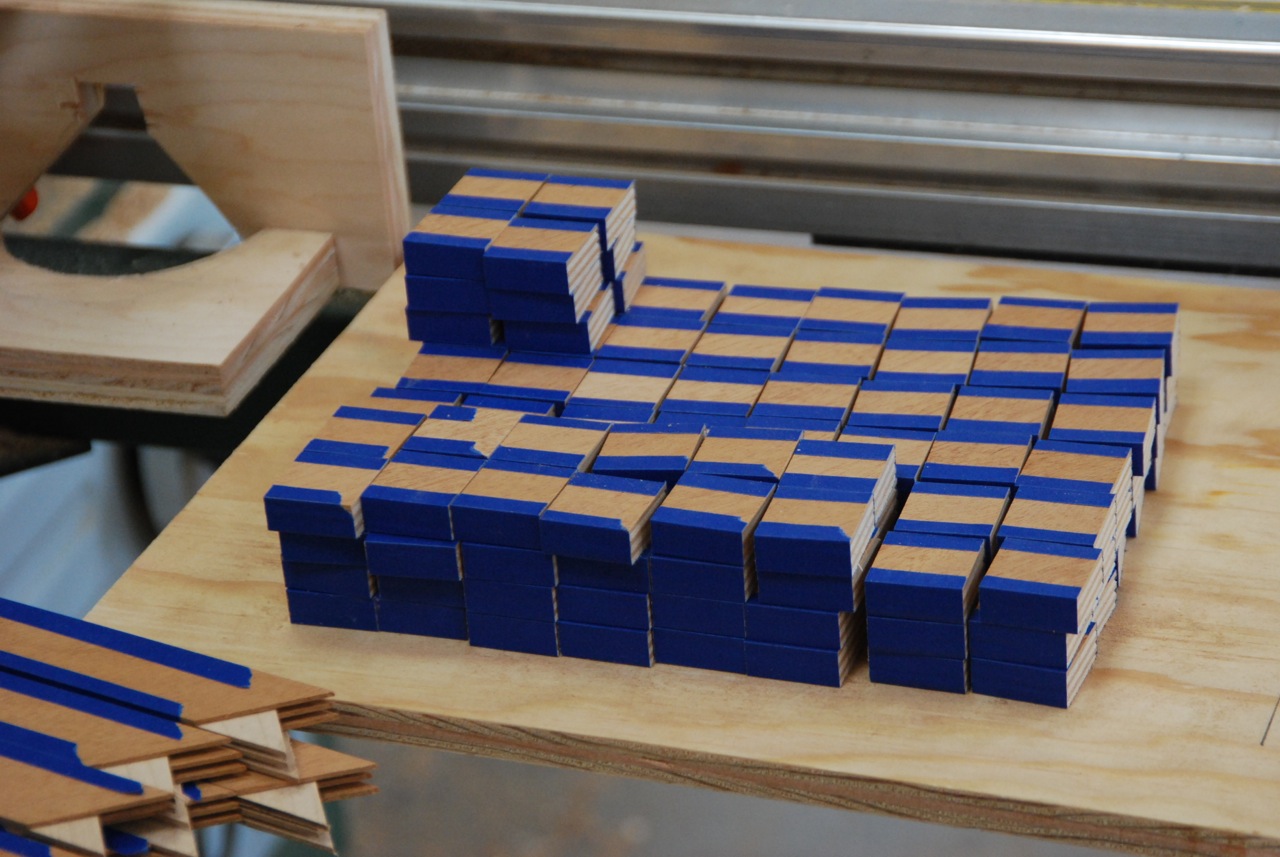
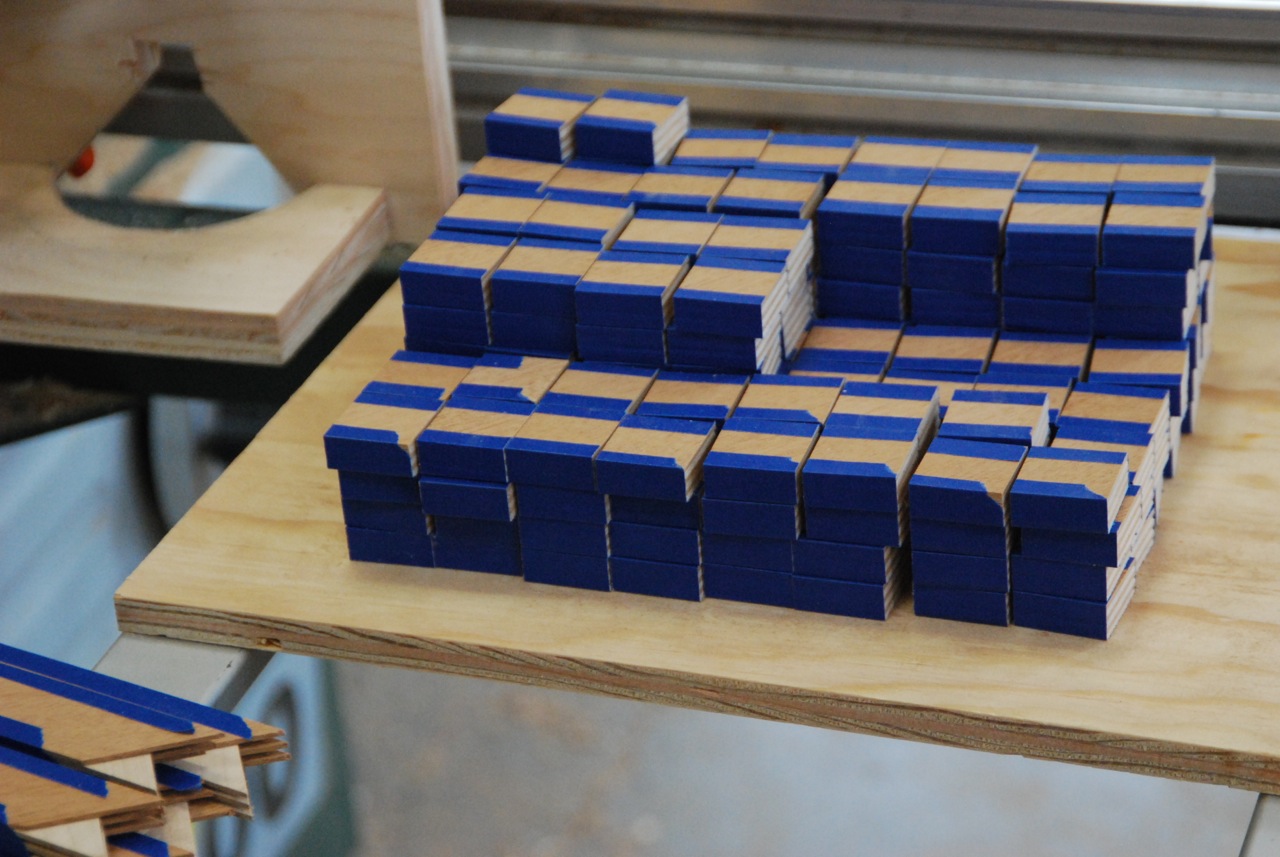
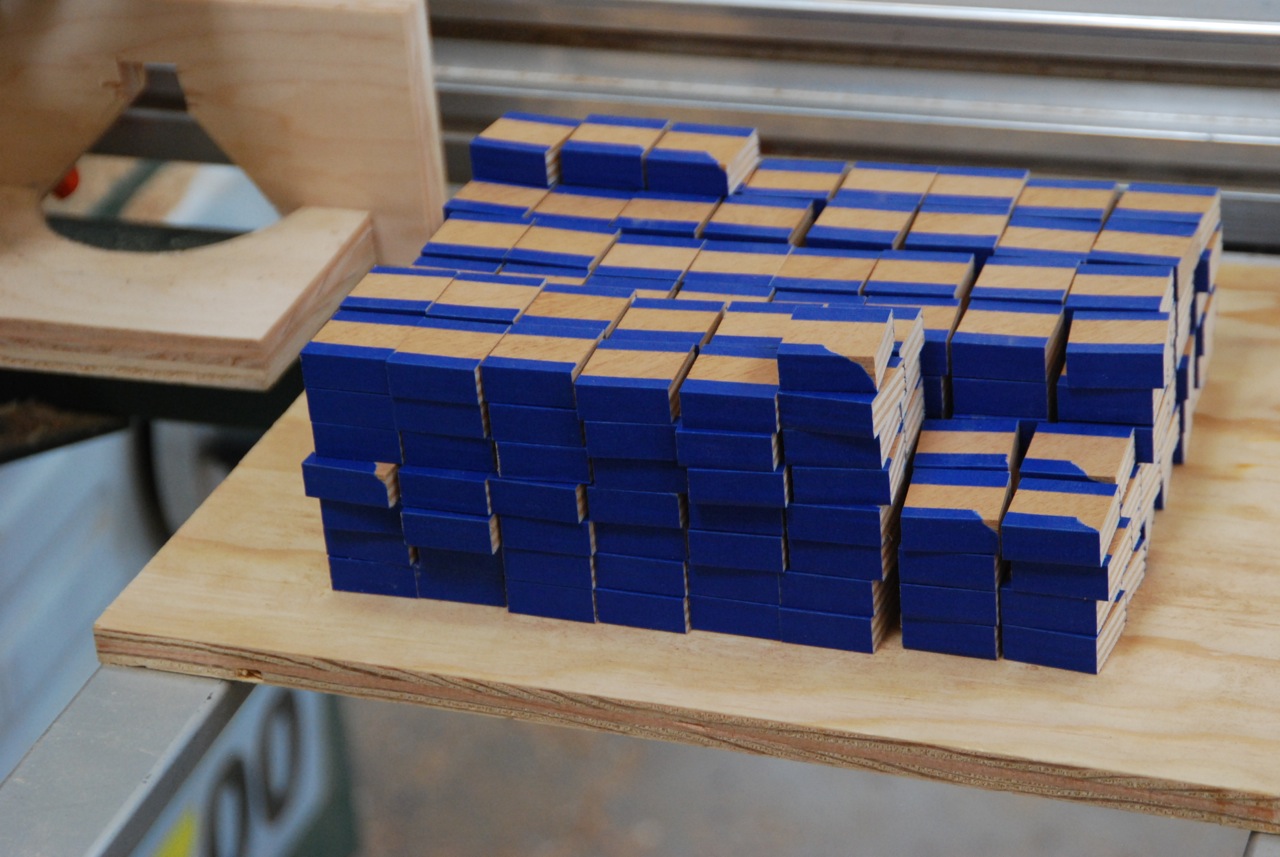
After I had cut all of my cubes out I needed to tape them in the other direction so that as I cut out the football shape they wouldn’t shift and make for a poor fit when I laid them up in the final face.
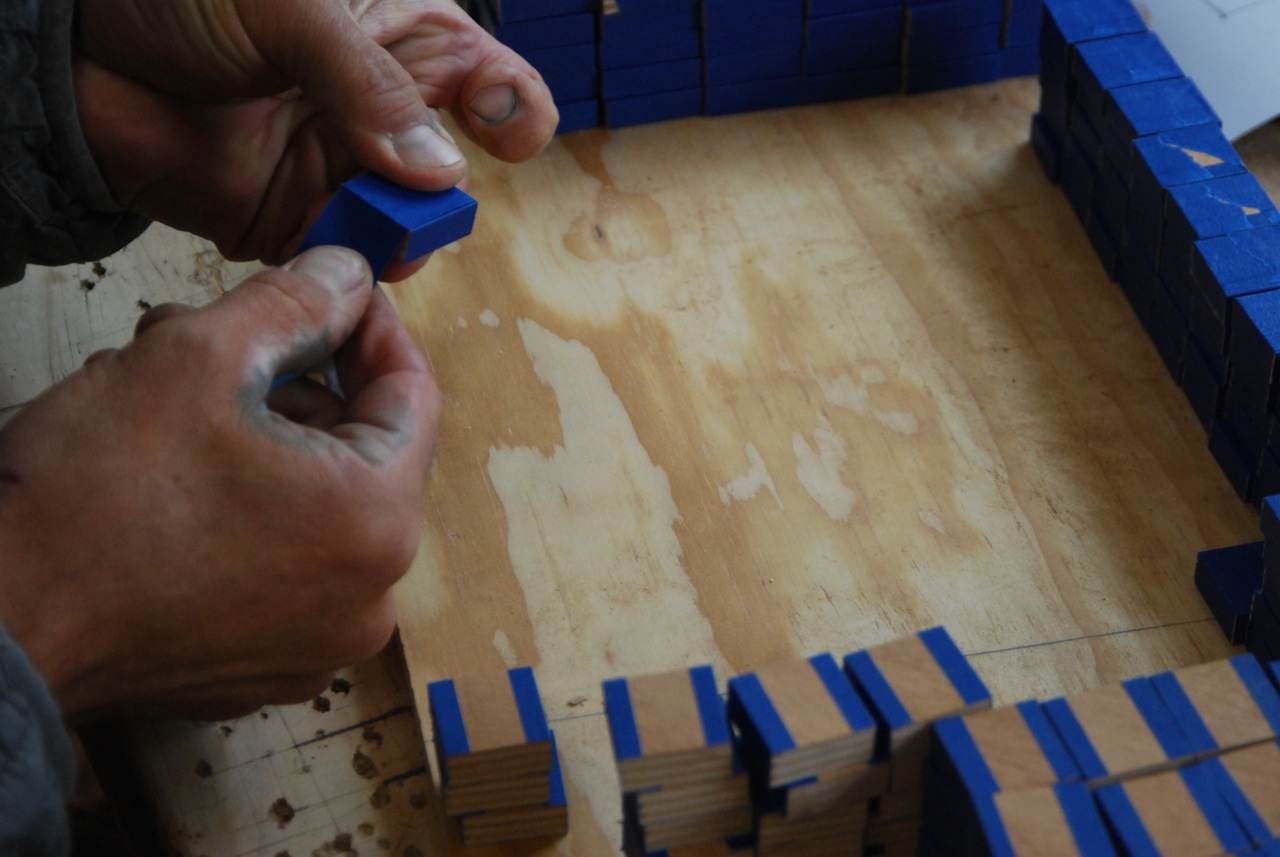
You might as well settle in and get comfortable.
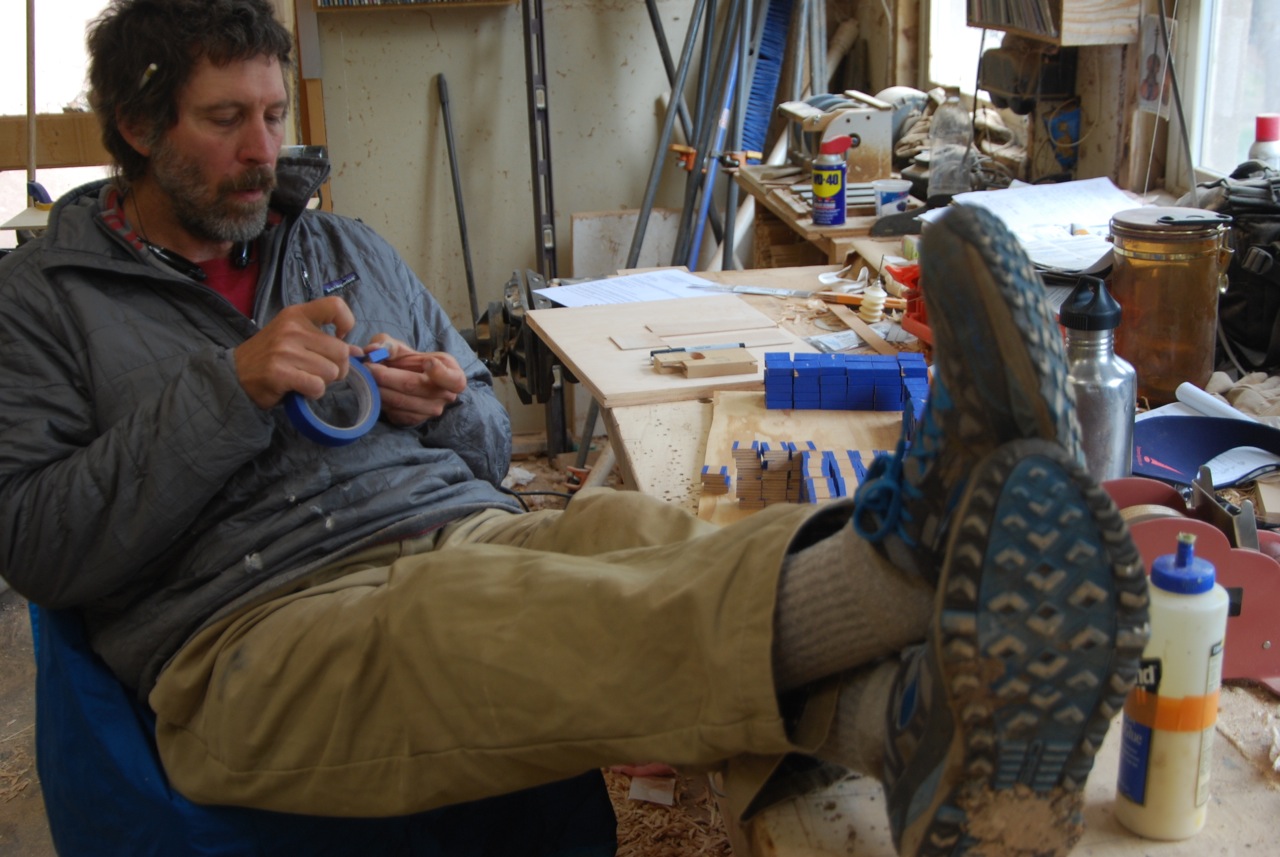
With this last wrap of tape the cubes were completely covered and it was impossible to see the grain so it was extra important to keep them in the right orientation. It was kind of mindless work but screwing up that little detail would mean remaking the whole shebang. I paid attention.
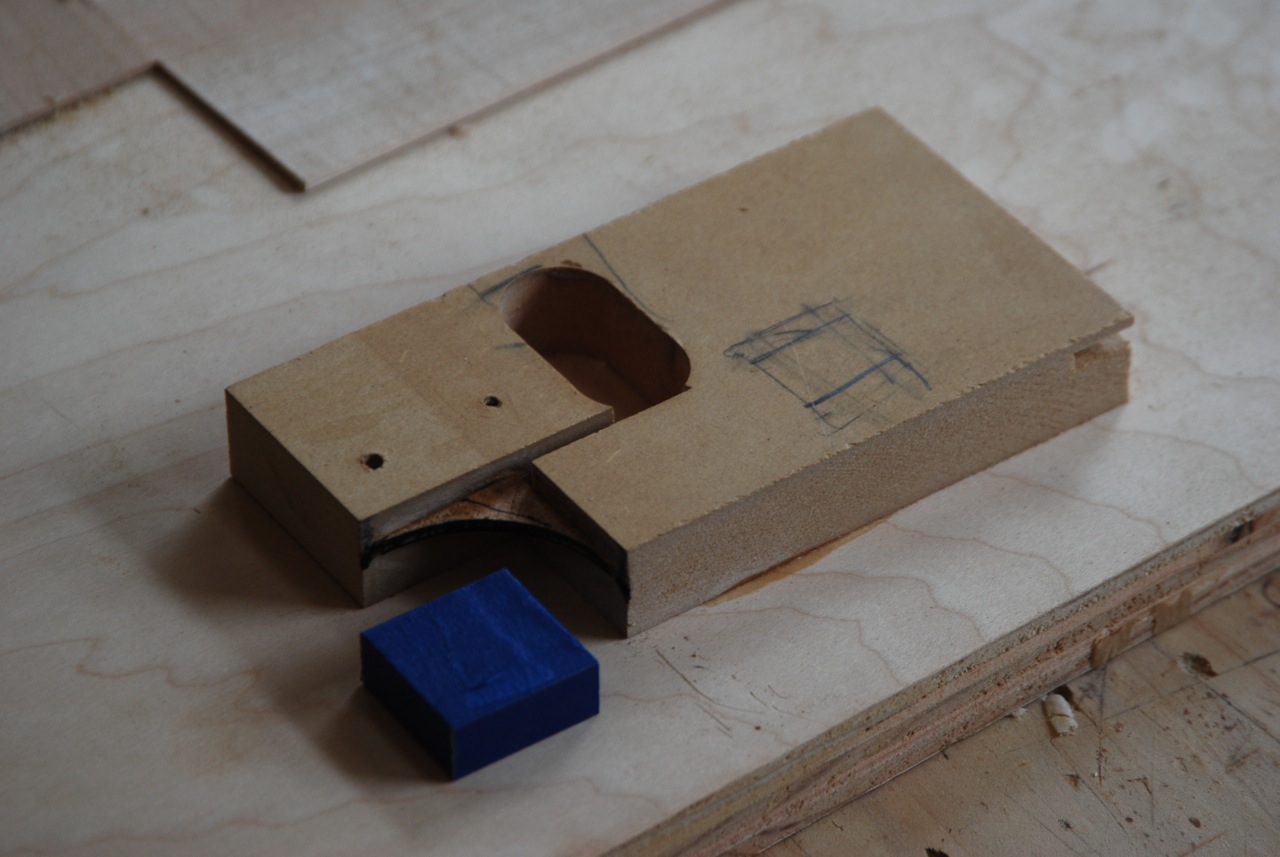
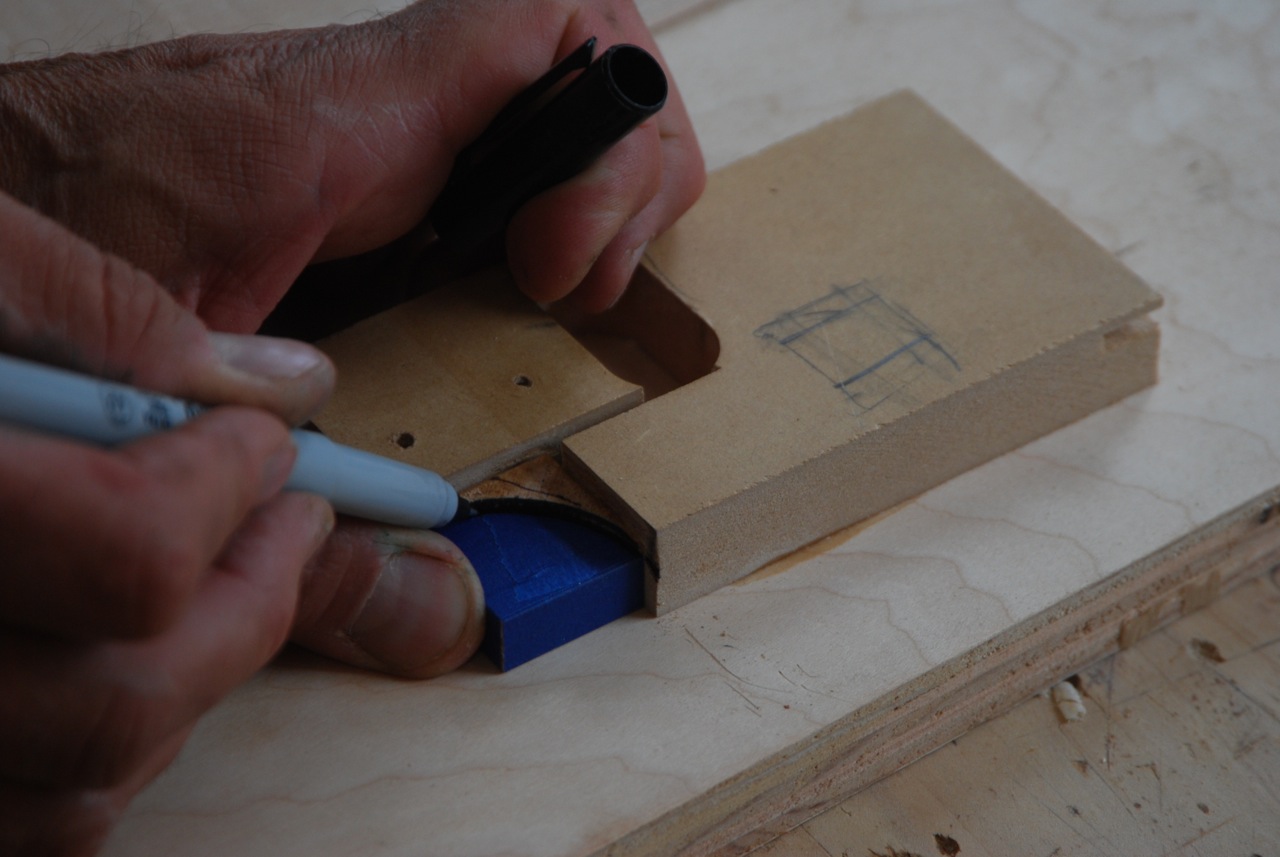
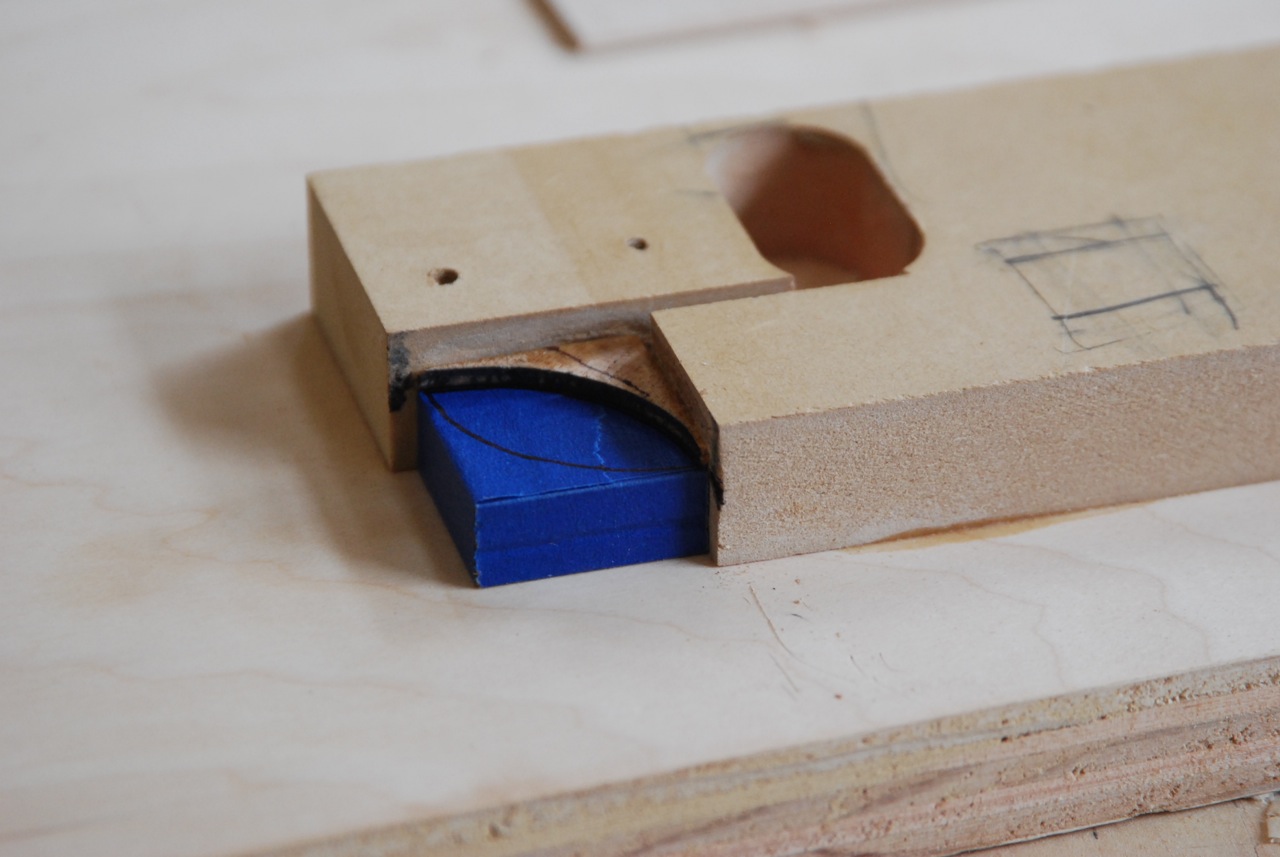
Now that I had my 300 little cubes of veneers I had to mark the cut lines for the football shape. The cut line was described by a radius that was the length of one side and centered on a corner. The two radii were drawn from opposite corners to get the football. Marking all 600 lines with a compass would be the height of tedium, not to mention pretty inaccurate. To get around that problem I made myself a little jig. This was nothing more than a piece of MDF with a 1x1” corner cut out of it with a piece of veneer that had been cut to the radius glued into the corner at the height of the cubes. I could then simply slide a cube under the curve template, press it into the corner and trace the line on it. Pull it out, turn it 180 degrees and mark the other side. It worked great. Of course I was sure to keep the orientation as I marked as well.
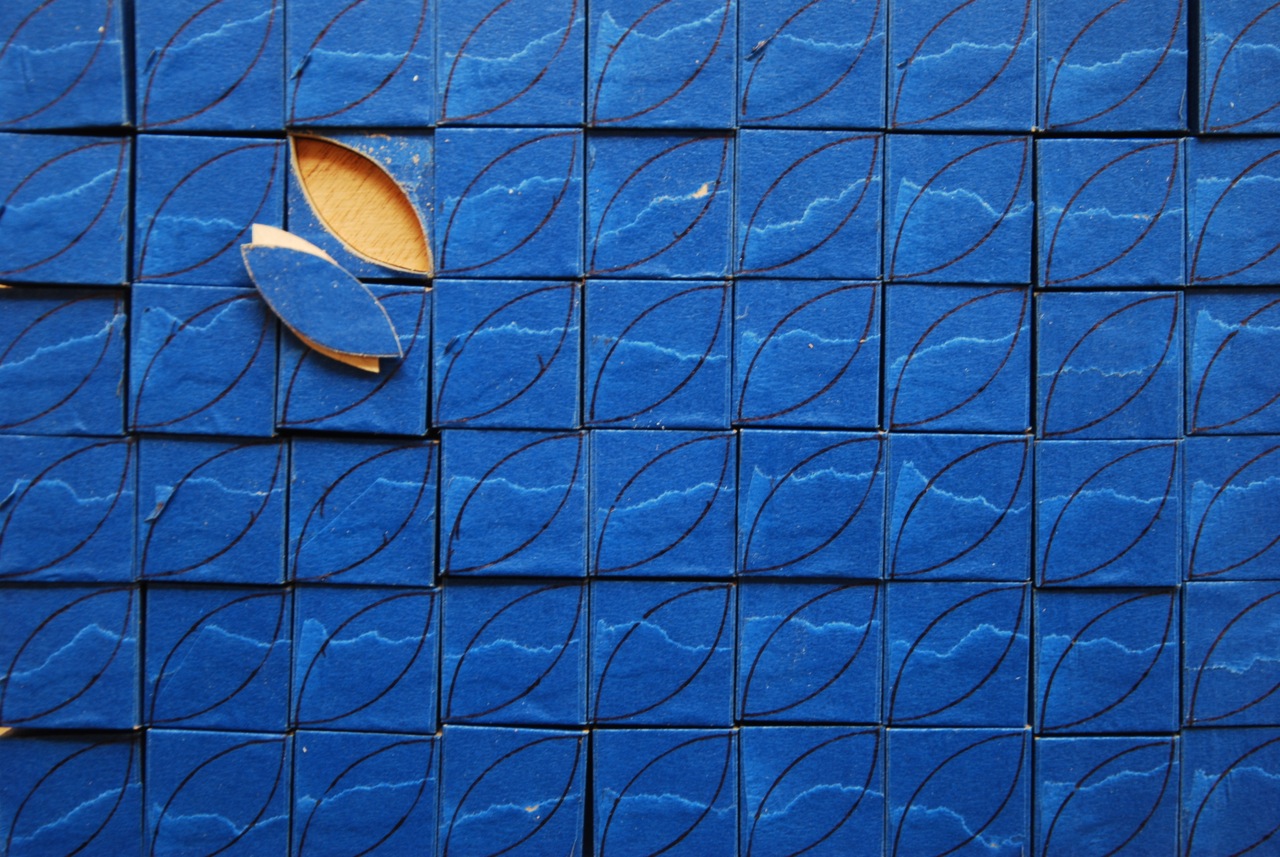
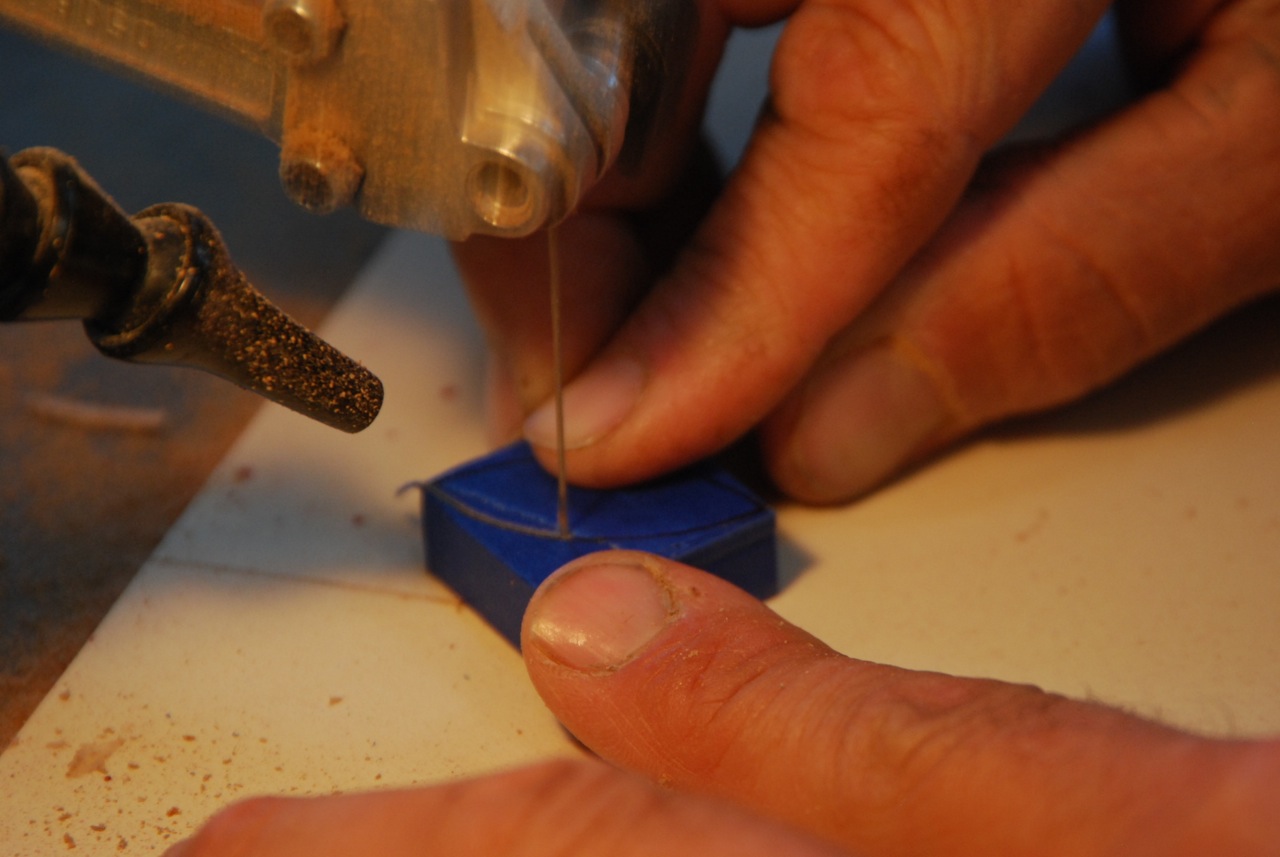
With all the marking done it was time to go to the scroll saw and cut the curves. Perfectly. 600 times. I made my samples using a 1-0 skip tooth blade and it cut really well albeit kind of slowly.The really important thing was that it made a square cut, otherwise the pieces at the top of the cube wouldn’t be the same as the ones on the bottom of the cube. That blade did that well, but with 600 cuts to make I wanted some speed. A bigger blade, say a #3 or #4 would’ve cut really fast, but it would also take a lot of material in the saw kerf. (You’ll see in a minute why that wouldn’t be so good) With speed in mind I did a little shopping (don’t ya love shopping?) I found that the skip tooth pattern is made for smooth cuts, but there was also something called a modified geometry tooth pattern that was supposed to be better for fast cutting in thicker material. I took the plunge and bought a pack of blades (144 in a pack). Amazingly it made a big difference in the speed of the cut and I couldn’t tell the difference in smoothness. Take a look at the scroll saw blade in the picture below.; it is so small that you can’t even see the teeth but it turns out that their shape makes a difference. Go figure. I was quite surprised to do all 75 feet of cutting with ONE blade. My hat is off to Pegasus, the manufacturer.
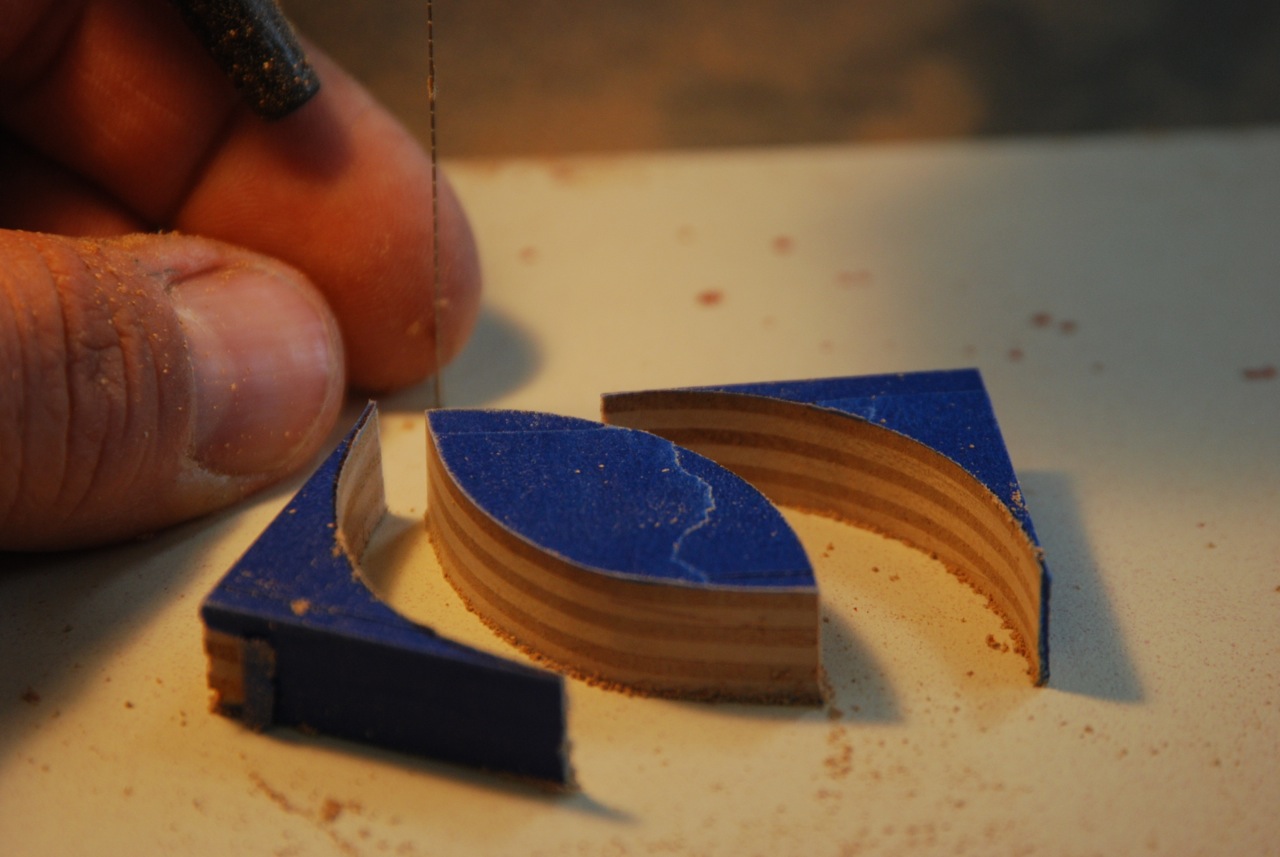
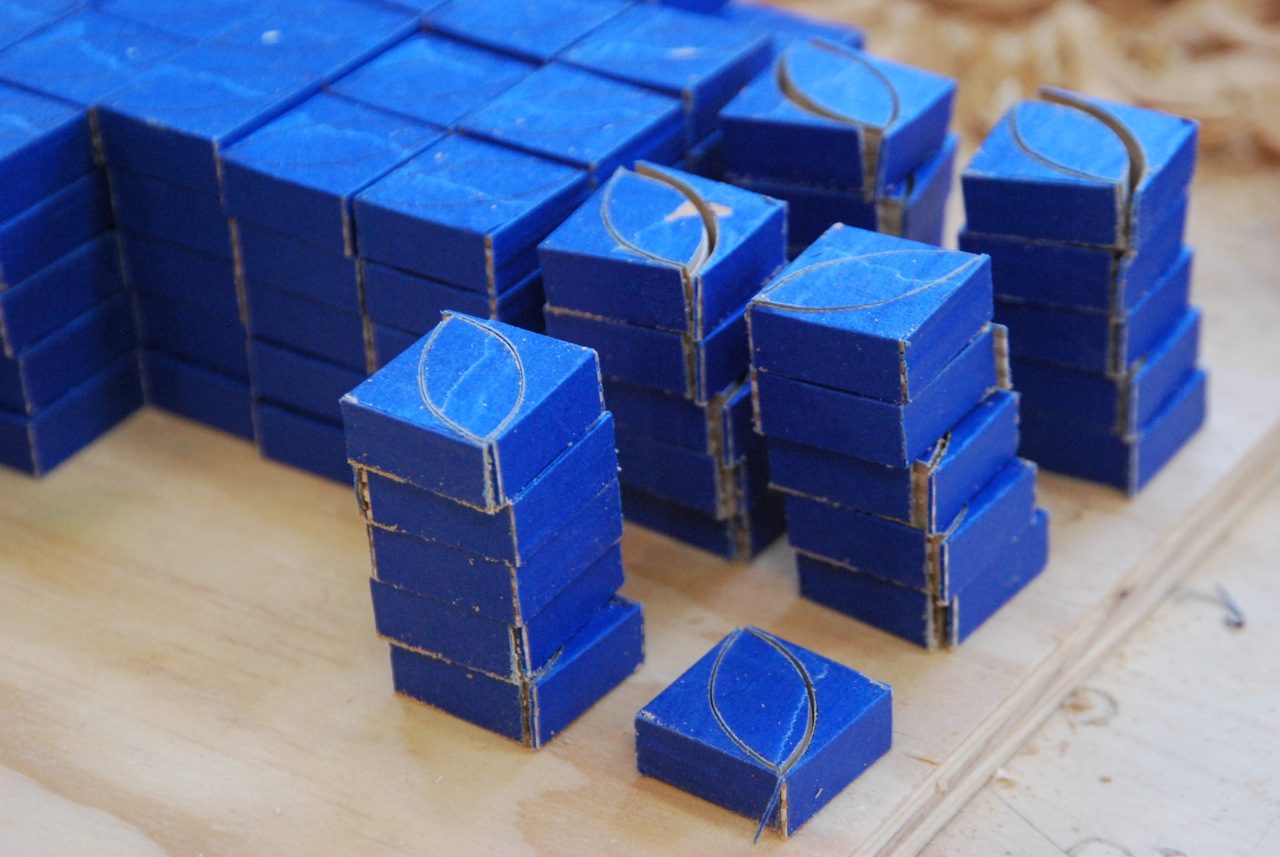
At first I thought that I would go ahead and do all the cutting at once and then start putting faces together but I pretty quickly realized that the stacks of cut parts were kind of unstable and that any errant brush with a shirt sleeve or blundering finger could easily take my nice neat stacks and turn them into a minor disaster. Each of these taped up cubes, if jumbled together, has 28 different ways that they could be put back together again. With a stack of 5 cubes that jumps to 140 possible ways to put the puzzle back together again. Only one of those choices is the right one. All the parts look the same but they aren’t exactly the same. Don’t knock over any stacks!
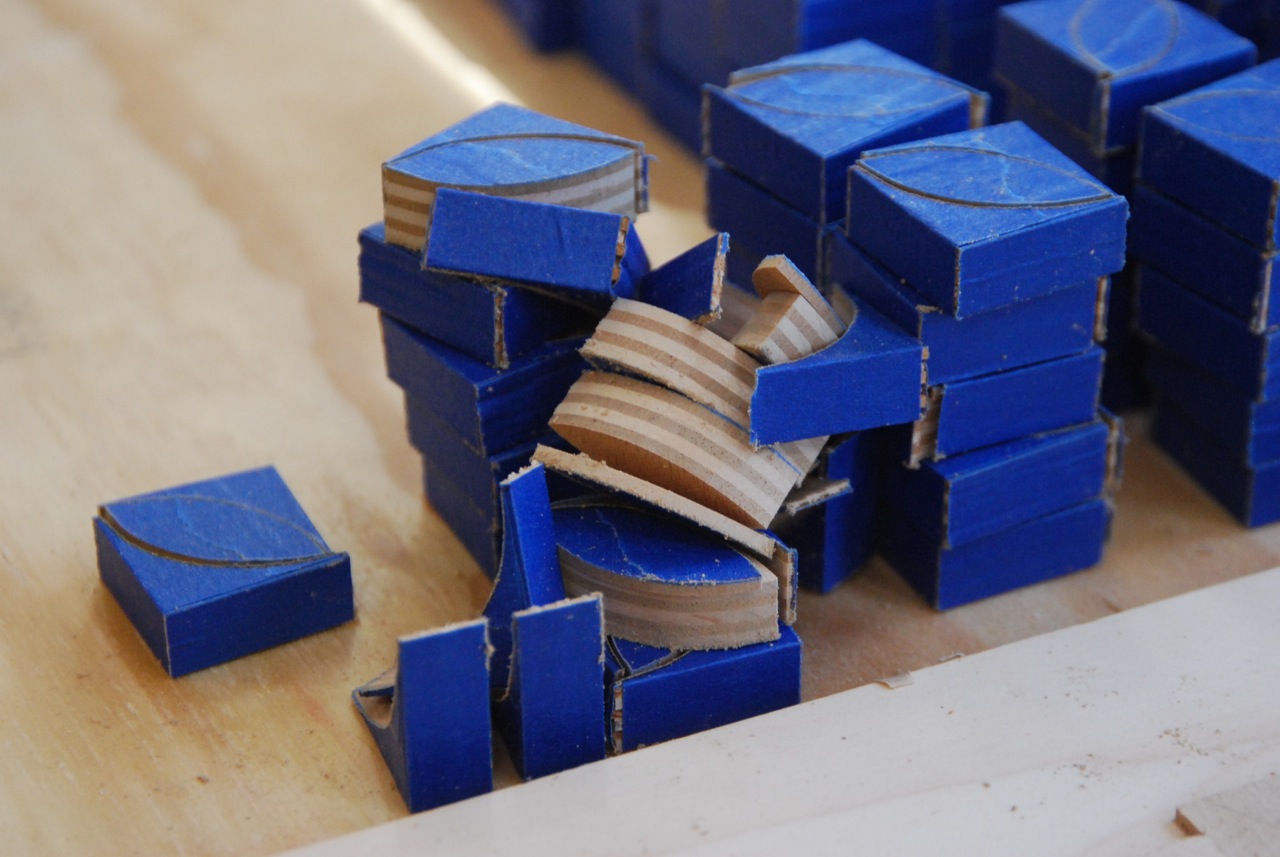
It was critical that, as I taped up my parts to make the faces, I put them together so that they were exactly the same size as the original squares and that they were all exactly the same size as each other. Again, small differences add up quickly with this many parts. To keep everything in alignment and gapped properly I made a quick jig to hold the parts while I taped them together. All it was was 3 thin strips of scrap that I glued together on a piece of plywood. I glued down one piece and then used 2 cubes to give me the perfect spacing to the other side of the jig. Then I put a cross piece on one end to bump against. With this done I put an uncut cube in the jig and marked it’s length on the jig. Then I put in a second and third, etc, marking their locations on the jig. This gave me a scale to use when taping up the parts that let me know that I was making each grouping of parts the exact same size as the next group. This jig gave me a strip that was one square wide and six squares long.
My daily routine was to start the morning by cutting out 50 cubes, which was about as much as I could tape together in a day. It took about 45 minutes to cut the 50 cubes. I was careful to place the stacks far enough apart so that I could pick them up again without knocking over any other stacks. Then I would grab a stack and put it next to the jig. From there I could pick up one cut cube off of the stack (don’t drop any of those parts!), separate the taped corners from the now loose football pieces and then carefully take all the tape off, putting all of the parts back down where they belong. As I untaped the parts I gave the group a little wiggle waggle between my fingers to make sure that none of the parts were stuck together from the sawing operation. If I didn’t do that I found that I was picking up multiple parts at once and that quickly got annoying.
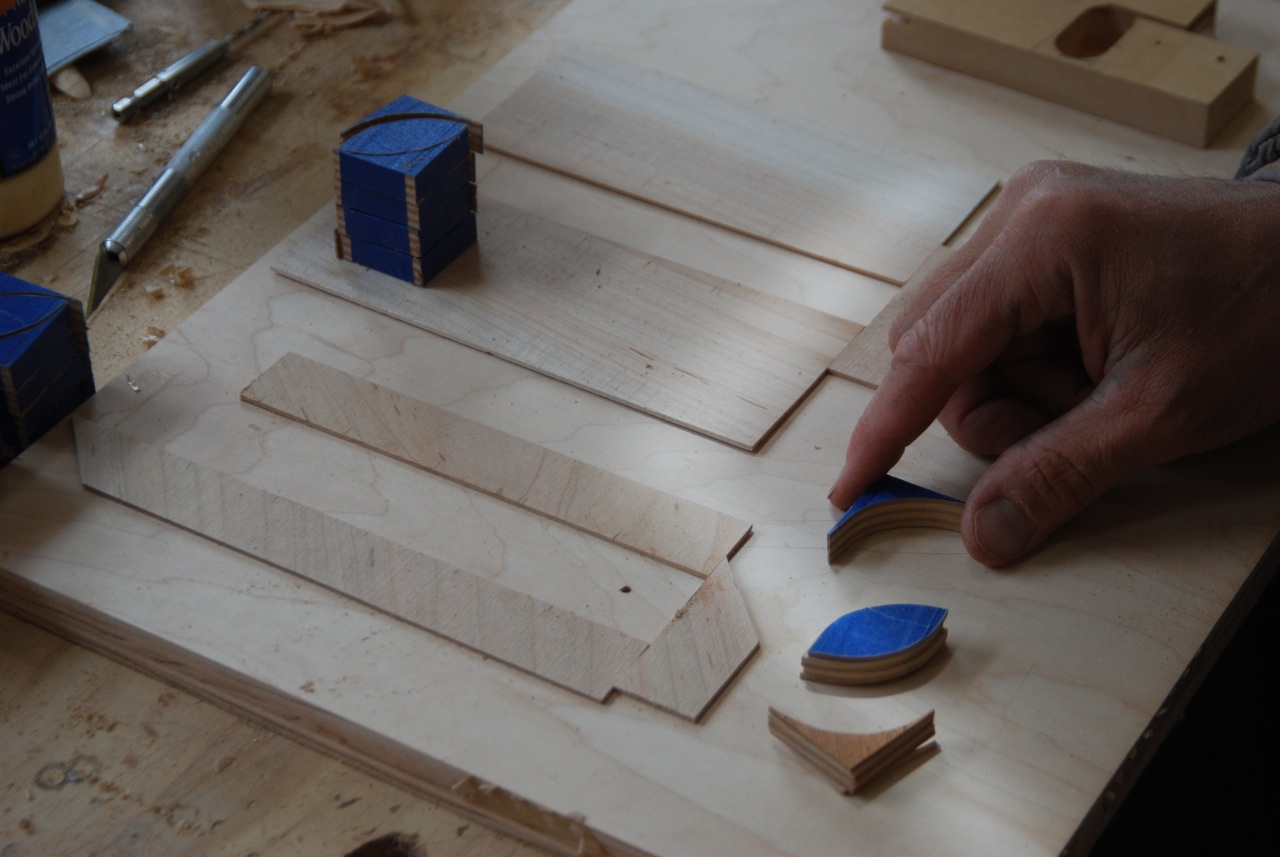
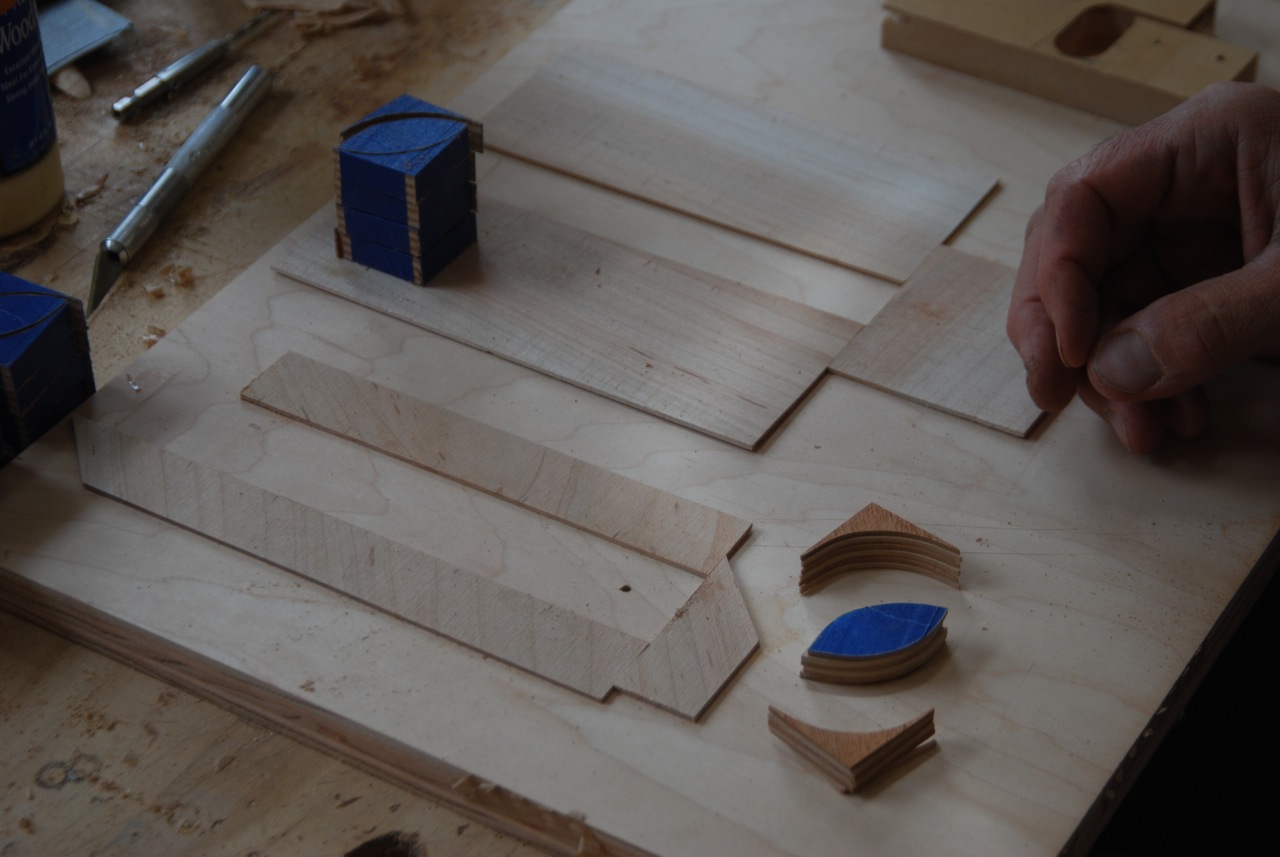
Because the parts were so small and the stacks so prone to chaos, I found that the most efficient way to move the parts into the jig was to prick them lightly with an Exacto knife and set them in place with that. 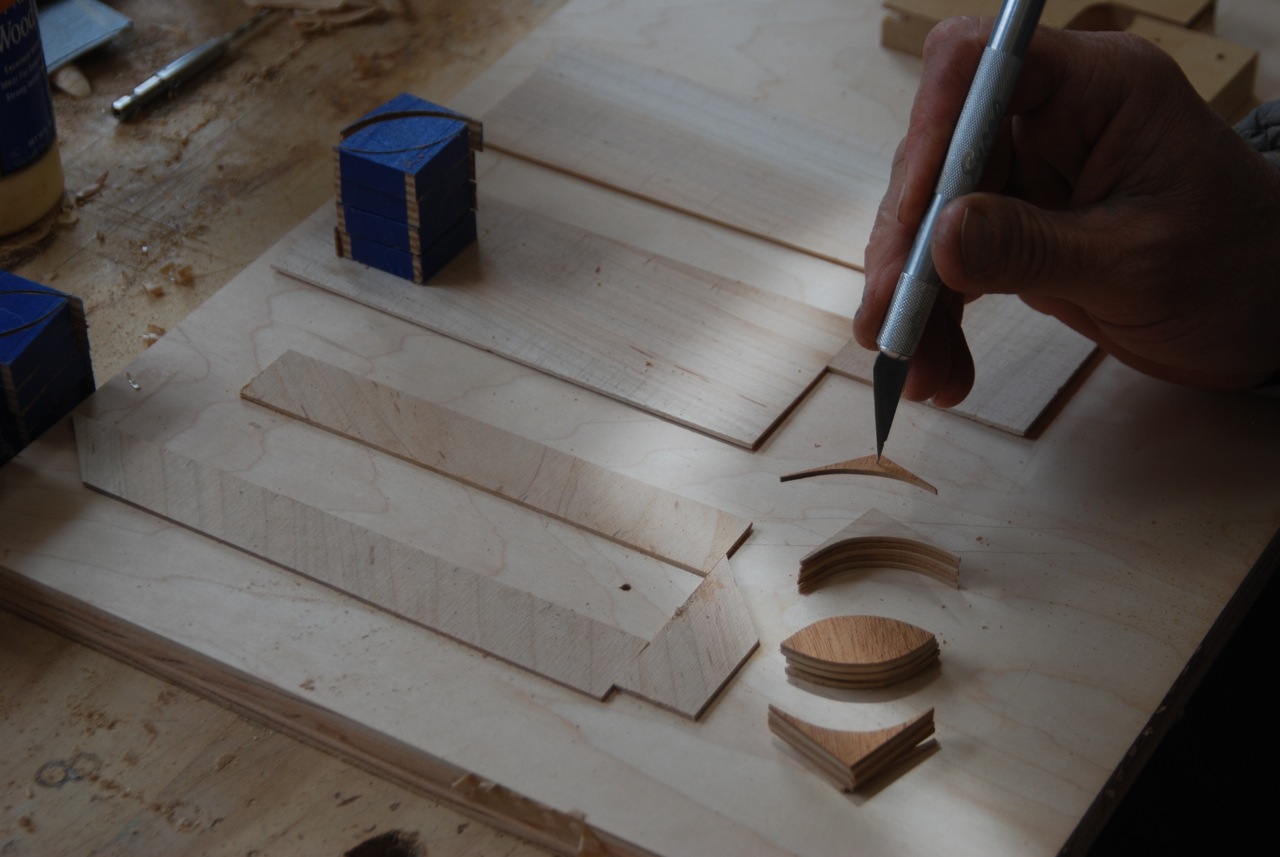
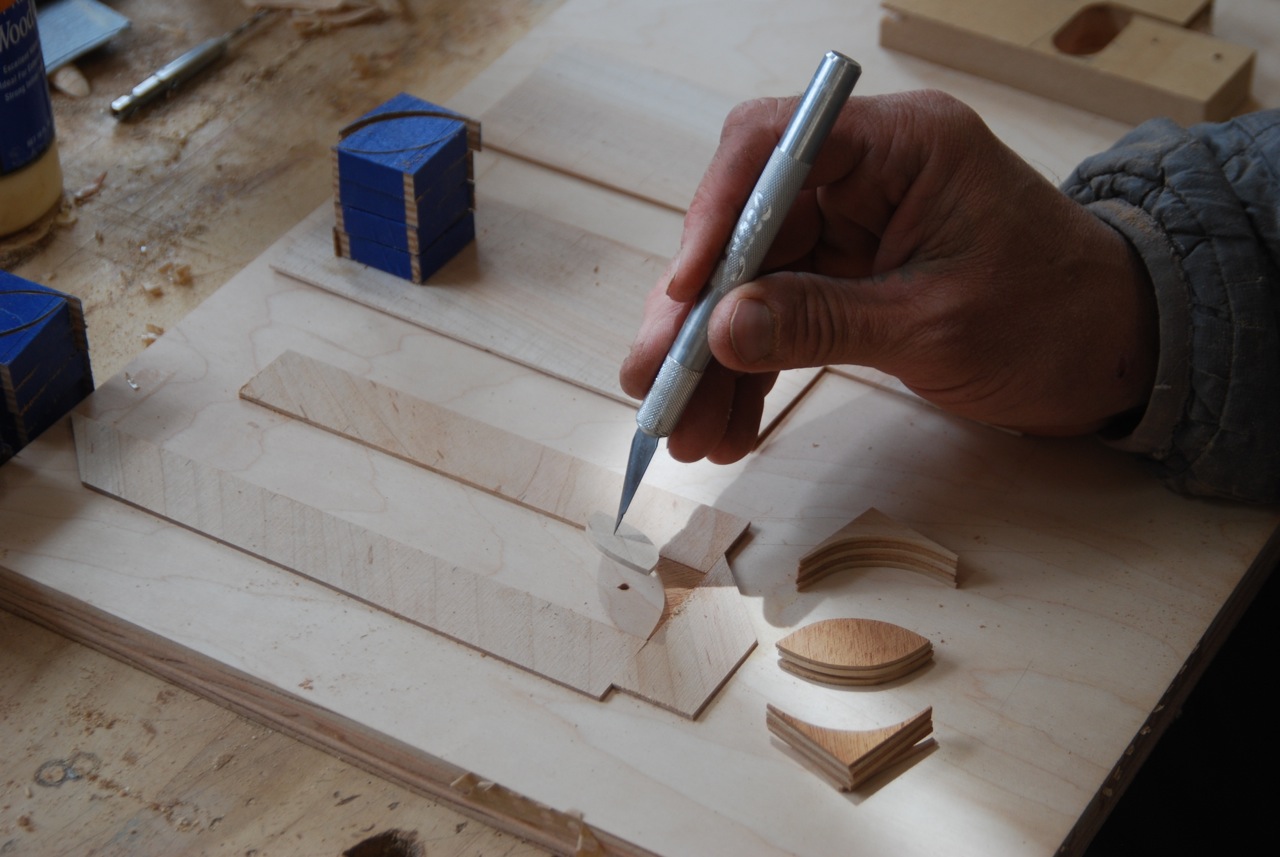
This method of work - cutting stacks of veneers to make a repeating pattern - is called boule cutting. You end up with an equal number of parts of each color. That means that in the end you have 2 full faces, one in the positive color scheme and one in the negative. Here I’m putting the mahogany corners and maple footballs into the jig and setting the opposite color pattern parts aside to be taped up next.
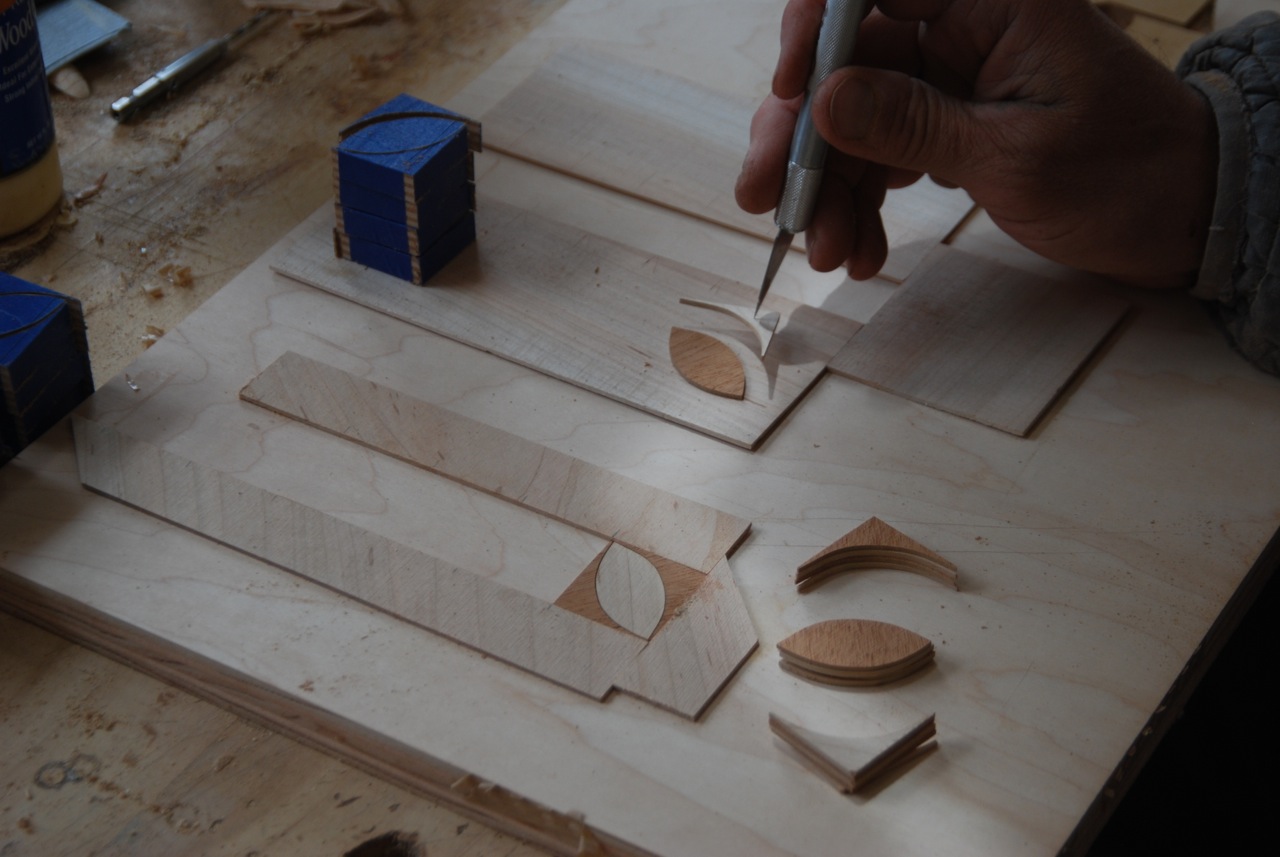
One cube with 6 veneers in it (3 maple and 3 mahogany) gave me 3 squares in each color pattern. When the first cube was laid in the jig I would un-tape another cube and put those parts in the jig.
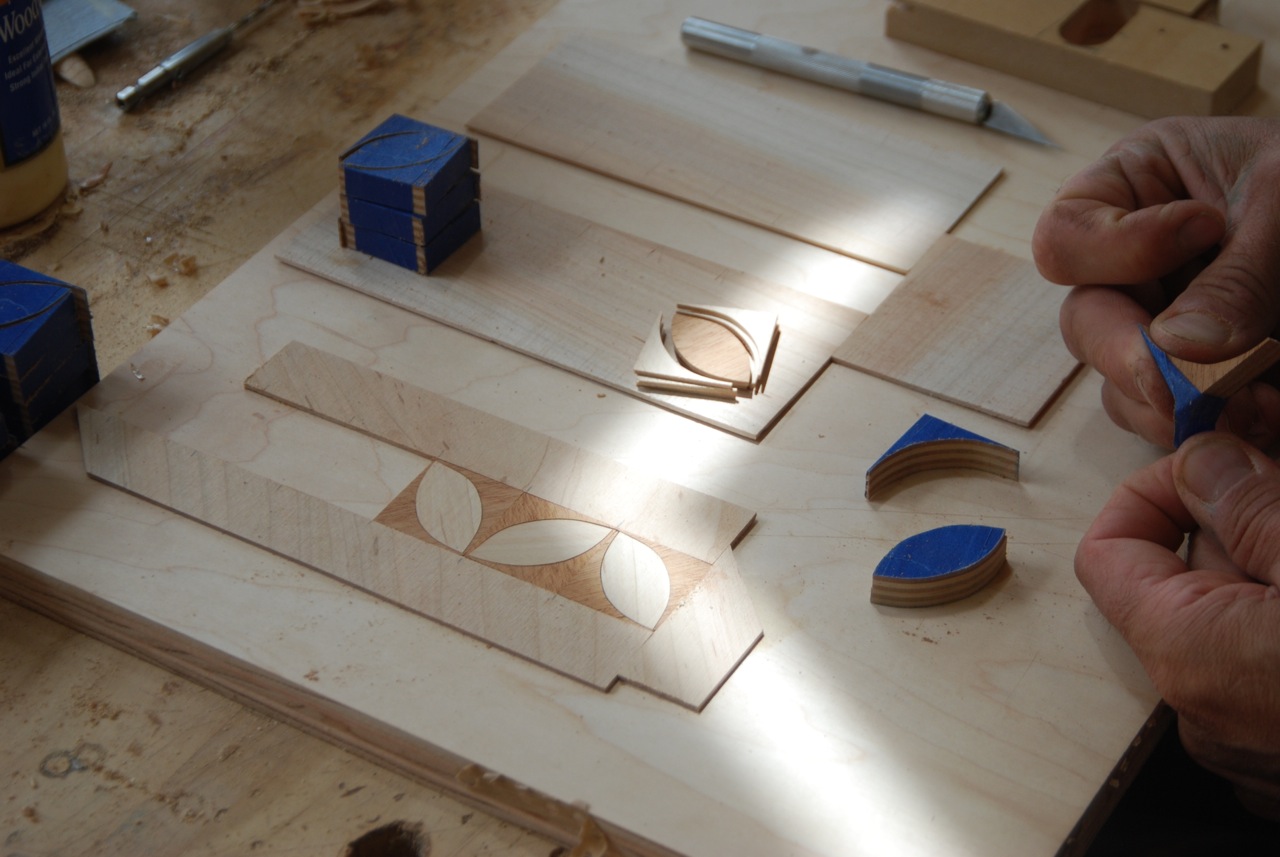
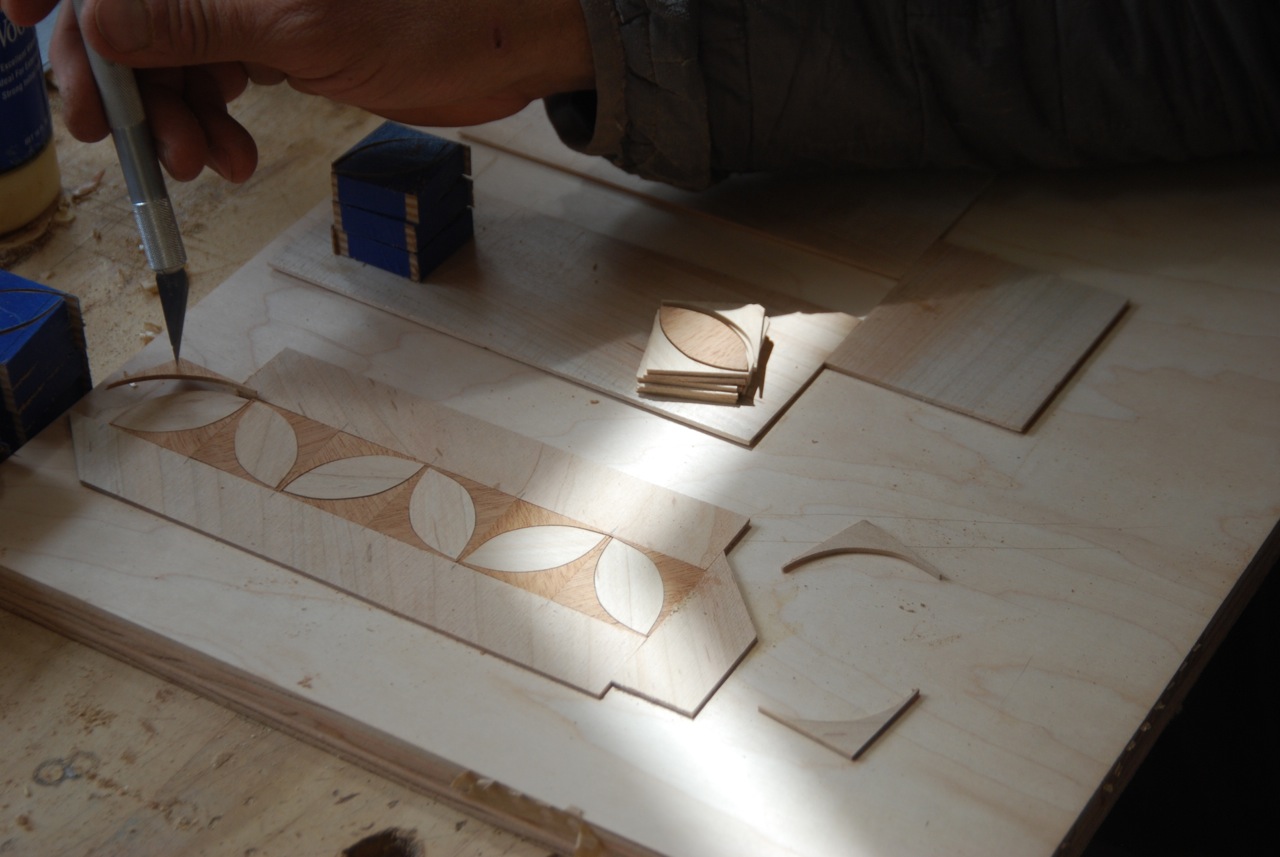
With all of the parts in the jig I would go back and line them up with the marks on the sides. This is where the size of the saw kerf makes a difference. By keeping the pieces on their layout lines they end up with a gap between them that is the size of the saw kerf. I think the blade is something like .014” thick. Before I taped the strips I centered the footballs between the corner pieces leaving an even gap all around.
After years of jury rigging cheapo ways of dispensing and wetting gummed veneer tape I finally got smart and bought an actual tape dispenser. They aren’t cheap, but WOW do they save time. With a piece of tape in hand I would lay it down over my pieces being careful not to push them out of alignment.
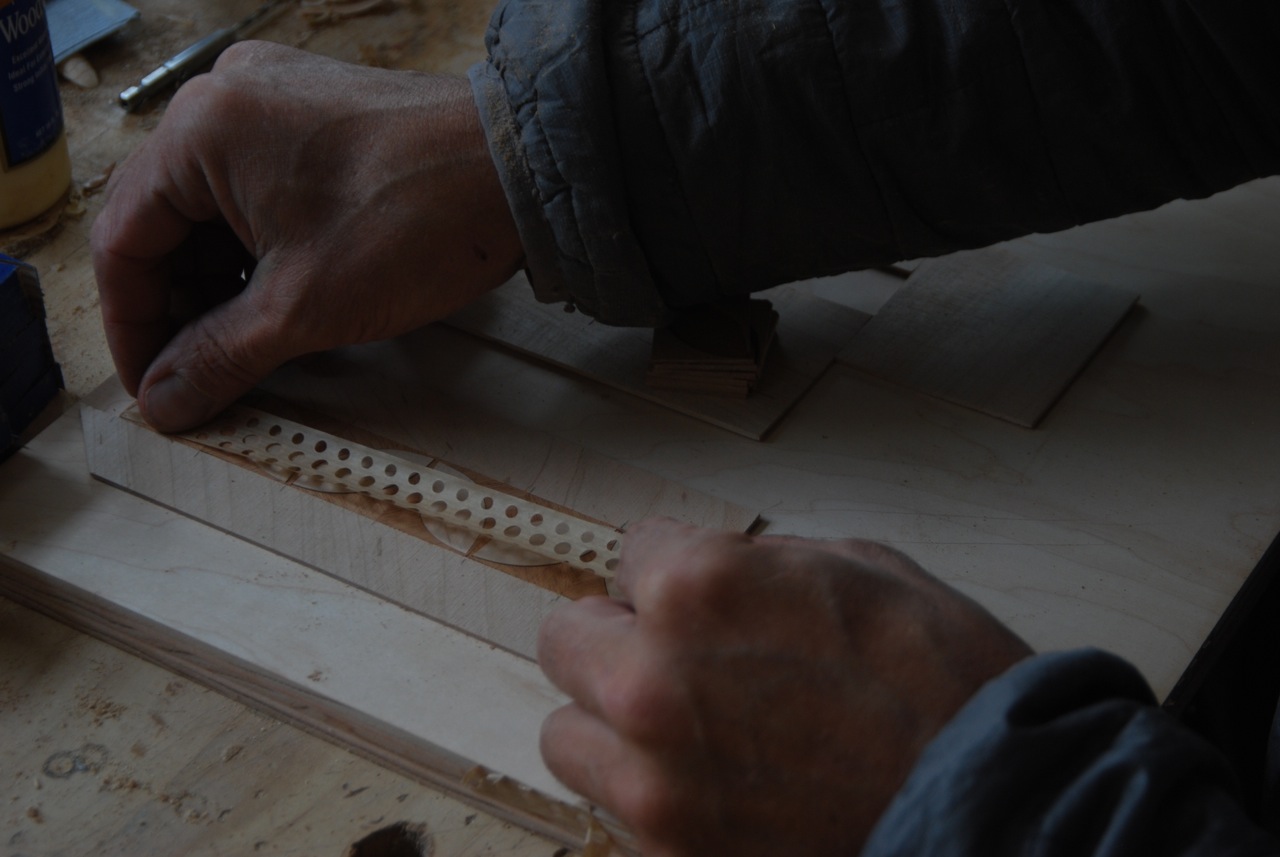
Once the tape was on I could prick the strip and move it out of the jig making room to lay up the six squares of the opposite color pattern. No matter what I did it ended up taking 10 minutes to pick up a stack, take off the painters tape, put the pieces into the jig, align them with the registration marks, center the footballs and tape up a 6” strip.
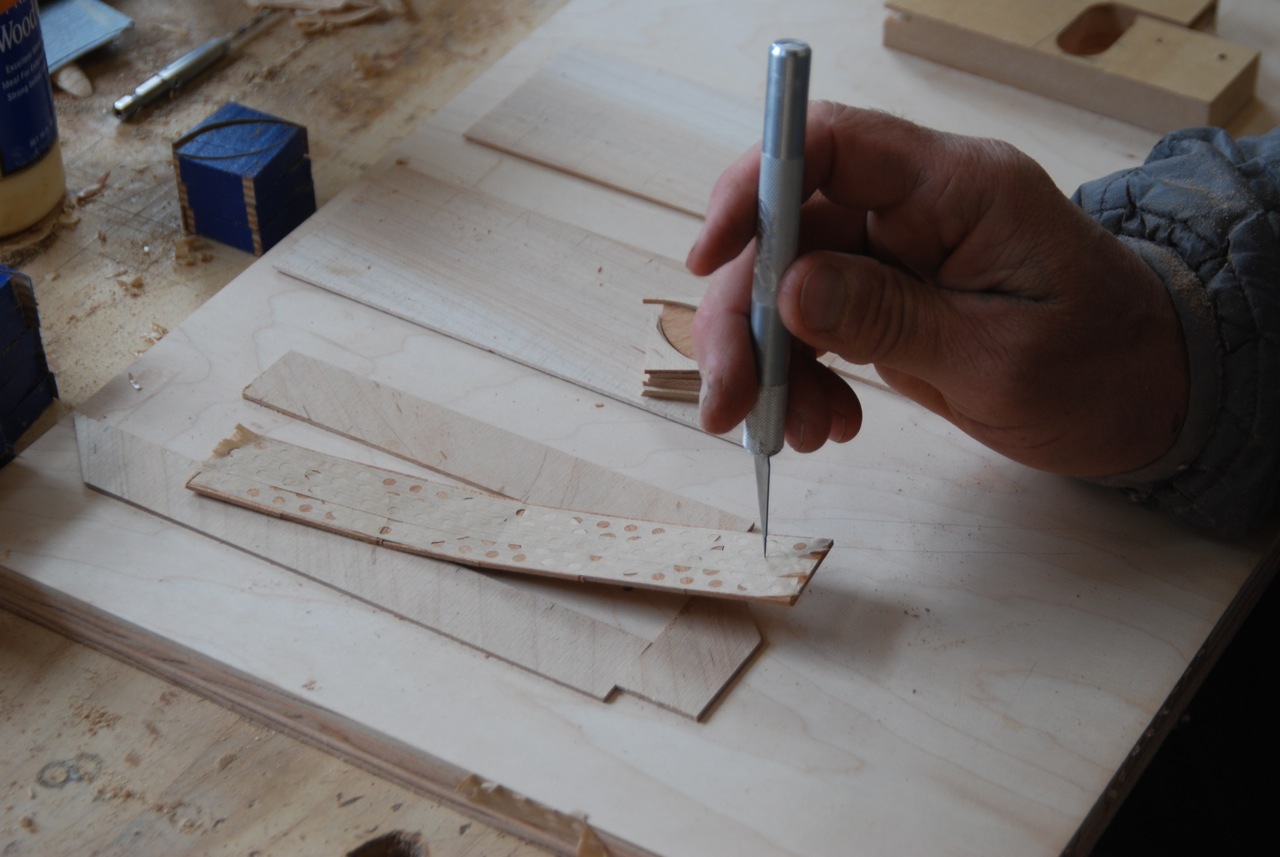
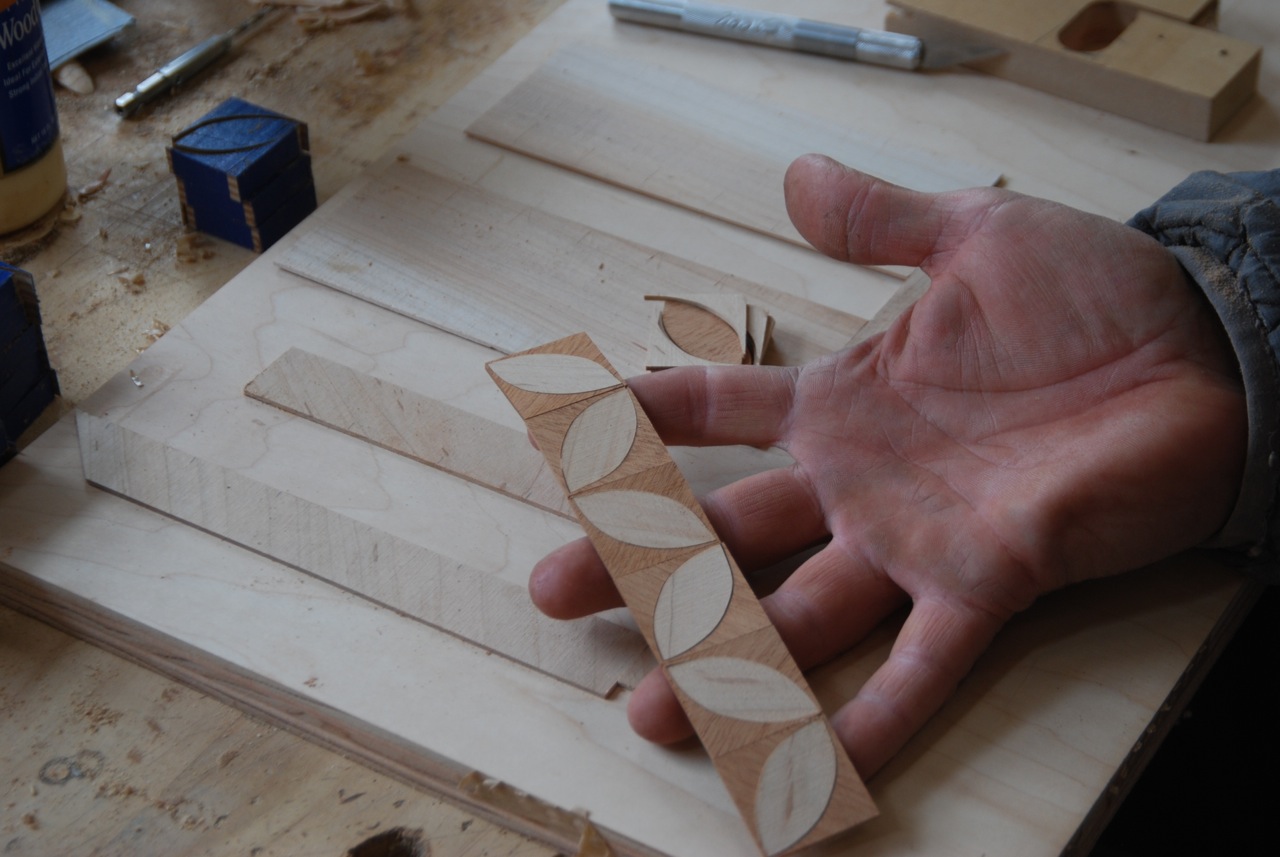
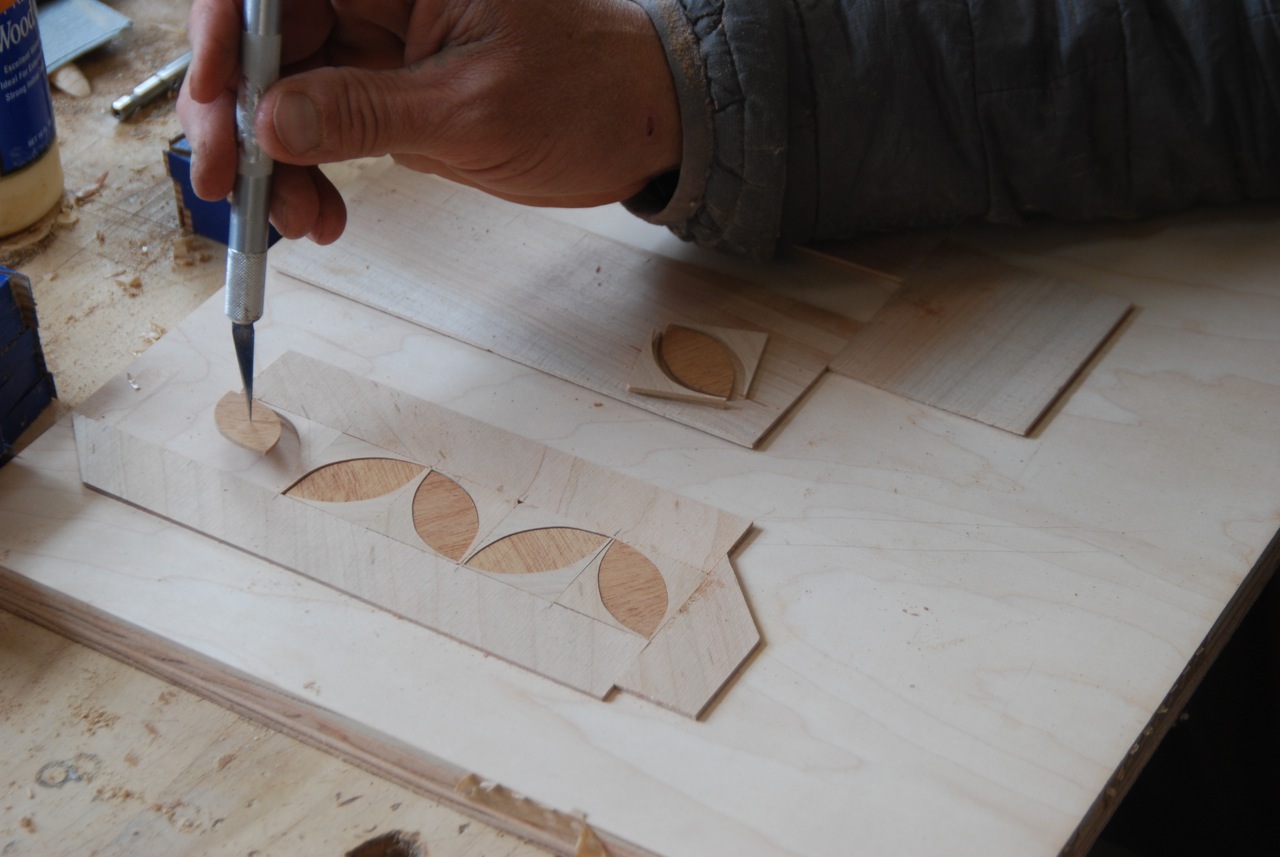
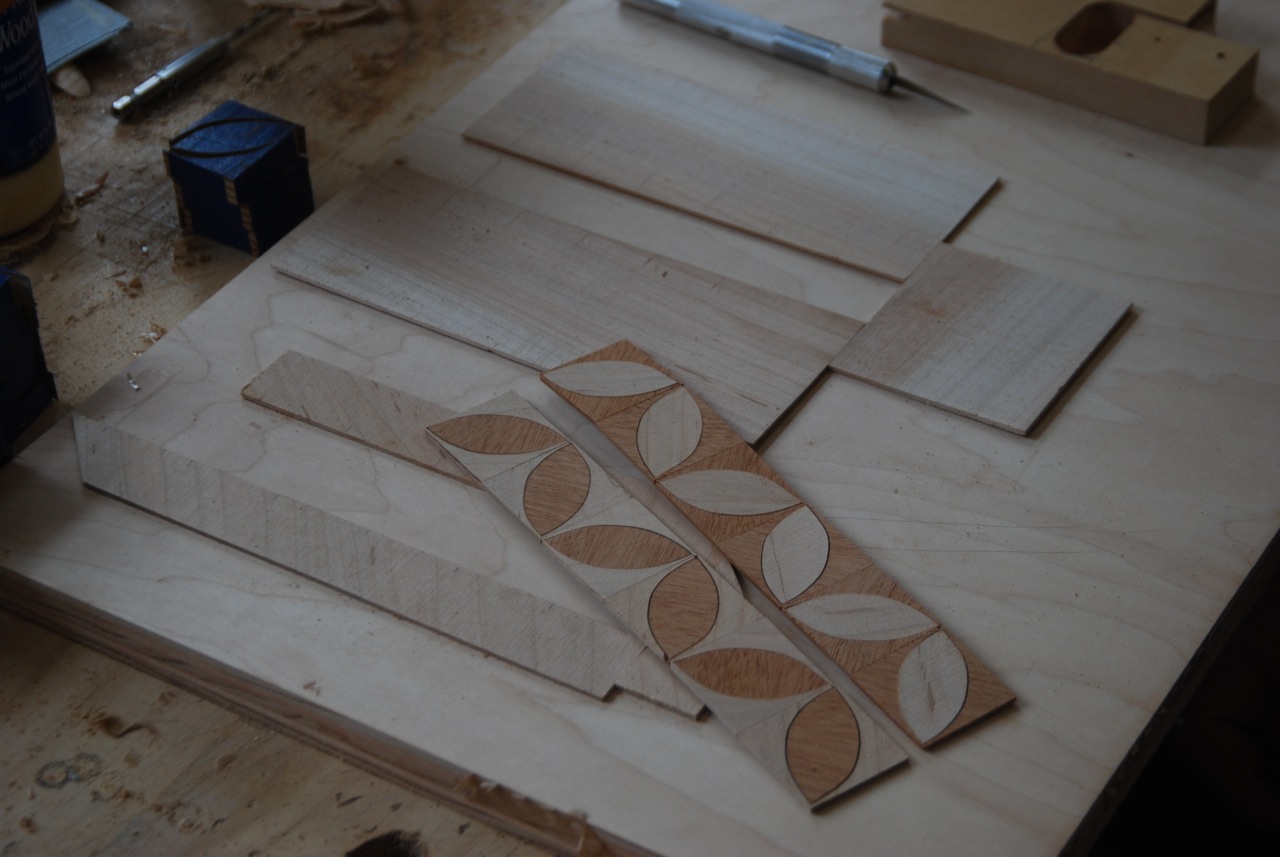
If I pushed the parts together a little too much they would suddenly pop up into the air and land it a big pile that would take some time to sort out.
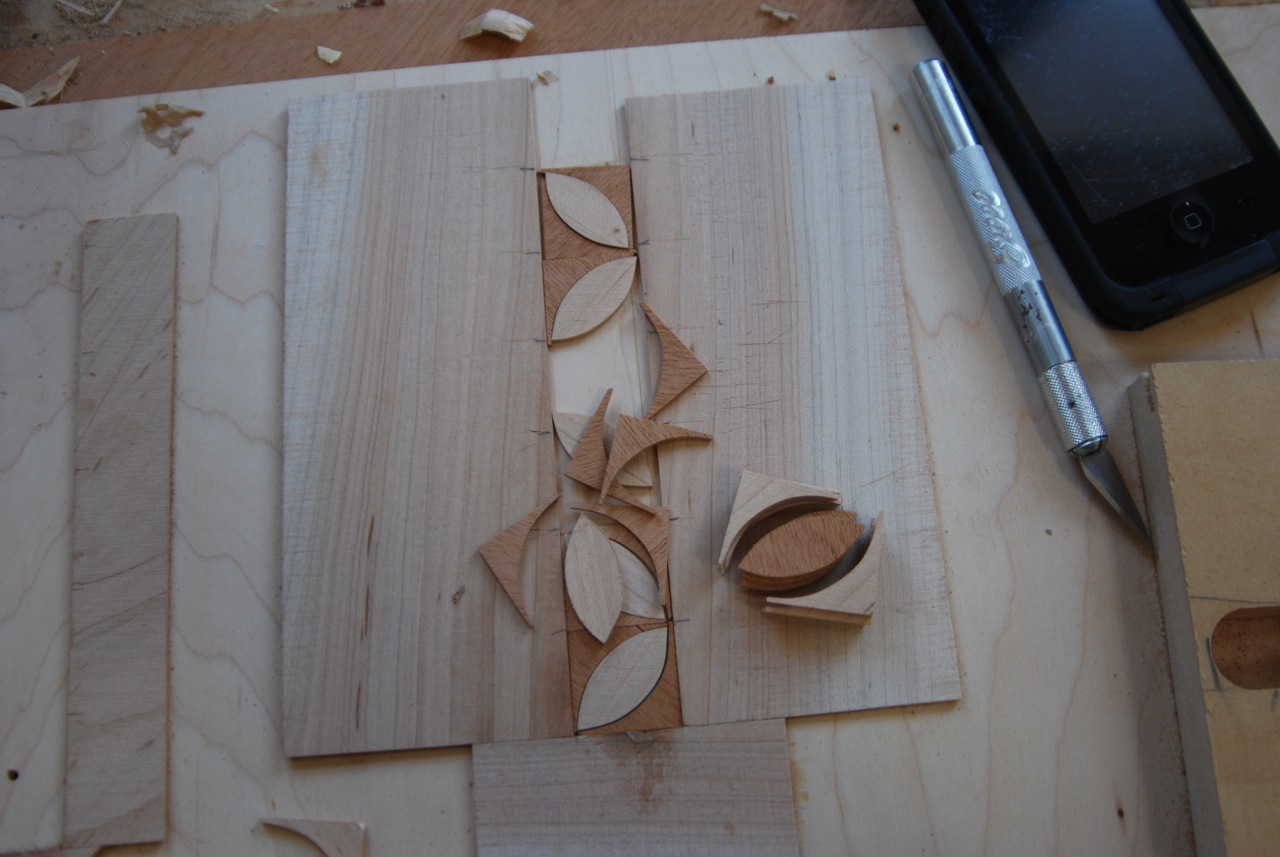
When I had a days worth of strips taped up I could tape the 6” strips together into a complete face. It was again really critical that all the faces ended up being the exact same size so that the eventual router templates would work for all the thresholds that were the same size. If I had simply taped the strips into sheets there was a really good chance that they not only wouldn’t be straight, they would also be different sizes. To preclude those problems I built another simple jig. This one was nothing more than a piece of MDF with a square end onto which I attached some cleats that I could bump my strips to to give me a straight and square face. After I had taped up the first face I used it to mark the jig with the location of the squares that it was made from. Then I used those marks as layout lines for all of the following faces. They all came out the same within 1/32” or so.
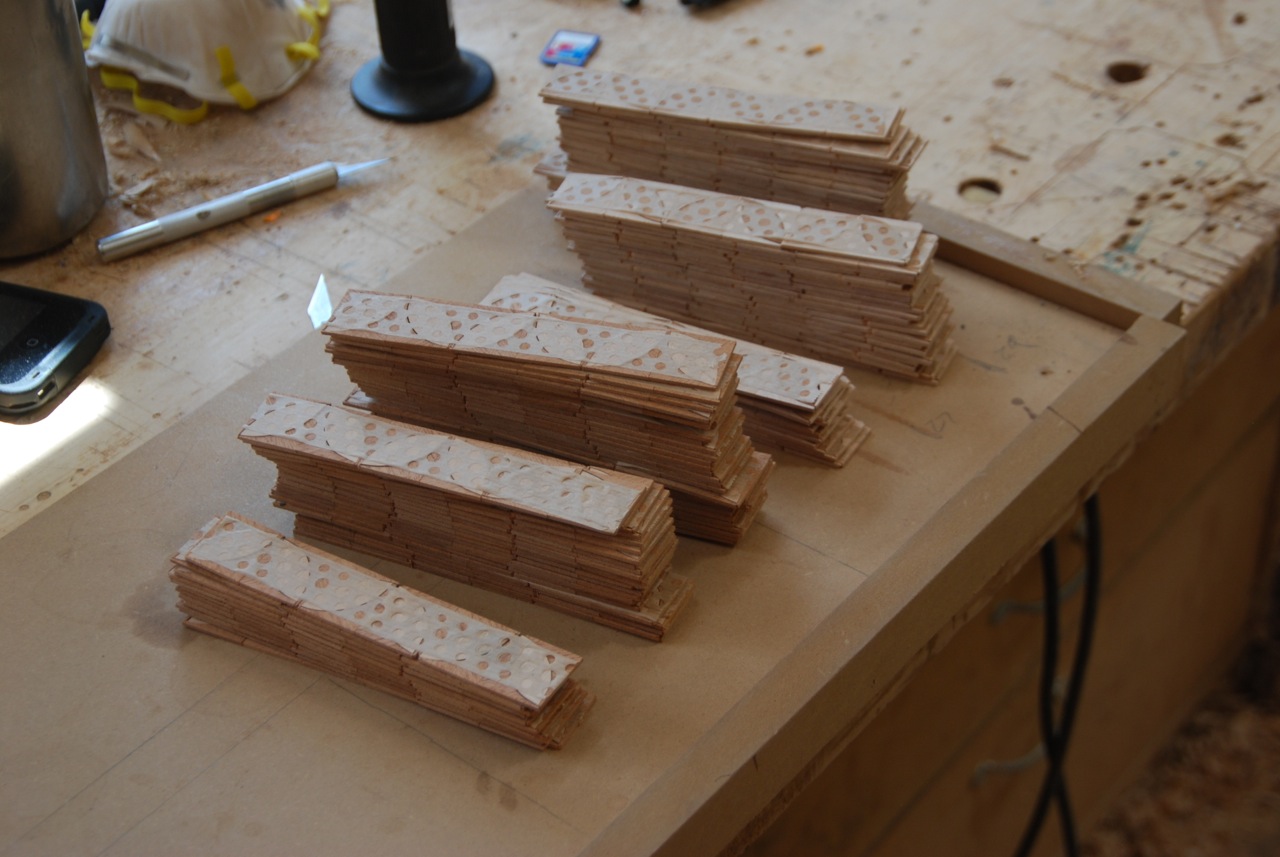
Here you can see me bumping the strips to the cleats on the jig.
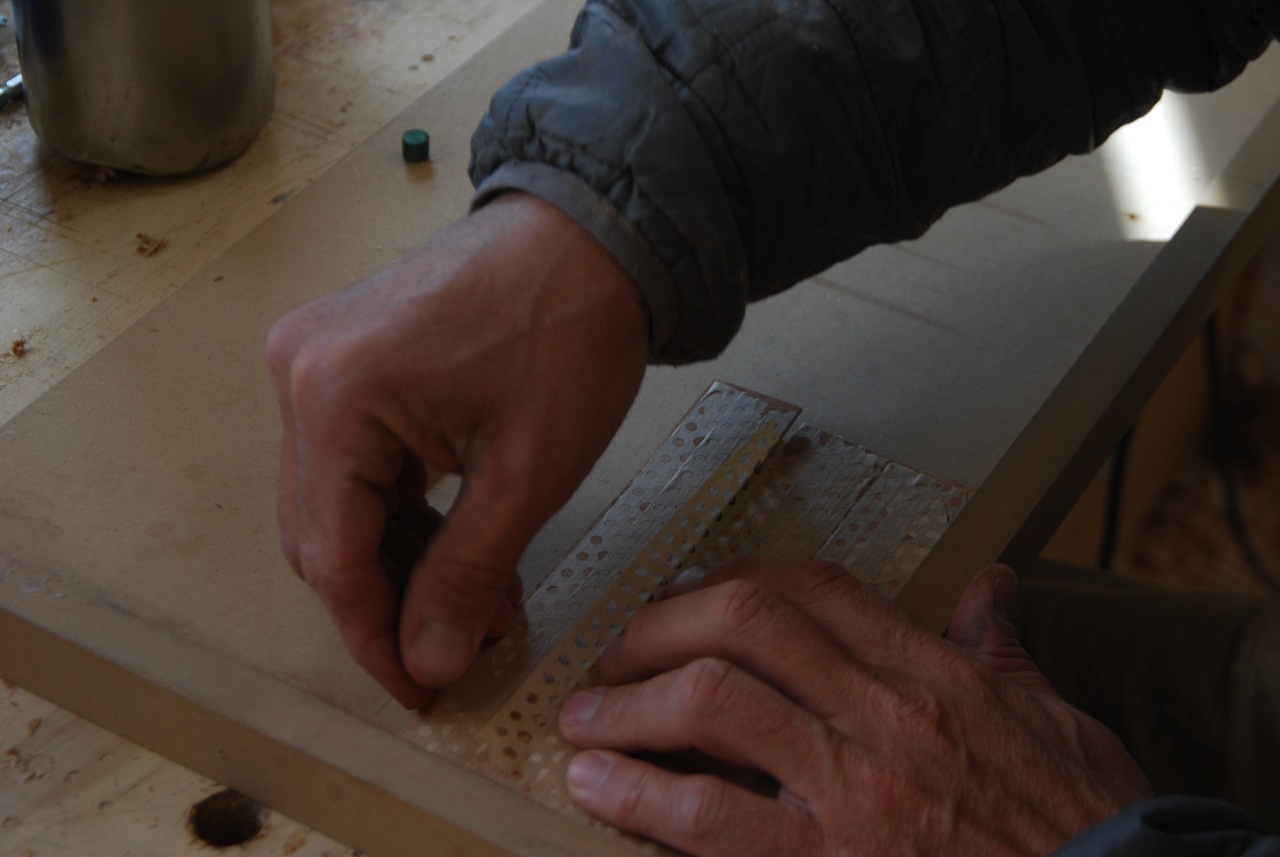
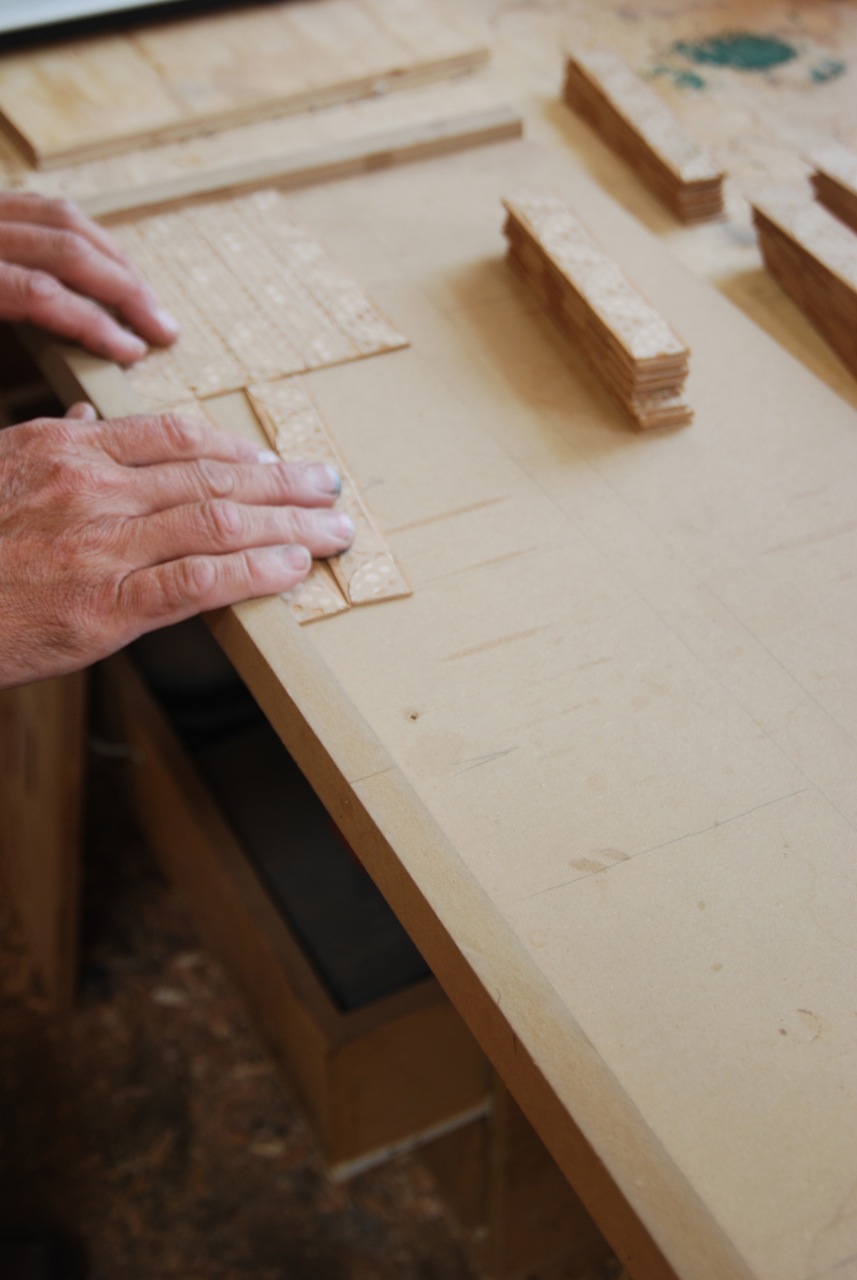
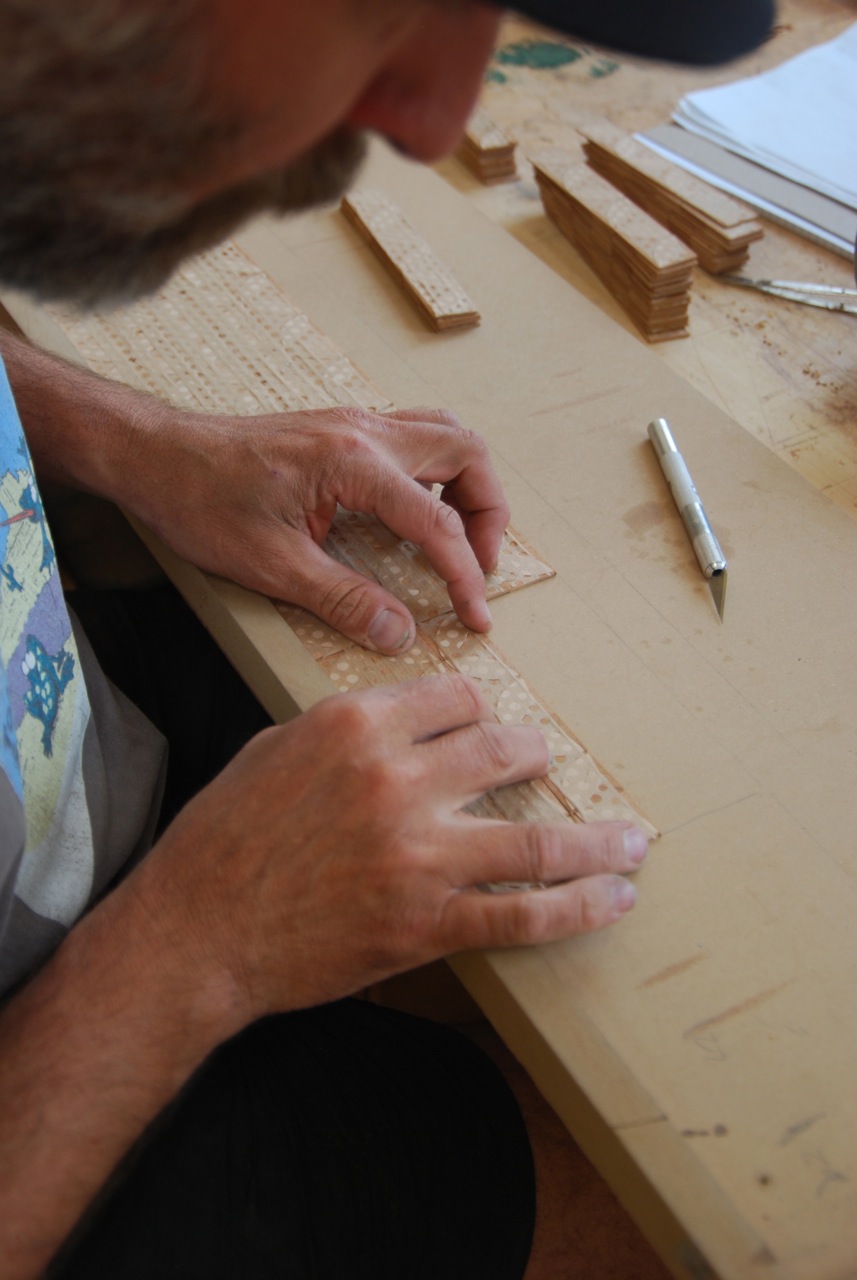
Once a face was all taped together I could flip it over and see what it was going to look like.
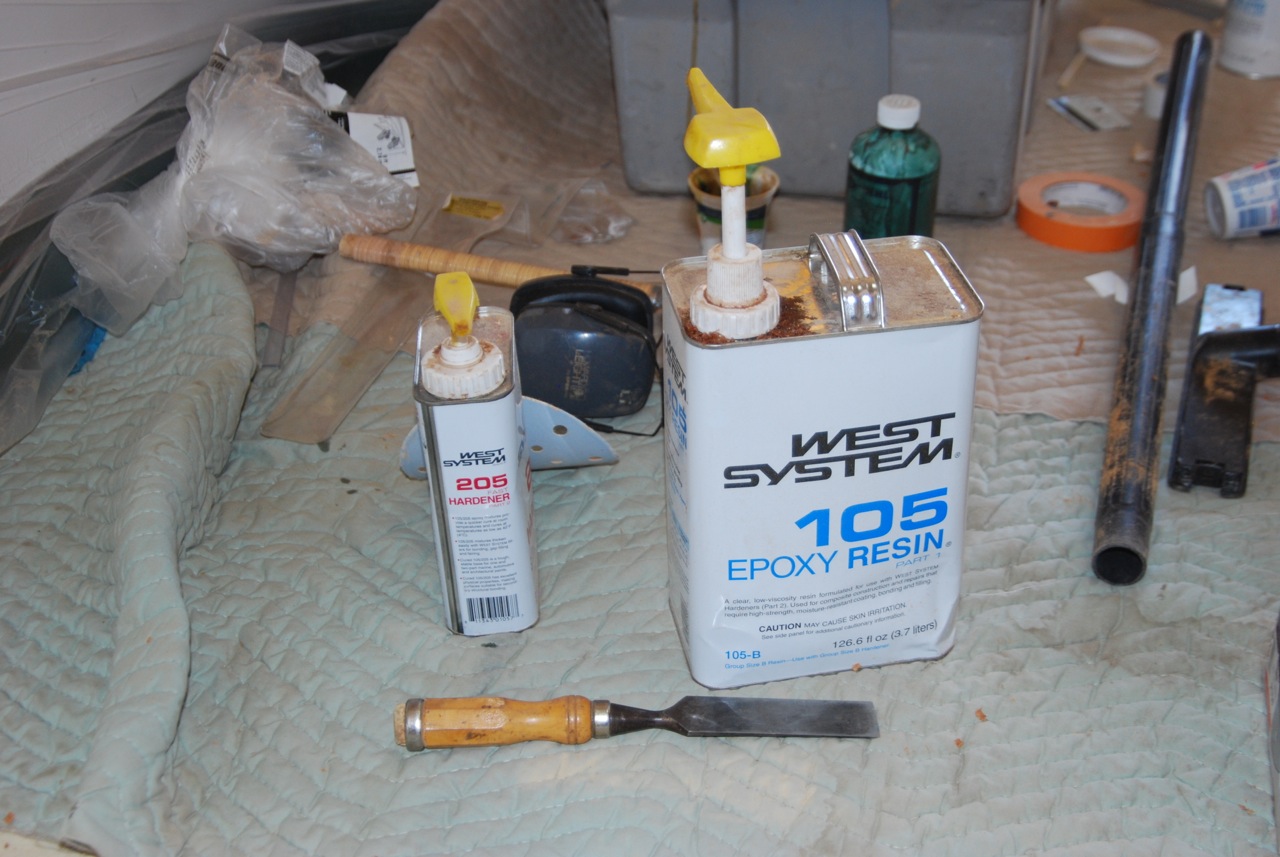
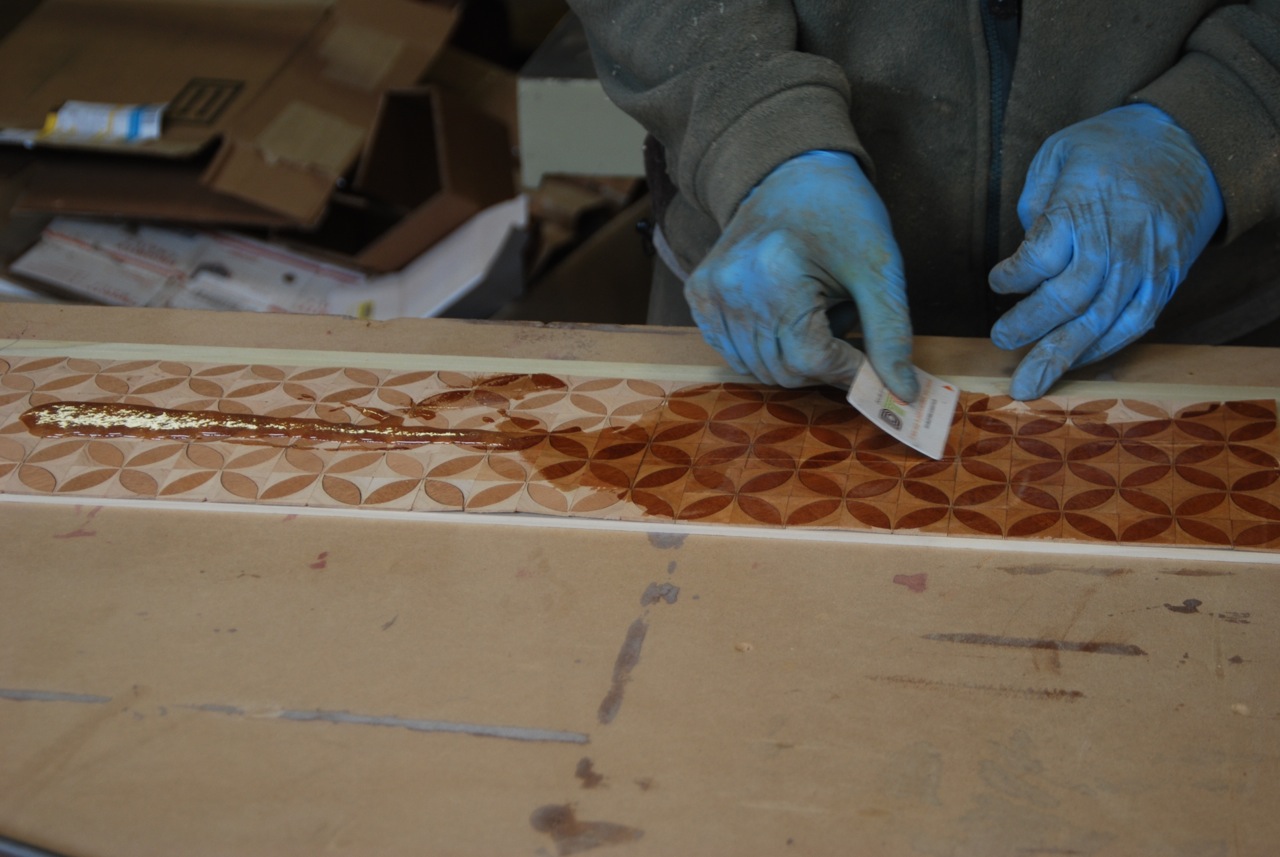
After a few weeks I had all of the parquetry cut, taped and made up into faces and it was time to laminate them to their substrates. I like to use West System epoxy for this kind of thing. West has lots of advantages for work like this. It has the great pump system for measuring out your resin and hardener. One pump of each gives you the right proportions. It also has a long open time so that you aren’t racing the clock. On top of that it is gap filling - useful for filling in the spaces left by the saw kerf. And it isn’t water based. Using a water based glue would make the layup curl as it dried.
Old credit cards and electronic hotel room keys make great glue spreaders.
Once both the parquetry and the substrate had glue on them I lined the faces up carefully with a registration line on the substrate that was parallel with the side and I used veneer tape to hold the parquetry. You want to use lots of tape to be sure that the face doesn’t slide around as the clamping pressure comes on. 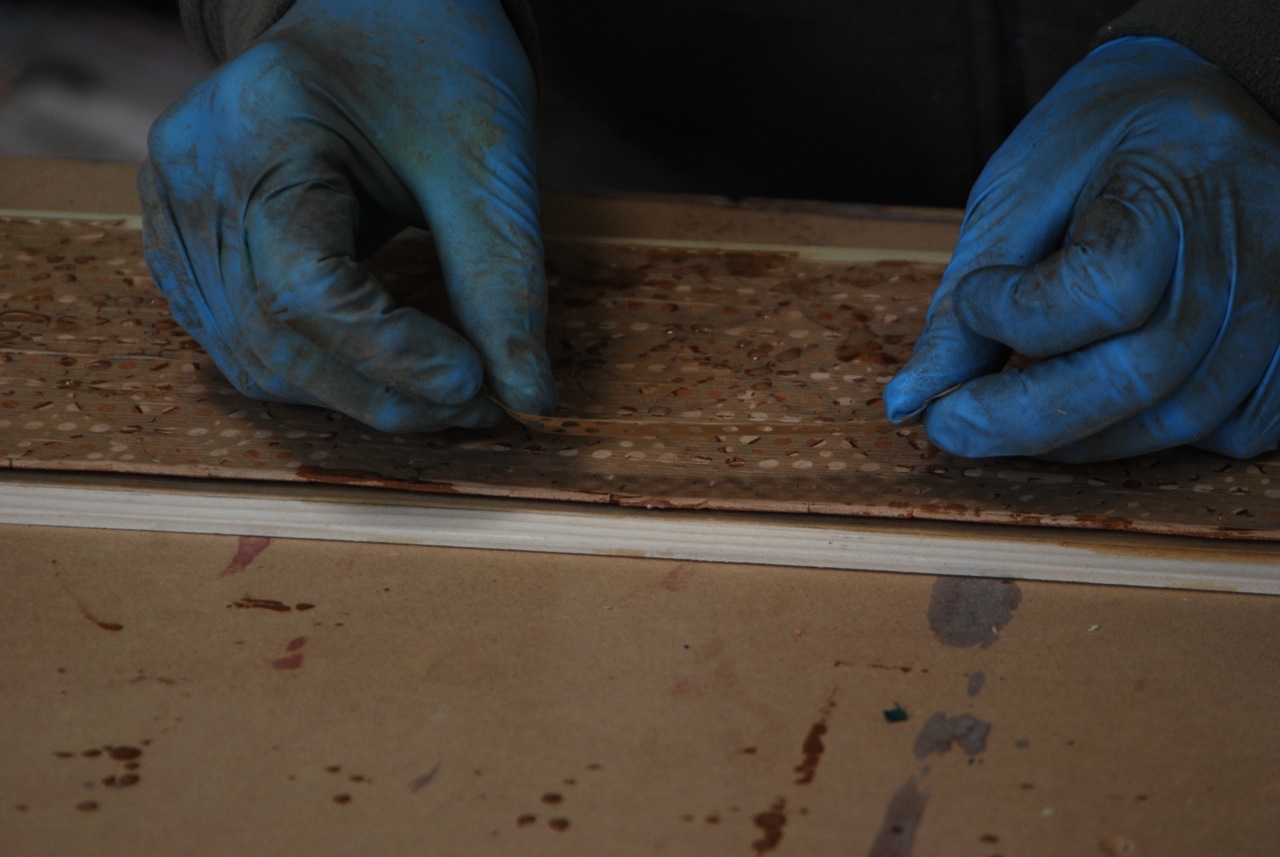
When the face was taped down I covered the whole face with pallet wrap. This guaranteed that any glue squeeze out wouldn’t hopelessly stick the work to the veneer bag table.
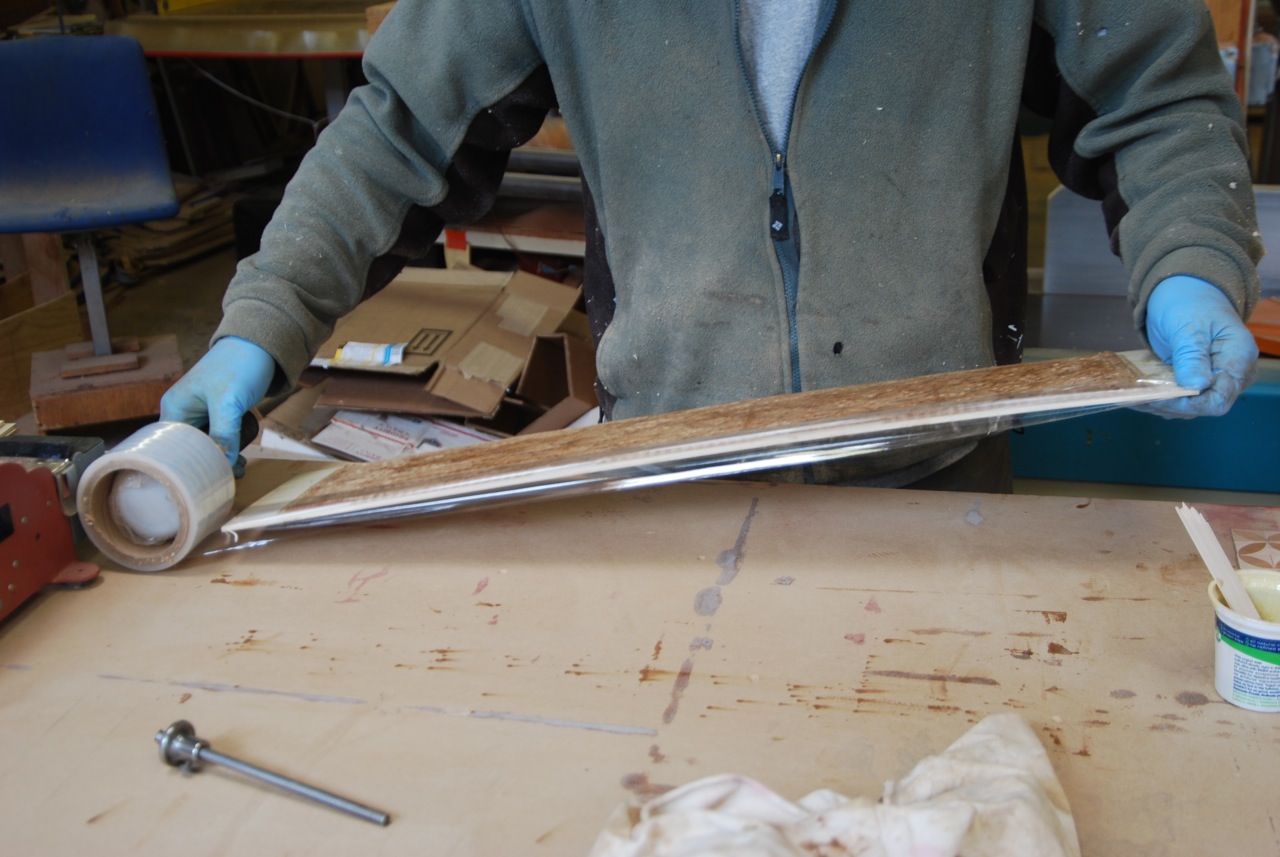
I made platens for each threshold to ensure a good flat glue up. I pallet wrapped these to each lay up and put them in the vacuum bag.
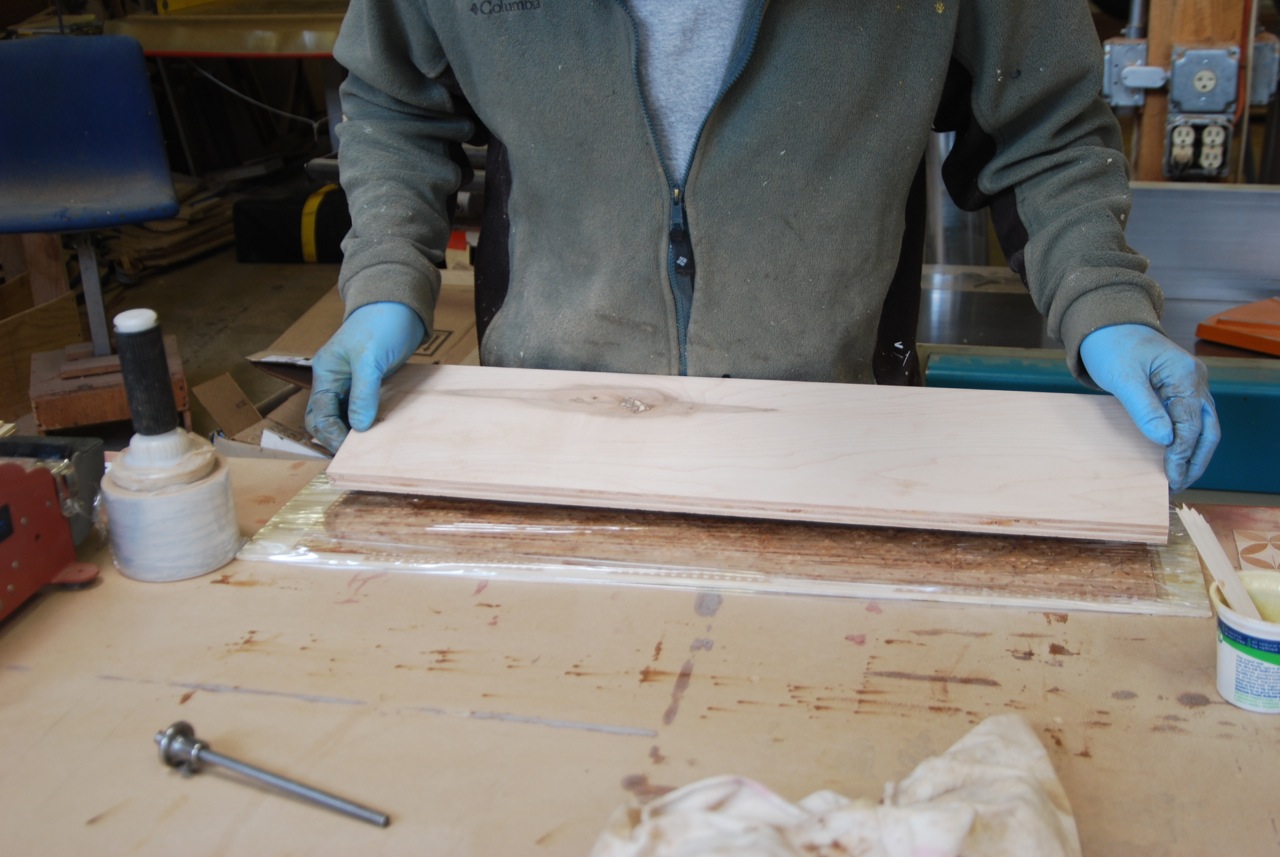
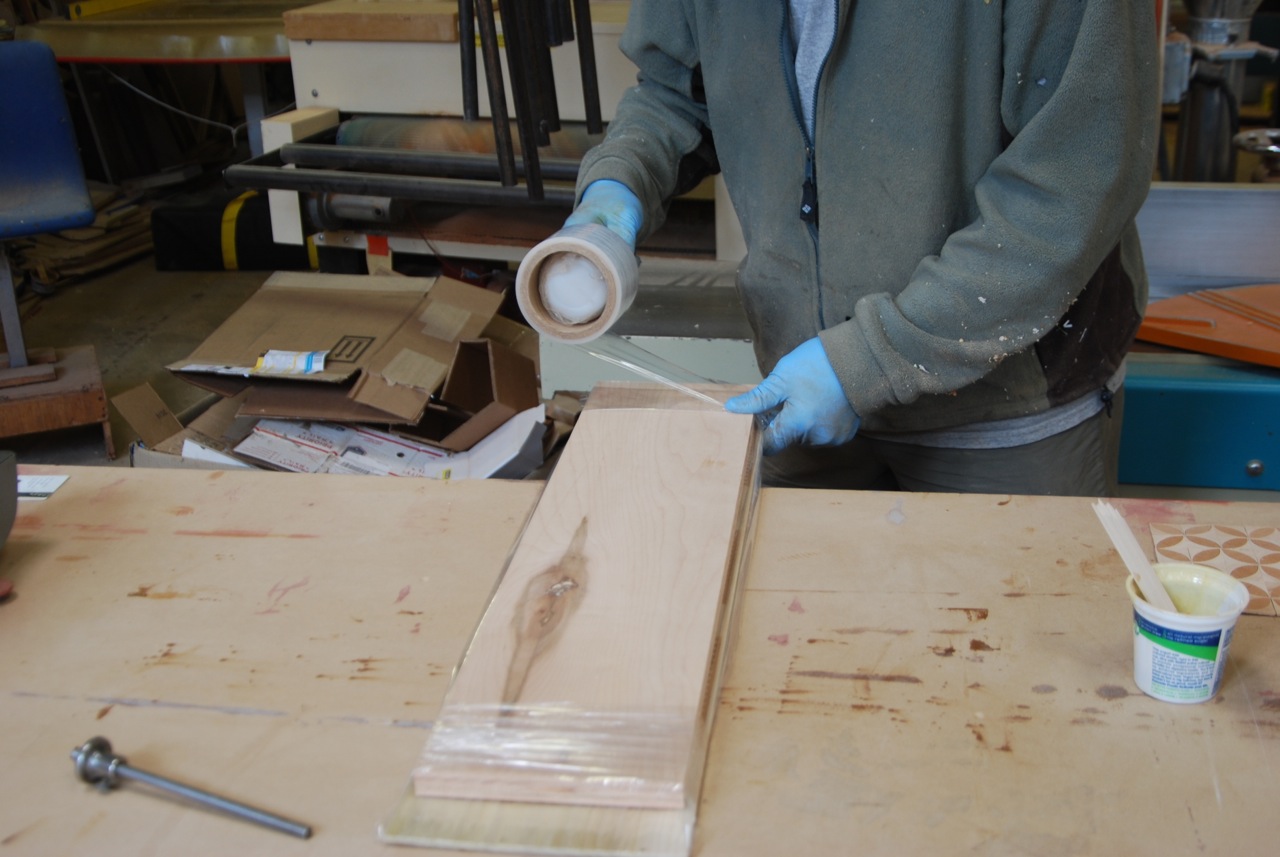
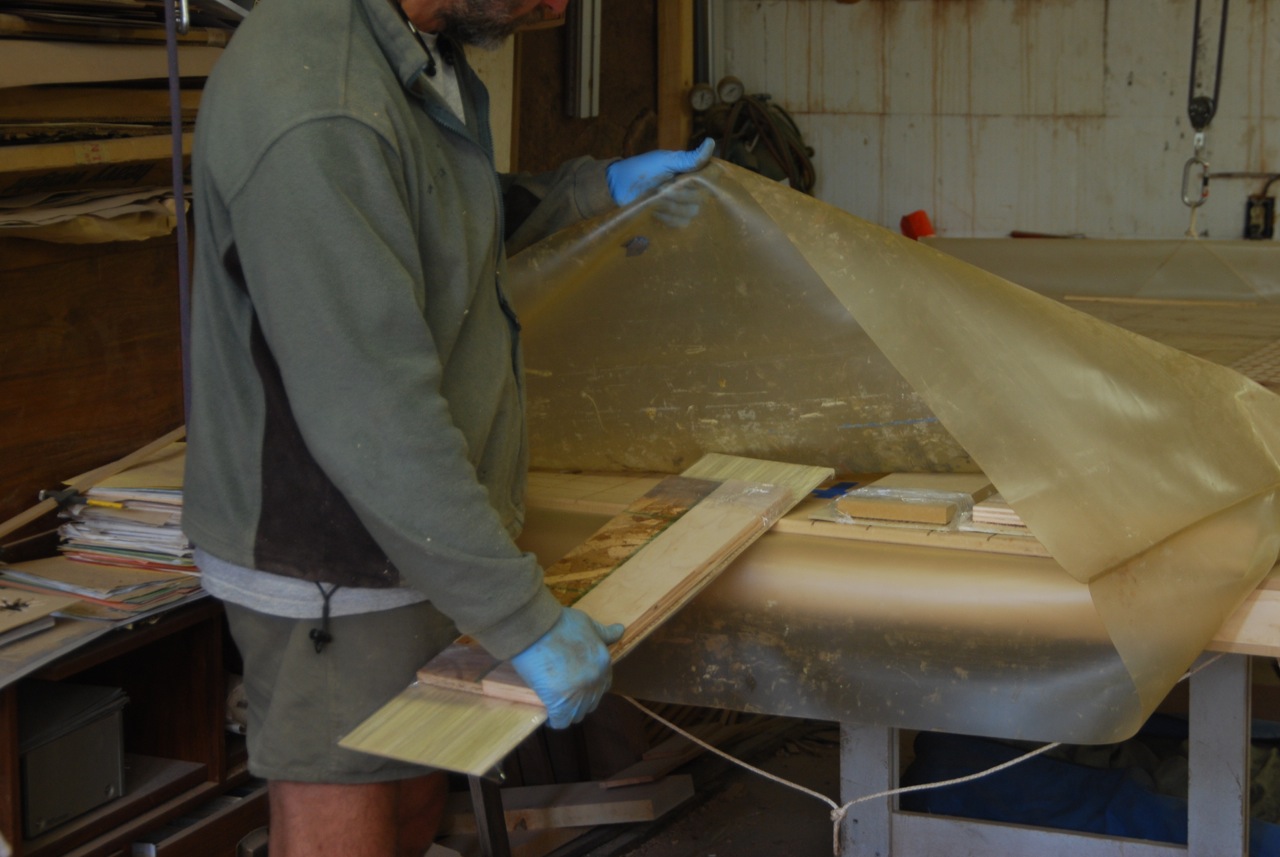
Once the glue had cured I ran all of the faces through my drum sander to thickness them to the same dimension. That meant that I would be able to set the router depth to one setting and use it for all of the thresholds when I installed.
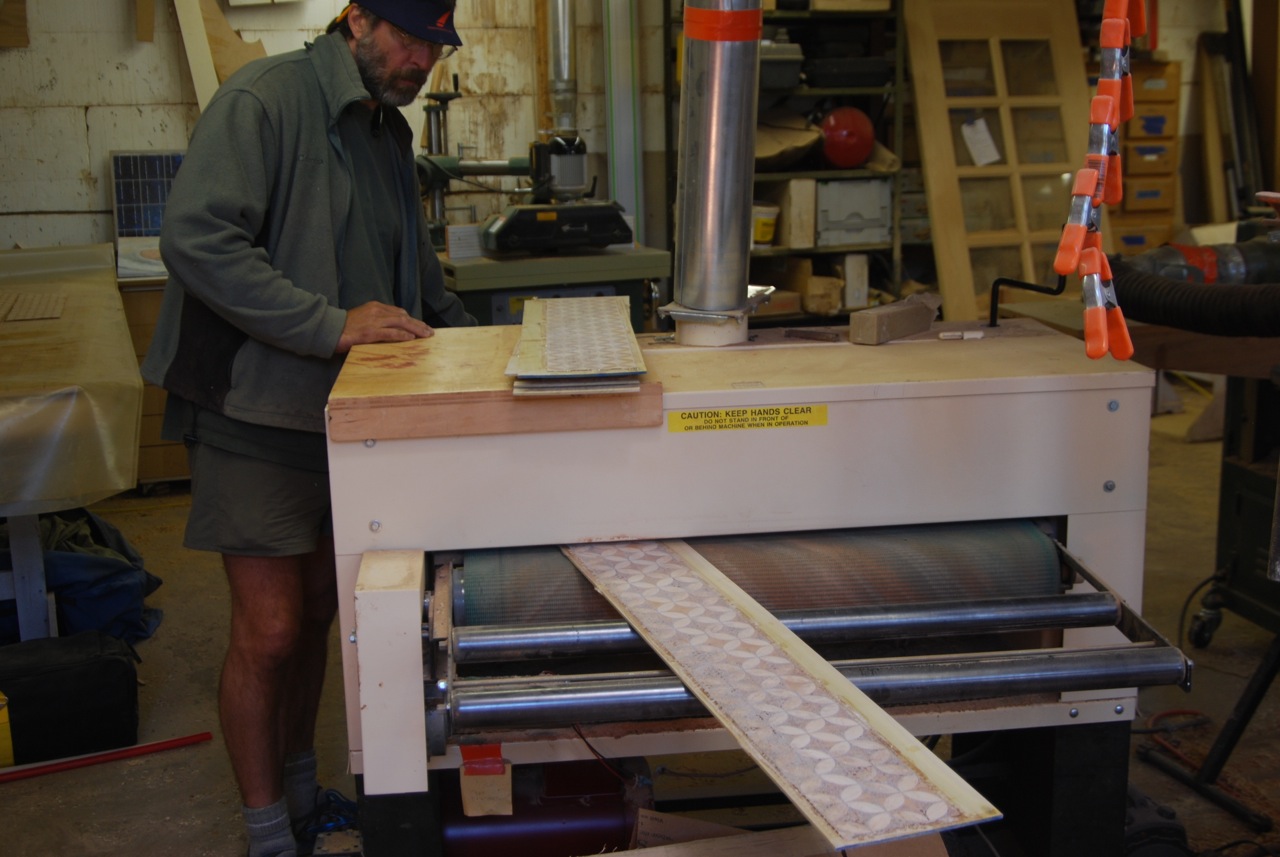
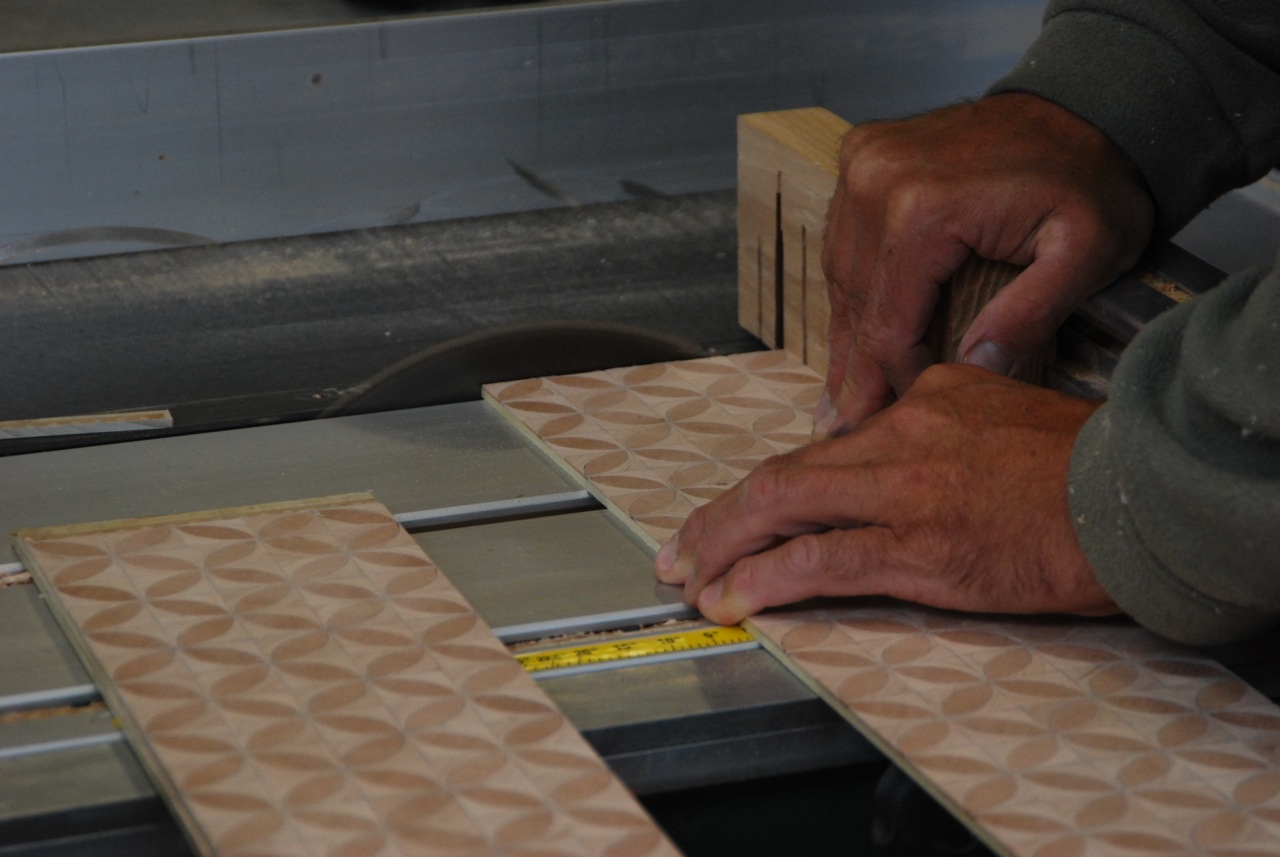
After they were all sanded I took them to the table saw and cut them to their final sizes.
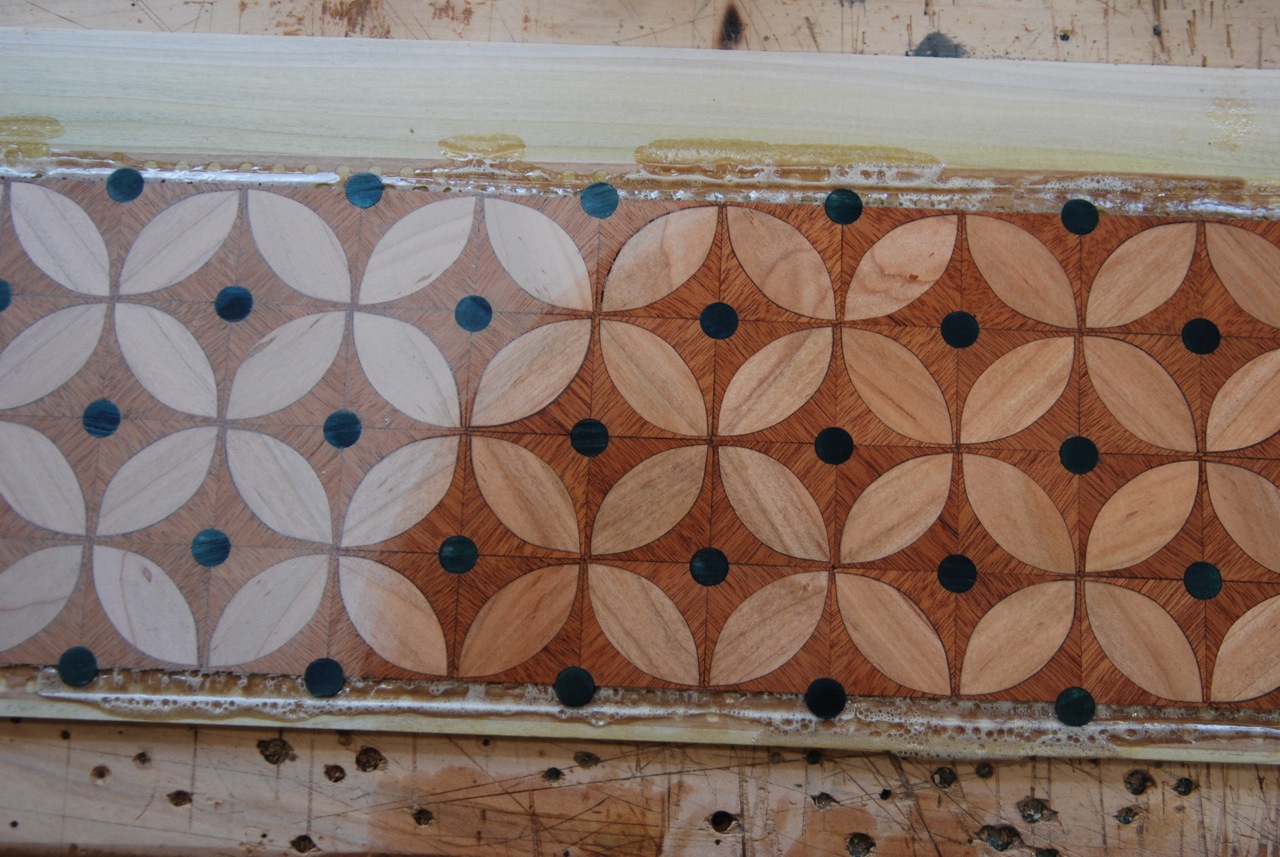
One of the doorways opened onto a room that had a base molding made from green tile and the owner wanted to tie that in to one of the thresholds by putting green dots into the parquetry pattern. “I would move heaven and earth to have green dots in that threshold”, he said. By which me meant that he would like me to move heaven and earth and figure out a way to get green dots. Fortunately I didn’t have to go that far, but there were some tricks I had to figure out. The dots were going to be wood, of course, and that wood was going to have to be sanded after I put into the thresholds, so they had to be green all the way through. I started out by cutting some short lengths of dowel that I soaked for a few days in a green aniline dye. The dye sucked nicely into the end grain and saturated the dowel all the way through. Unfortunately, when I dried, sanded and finished a sample, the end grain of the dowel turned out almost black. Hmmm....
Next I tried cutting some plugs and soaking them in the dye. Plugs have lots of end grain on their sides and I figured that they should soak up the dye just fine. They didn’t. It went in part way and stopped. Hmmm....
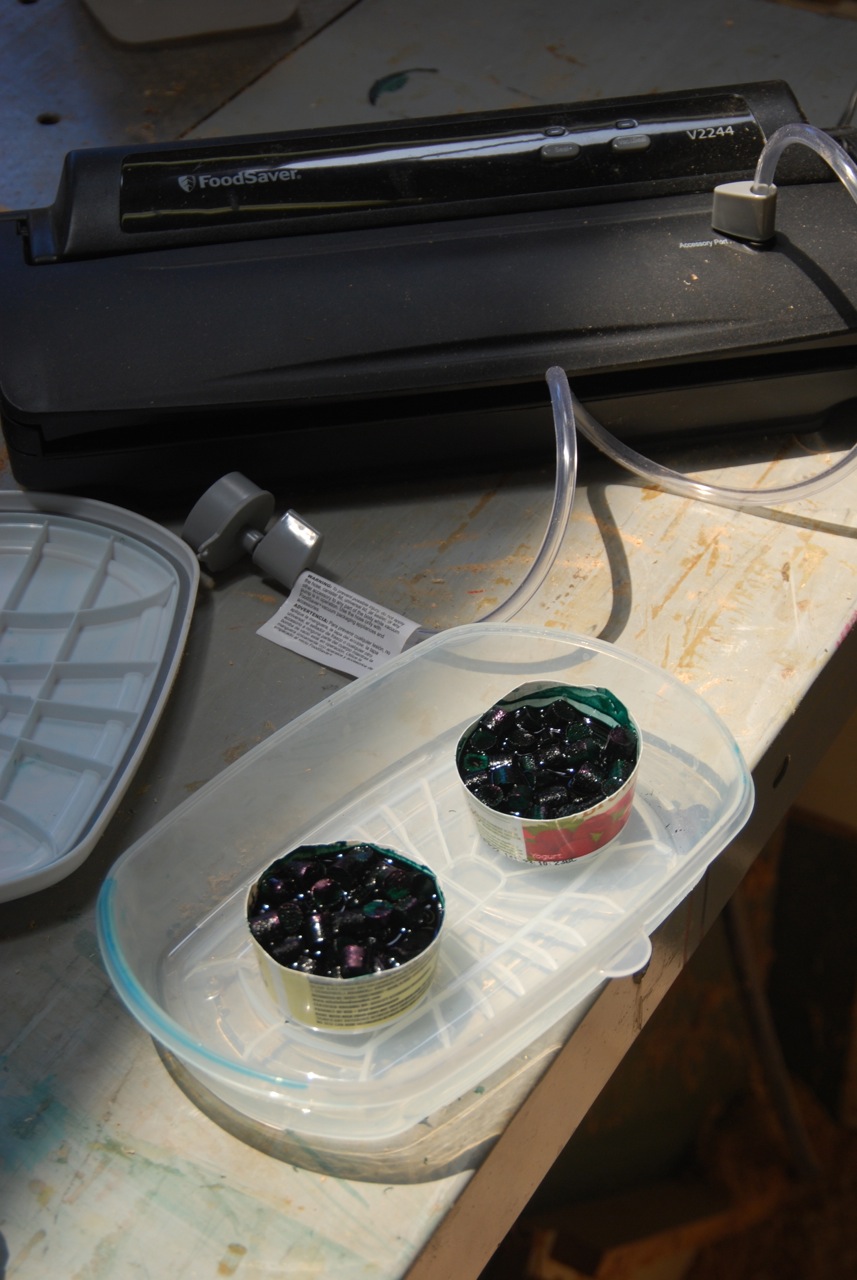
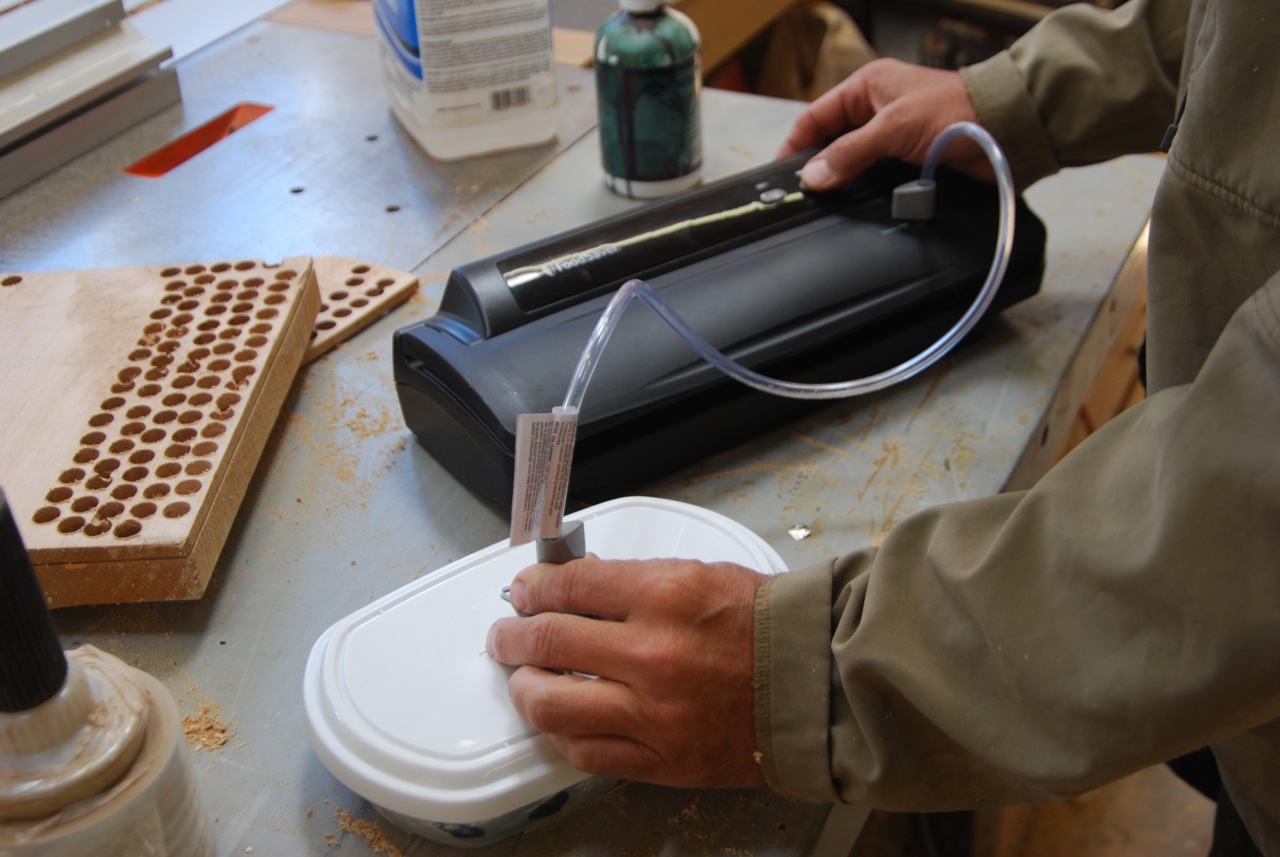
I had read somewhere that people use vacuum food packing machines to marinade meat. You put the meat in a canister, pull a vacuum and the marinade sucks into the meat. So I went out and bought a vacuum packer with a canister. I soaked the plugs in small containers full of dye, put them in the canister and pulled a vacuum for a day. Viola! It sucked the dye all the way through the plugs.
Installing the dots was straight forward. I just drilled them on the drill press with a forsner bit using the center of the diamonds to locate the holes.
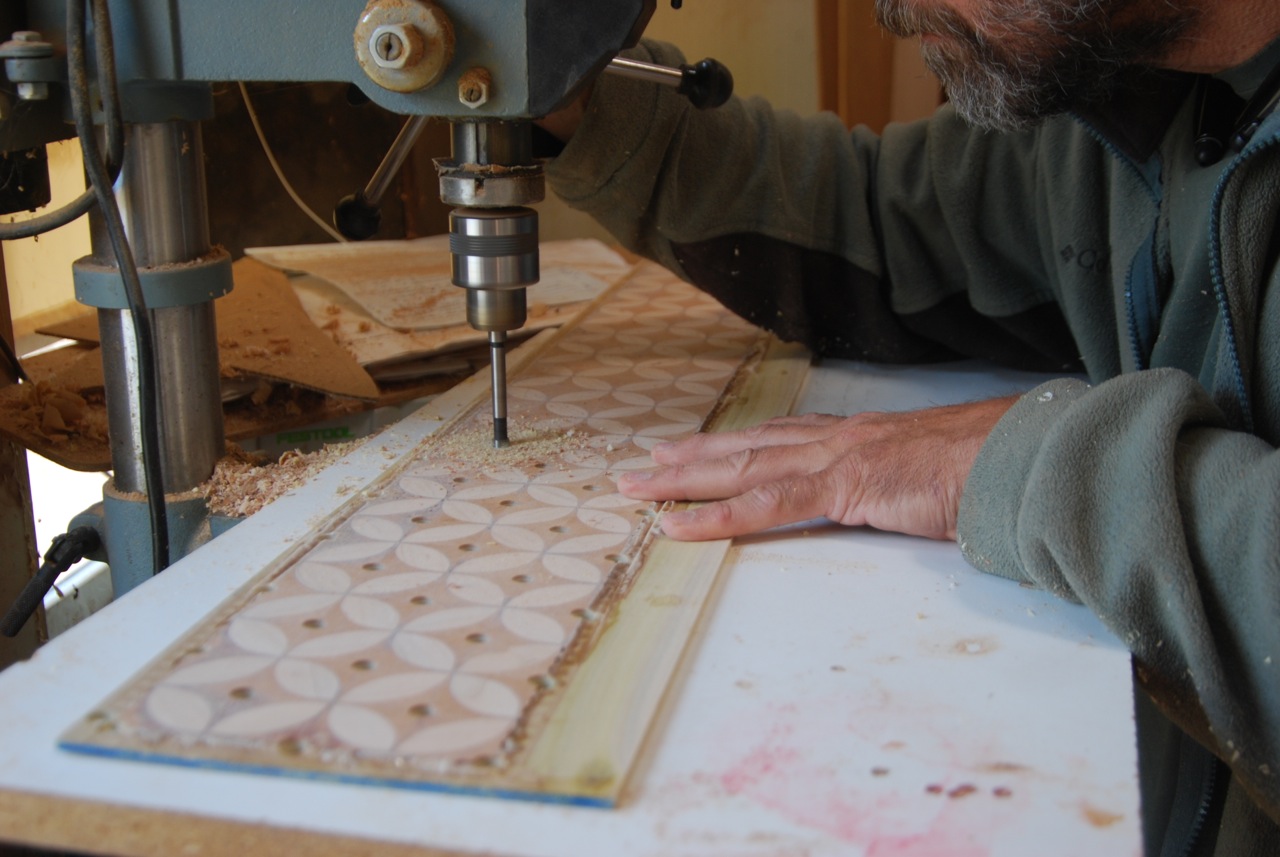
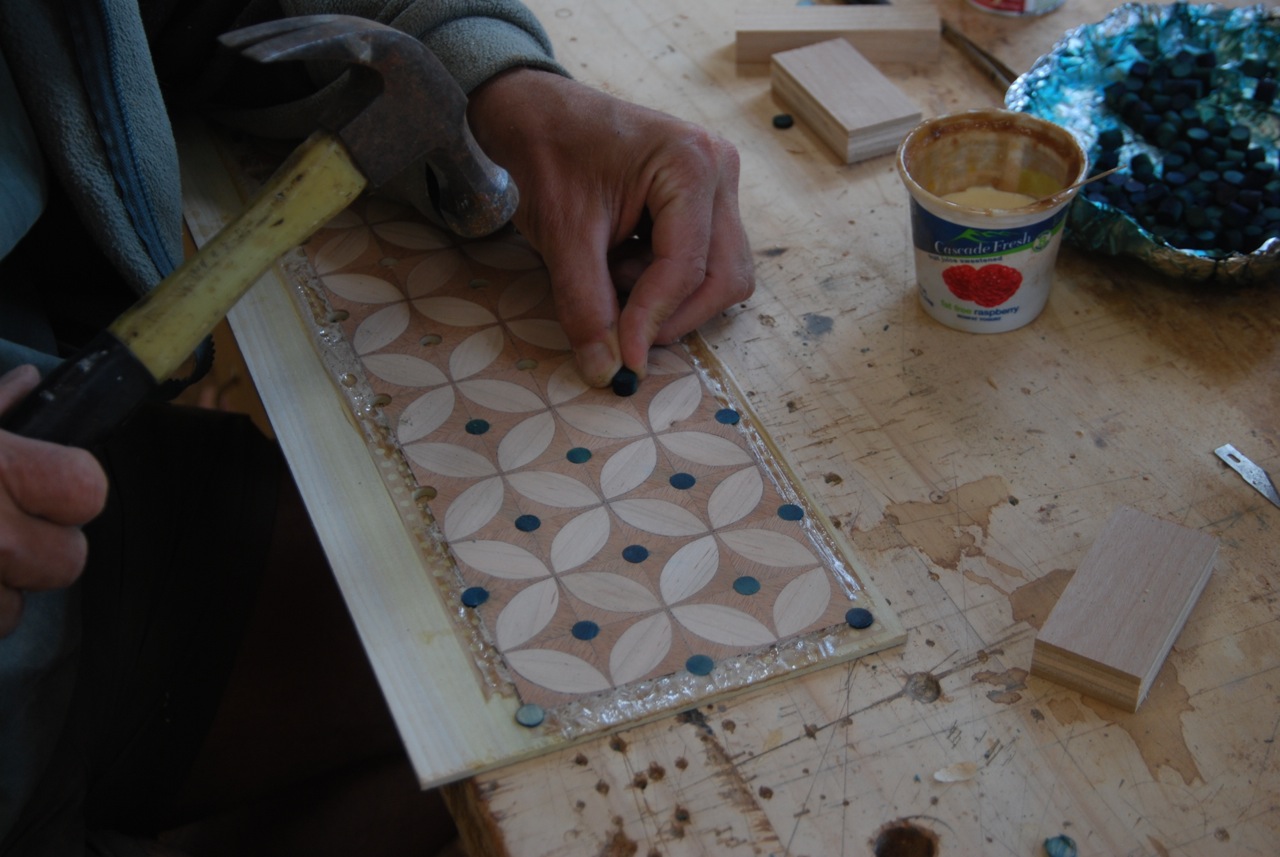
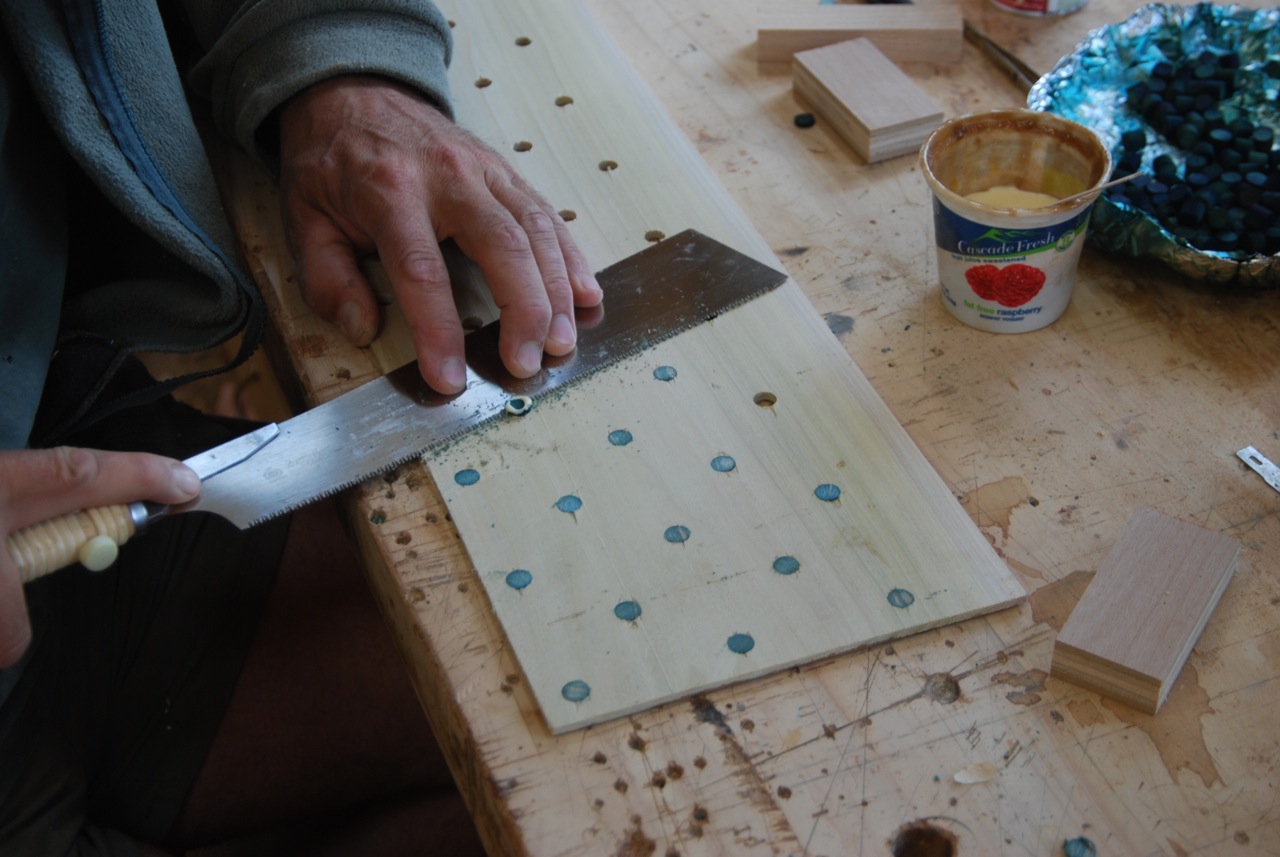
I glued them in, tapped them flush to the show face and cut them off on the back side.
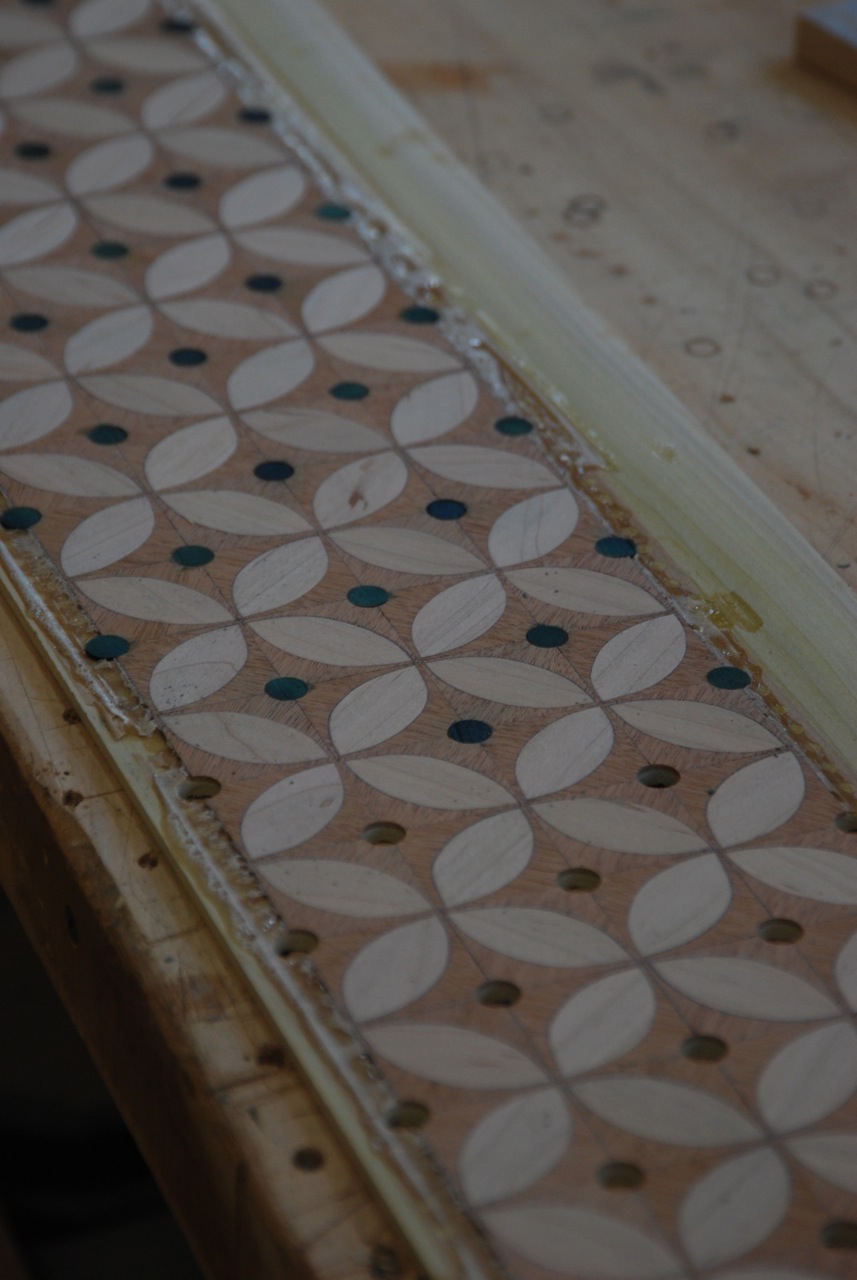
This has a little mineral spirits wiped on to show the final color.
I made the routing templates out of 3/4” MDF doing plunge cuts on the table saw to cut out a perfect hole in the middle of the template.
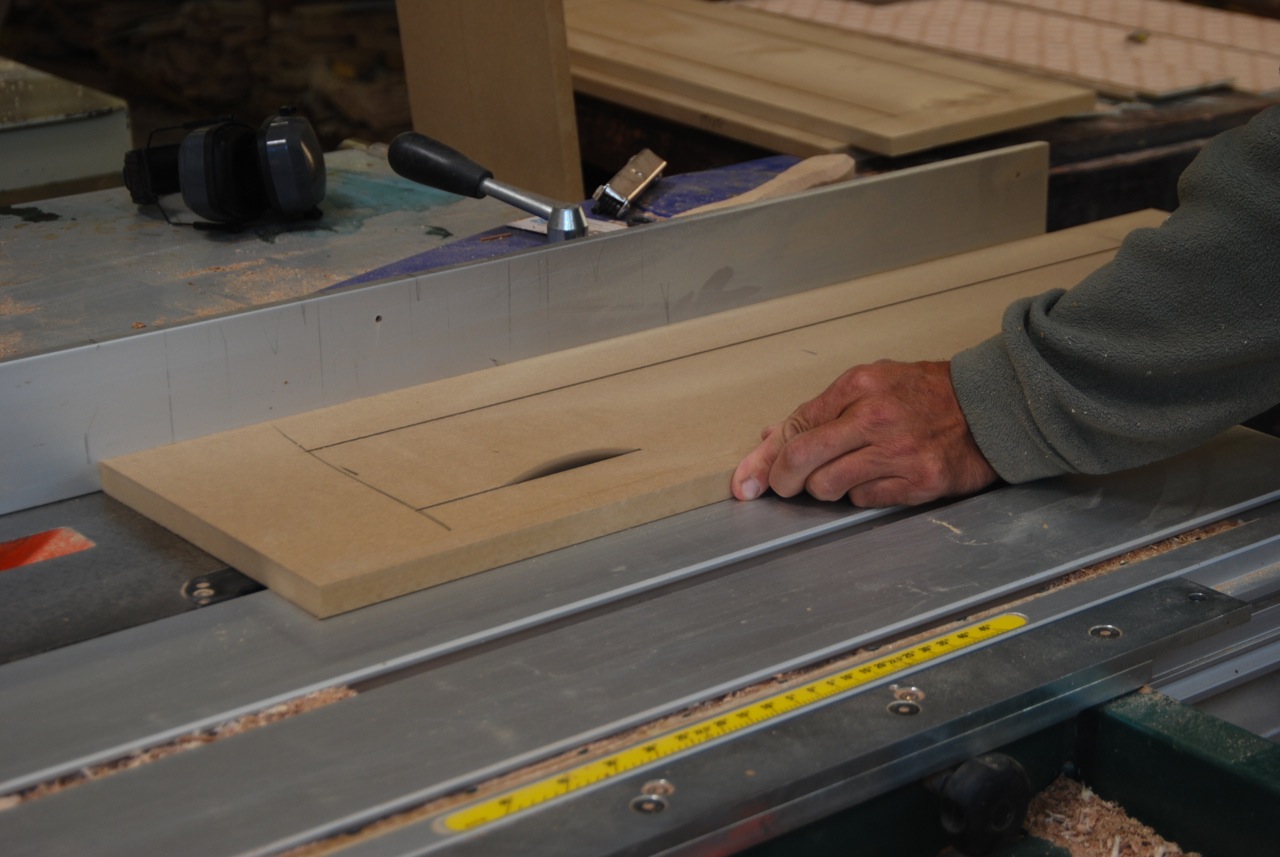
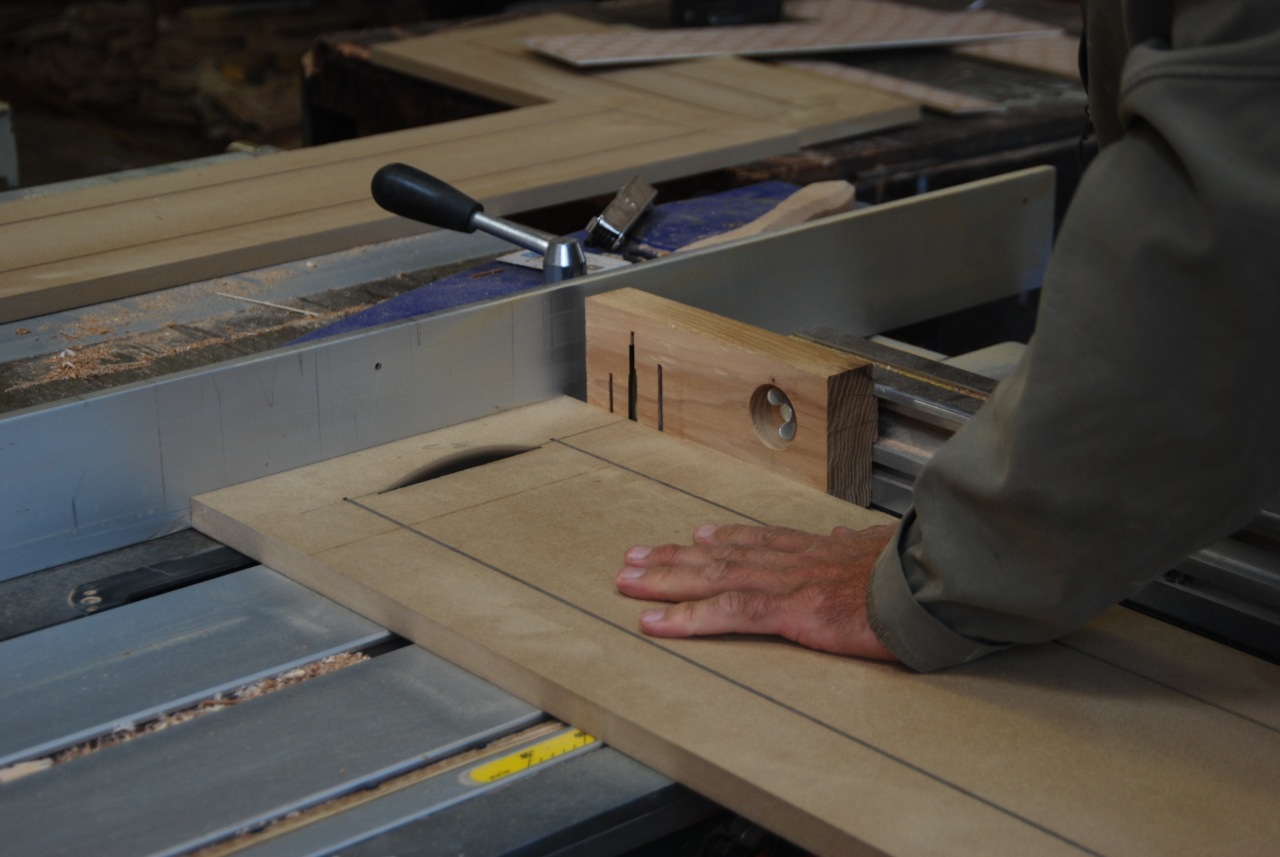
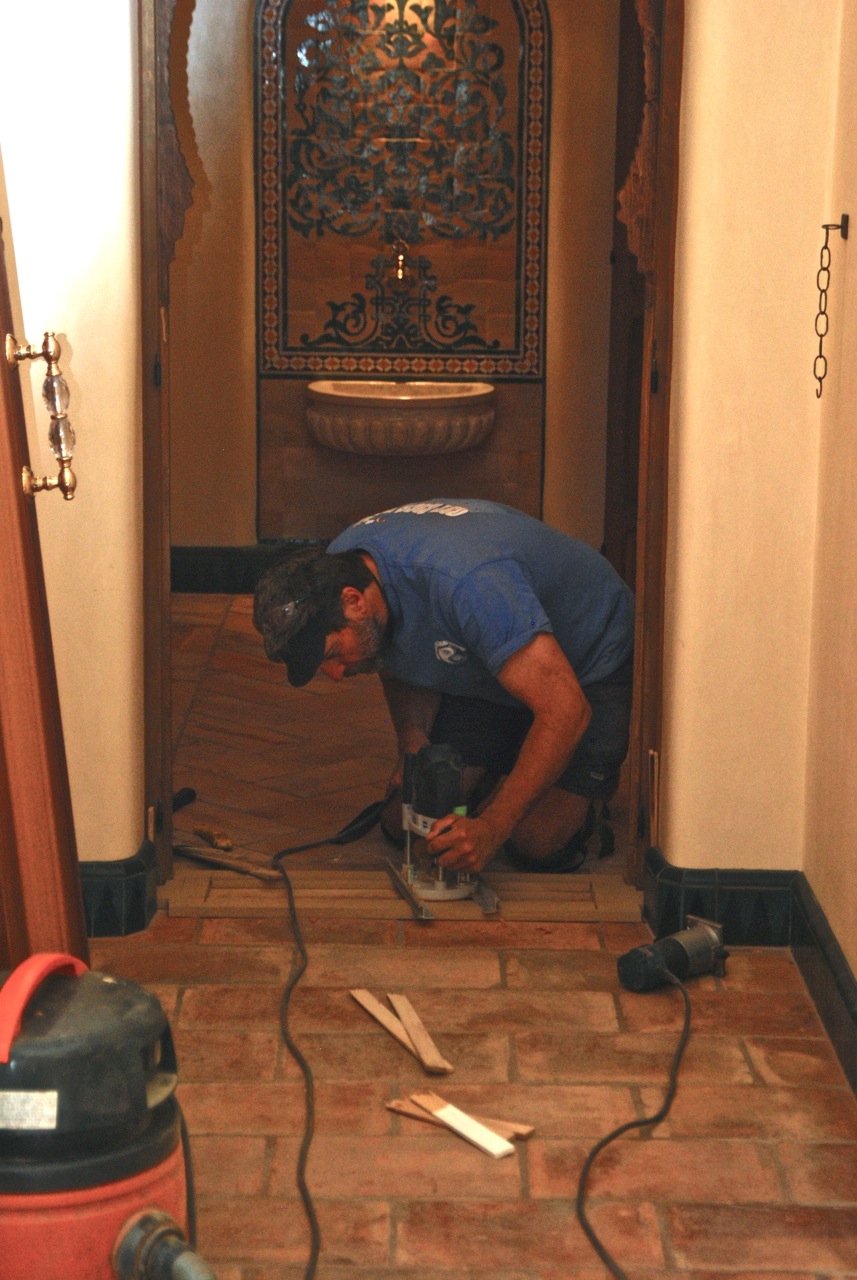
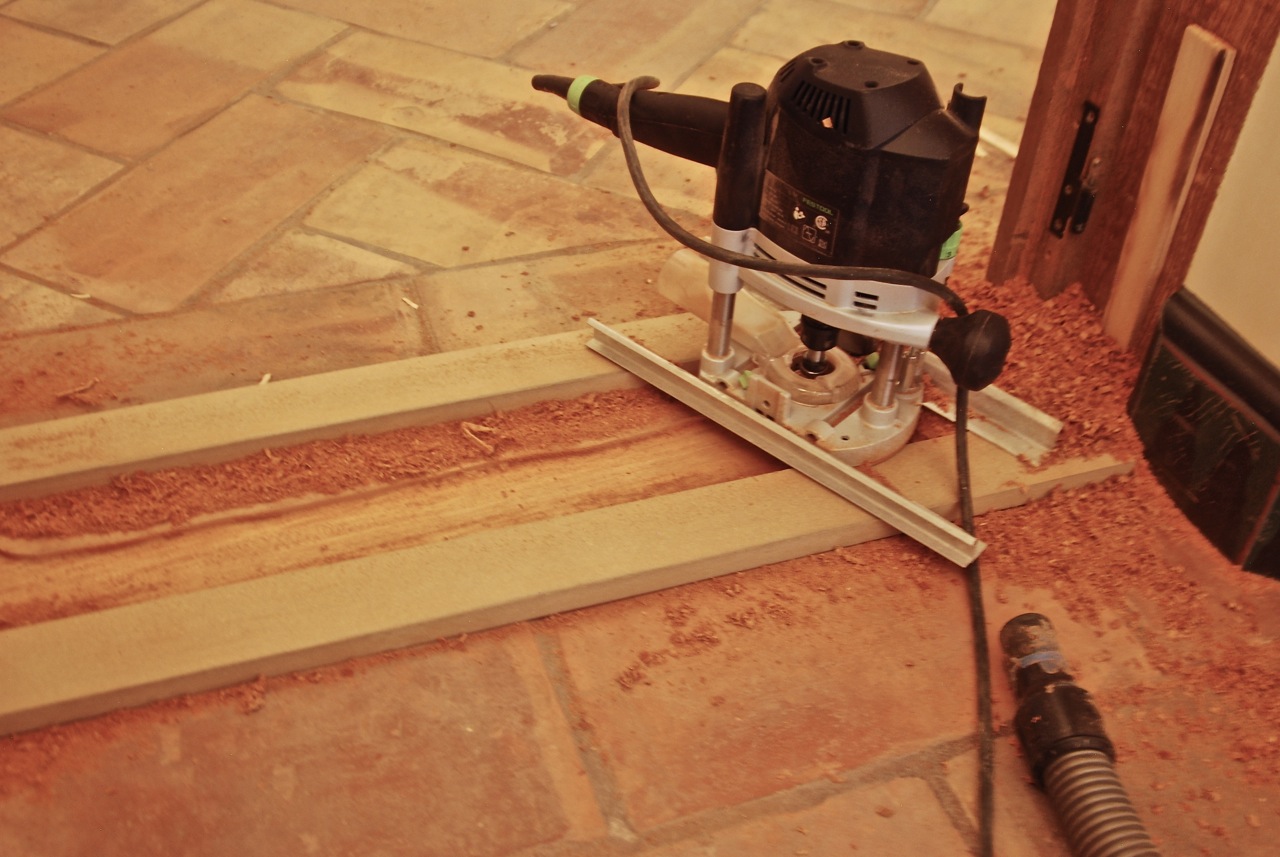
There were 4 different sizes of parquetry faces getting inlayed into the existing thresholds with the widest one being 6”. I had purposely laminated the parquetry onto a thin substrate so that I didn’t have to hog out a deep mortise on site with the routers. I wanted it to be one pass down to final depth without making too big of a mess in the almost finished job site. I wanted to use a plunge router with plenty of power to do the bulk of the cutting, but it wasn’t going to be able to get all the way into the corners because of the size of the base. That meant that I was going to have to finish the mortise with a trim router. The base of the plunge router was too big to get in the corners, but not big enough to reach into the middle of a 6” wide mortise, so I had to come up with a plan to extend the base so it could hover over the middle of the mortise without dipping. At first I thought about putting a long, rectangular sub-base on the plunge router, but for various reasons I settled on just sticking on a couple of 13” rails with double stick tape.
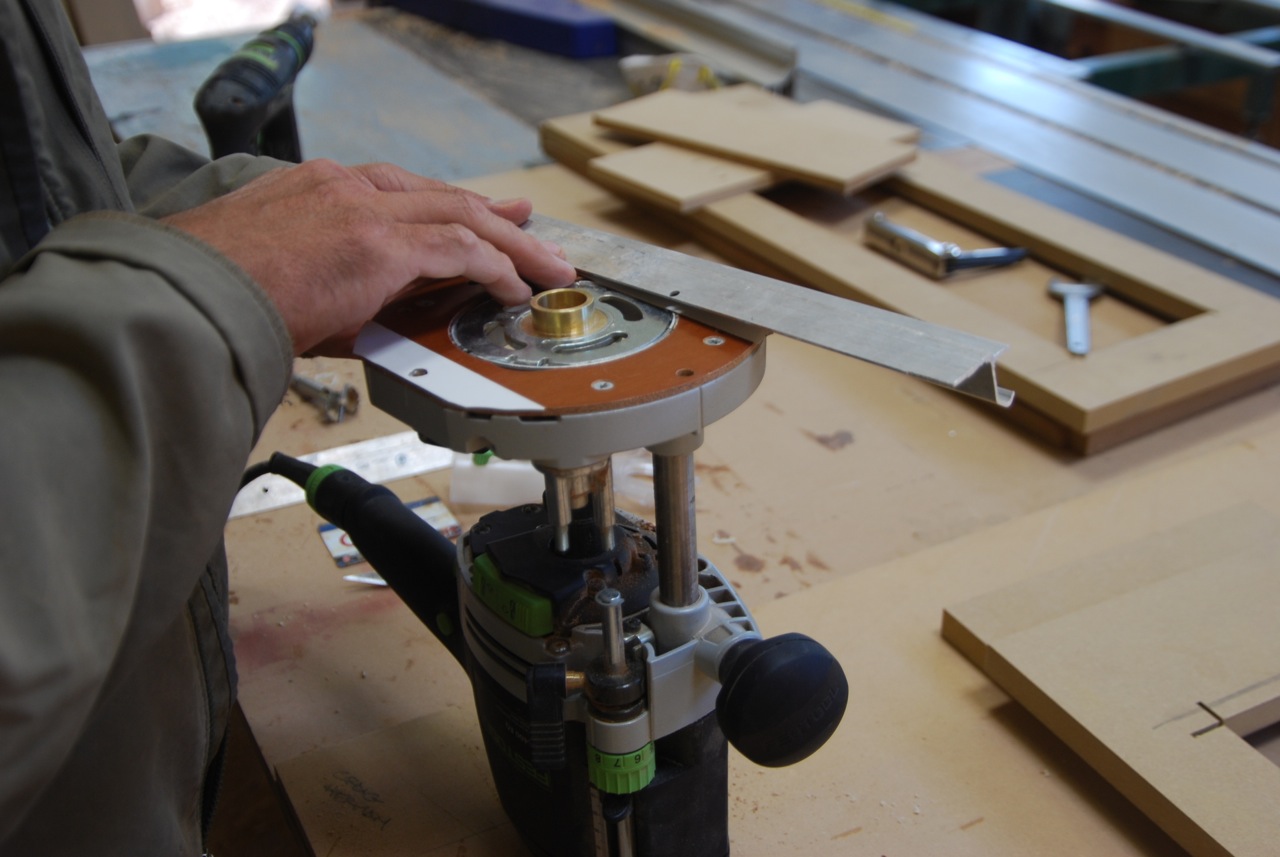
I used a 3/4” diameter bit with a rub collar that would ride against the template. That rub collar held the bit off of the template by 1/8”.
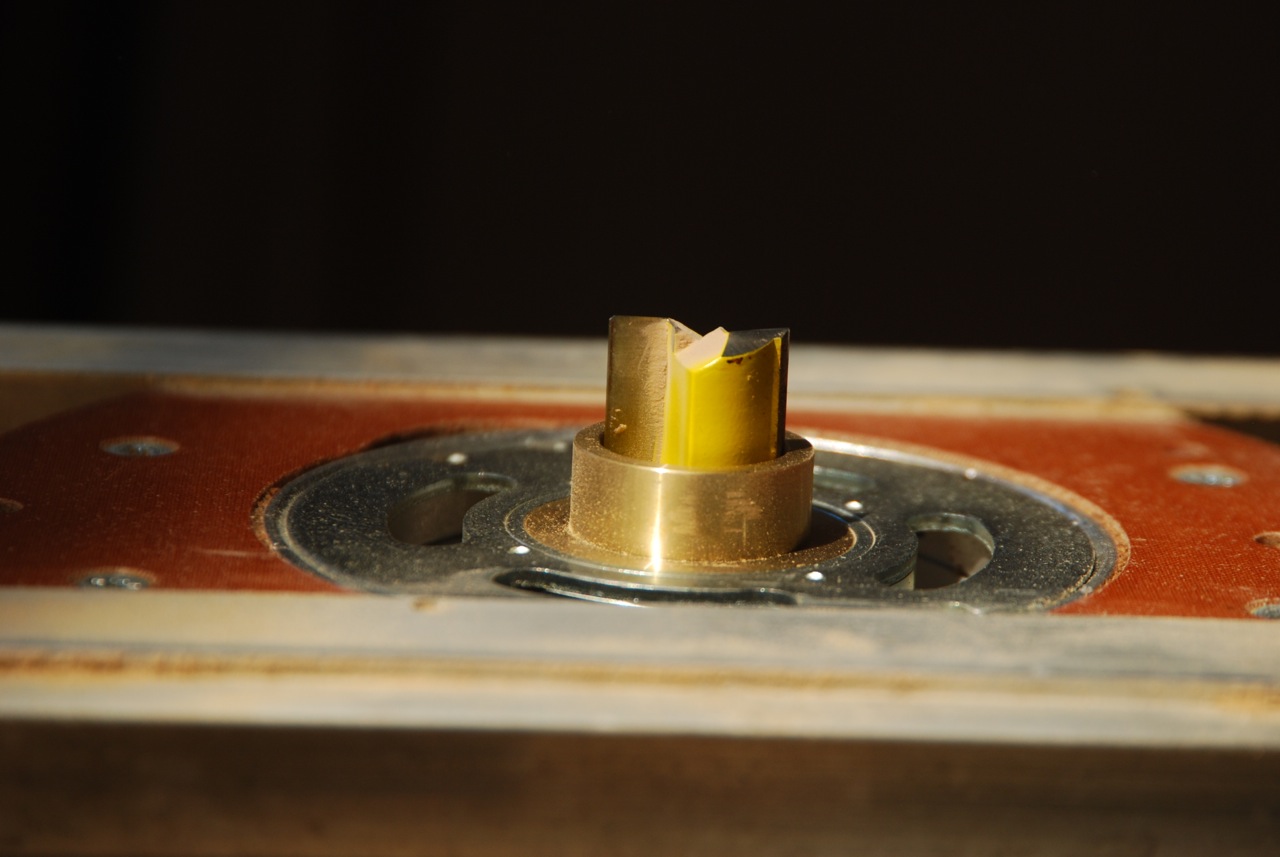
With the rails on I could ride over the mortise and be completely stable.
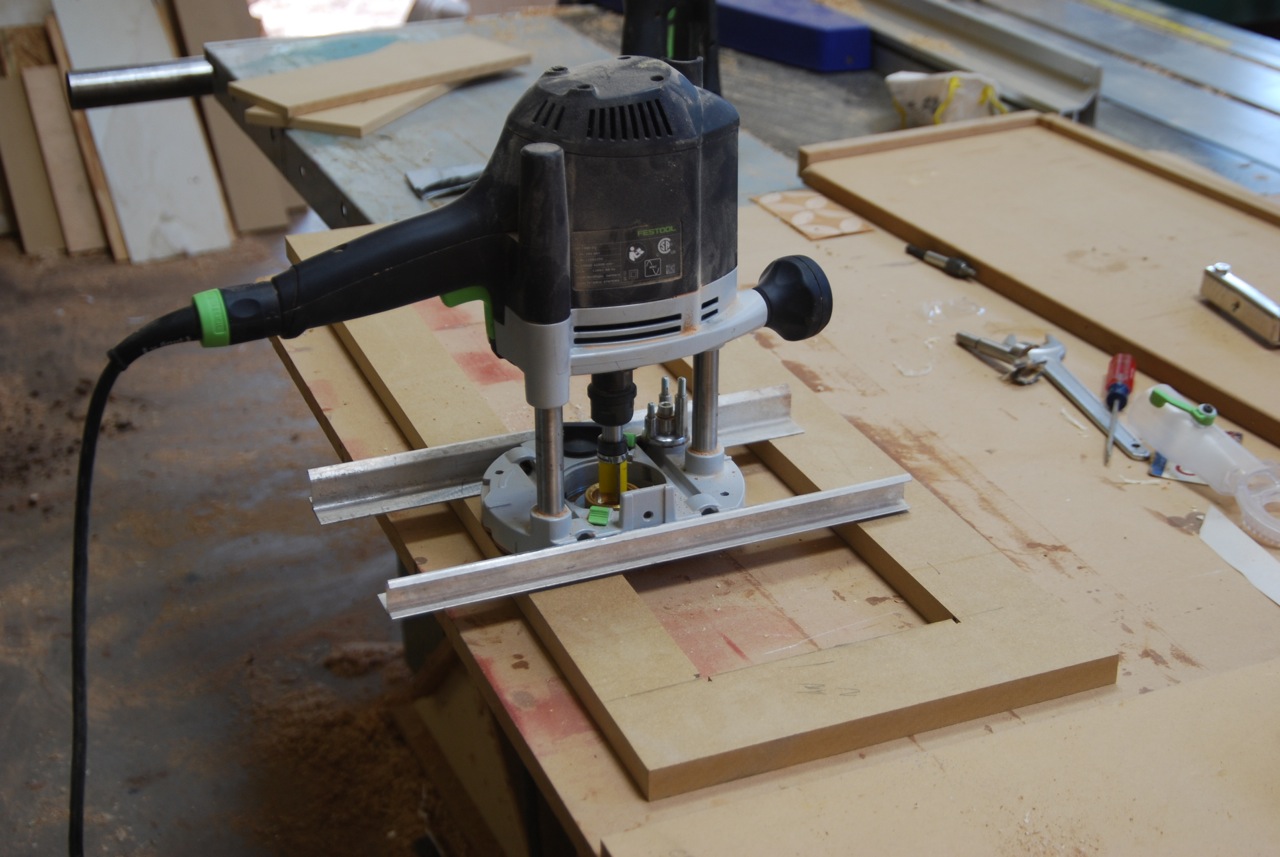
To set the depth I put two faces on top of my template, set the router on top and lowered the bit until it was just kissing the table below.
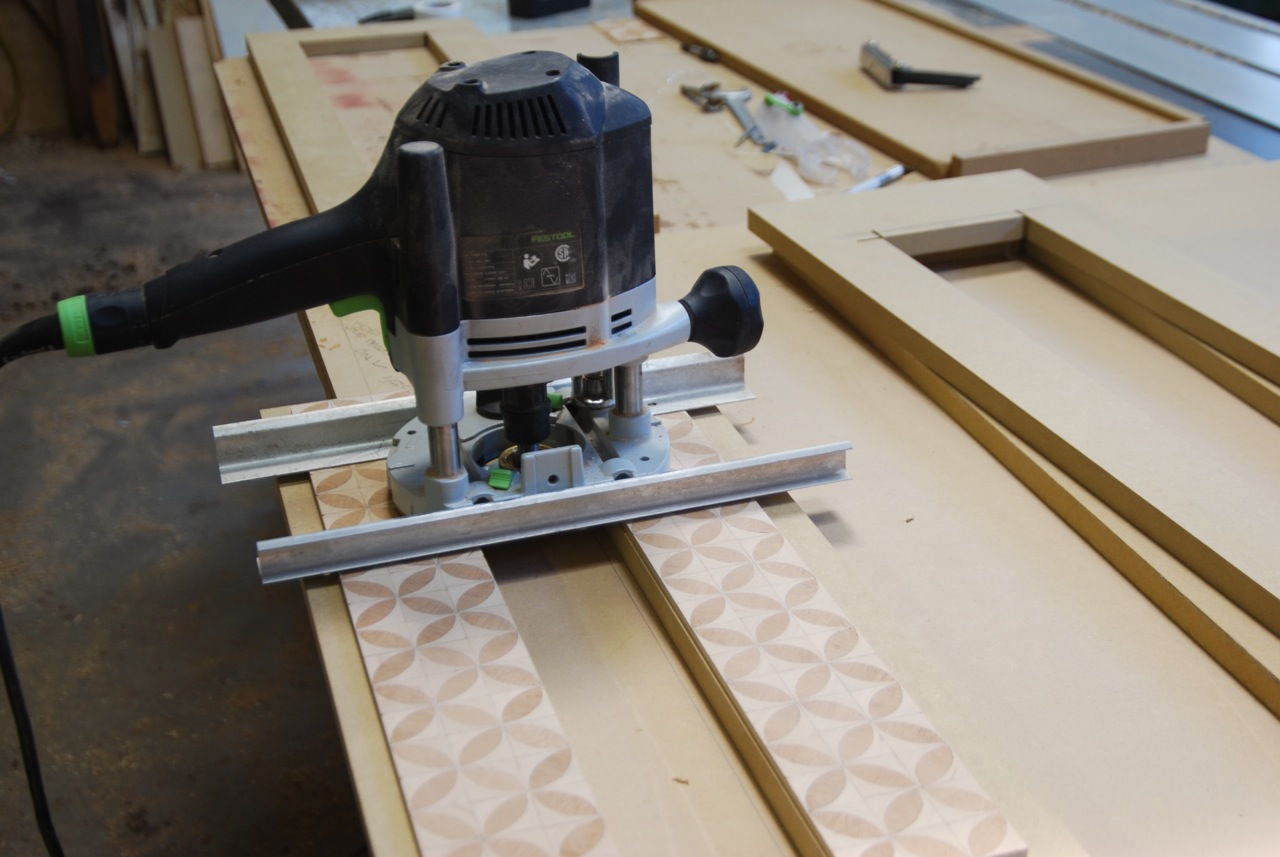
I set up my trim router with a 1/2” bit with a 5/8” bearing on it. In my experience, a flush cutting bit and bearing combination (1/2” bit with 1/2” bearing) still eats a little bit off of your template and before long your mortise starts to change size. The bigger bearing keeps the bit away from the template. In this case by 1/16”. For that reason all of my templates were bigger than the faces by 1/8” overall in each direction.
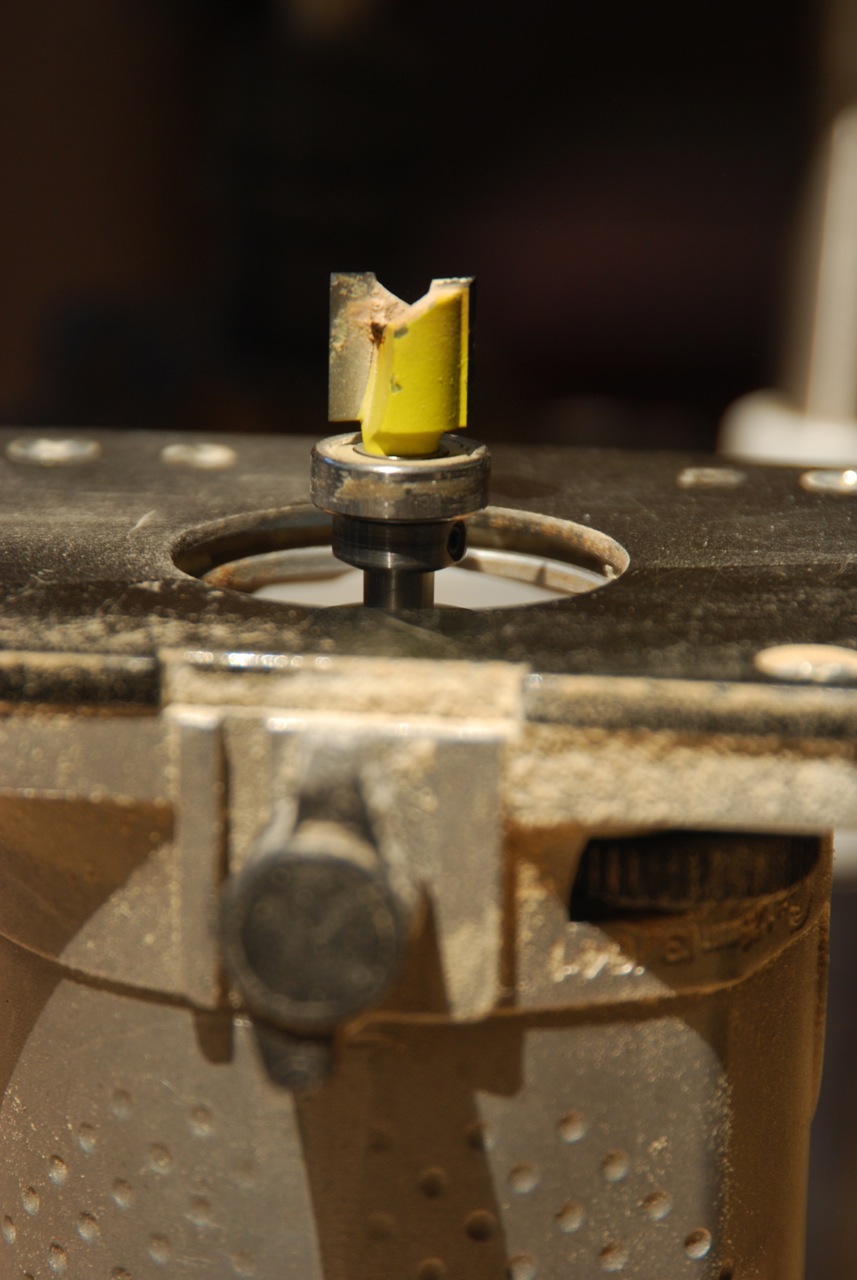
I tested all of my routing templates and router set ups in the shop to be sure they were perfect before I headed out to the job for install.
I made all of the templates a little long since each opening was a little different and then I cut them to length on site. I fit them to the opening with 1/4” space on the ends and shimmed them tight to the jambs.

Once the templates were down the routing went smoothly.
Once the piece was glued in the mortise I put a platen on top (wrapped in pallet wrap to keep it from sticking) that was a little smaller than the face. That way I could see the edges and be sure that they were flush to the rest of the threshold. To clamp the faces down I had made some spring sticks that were 3/4” x 1 1/2”. I cut them just a hair longer than the opening and sprung them in on top of the platen. They gave really good clamping pressure.
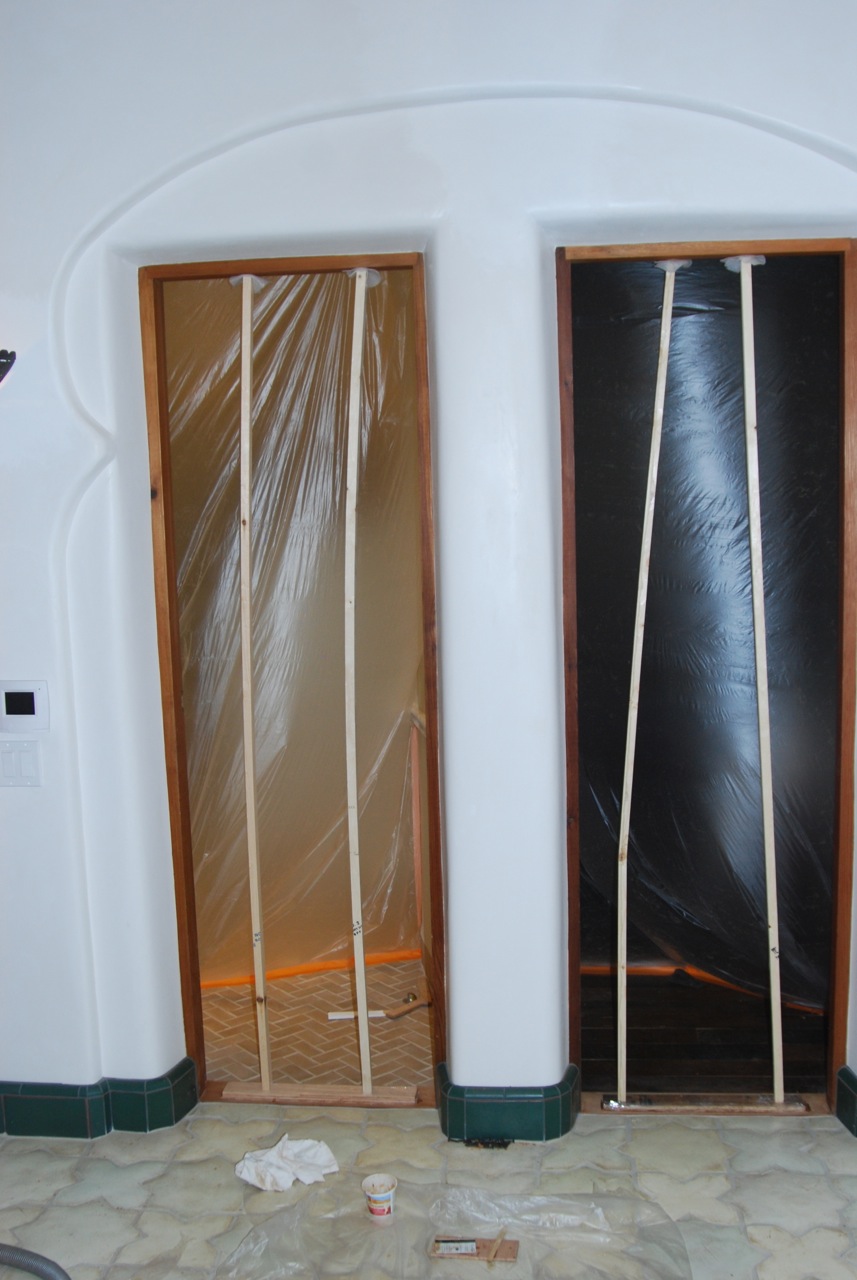
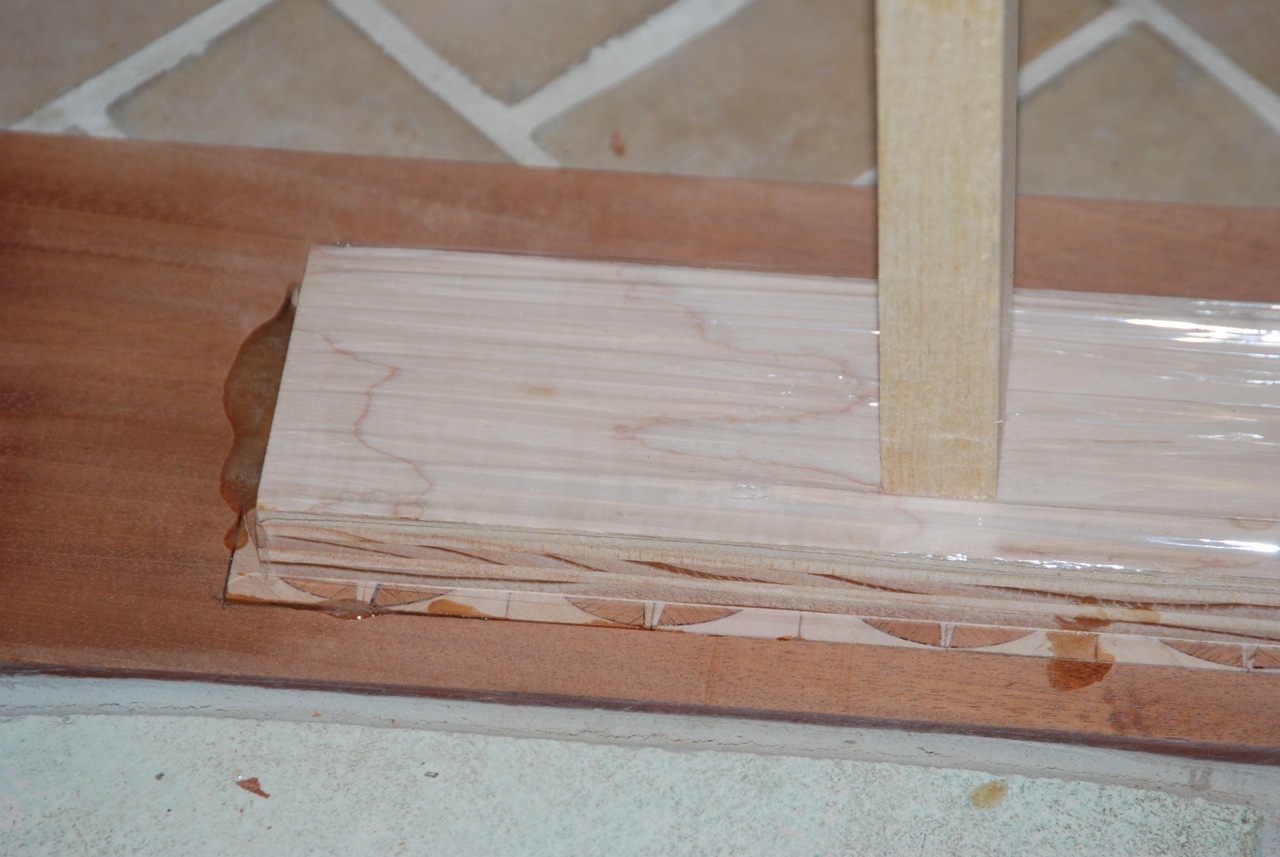
I came back the next day, popped out the spring strips and sanded everything. One of the other nice things about West System is how well it sands.
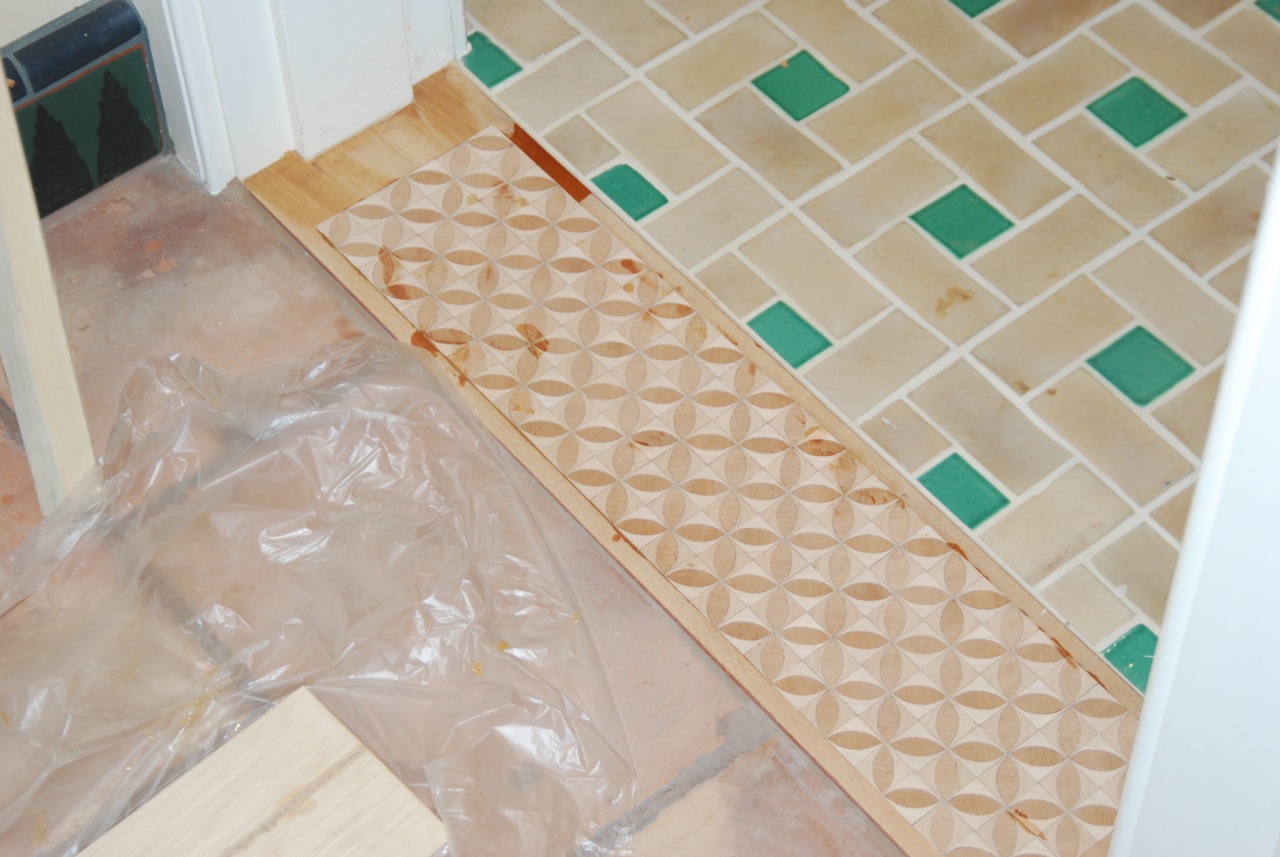
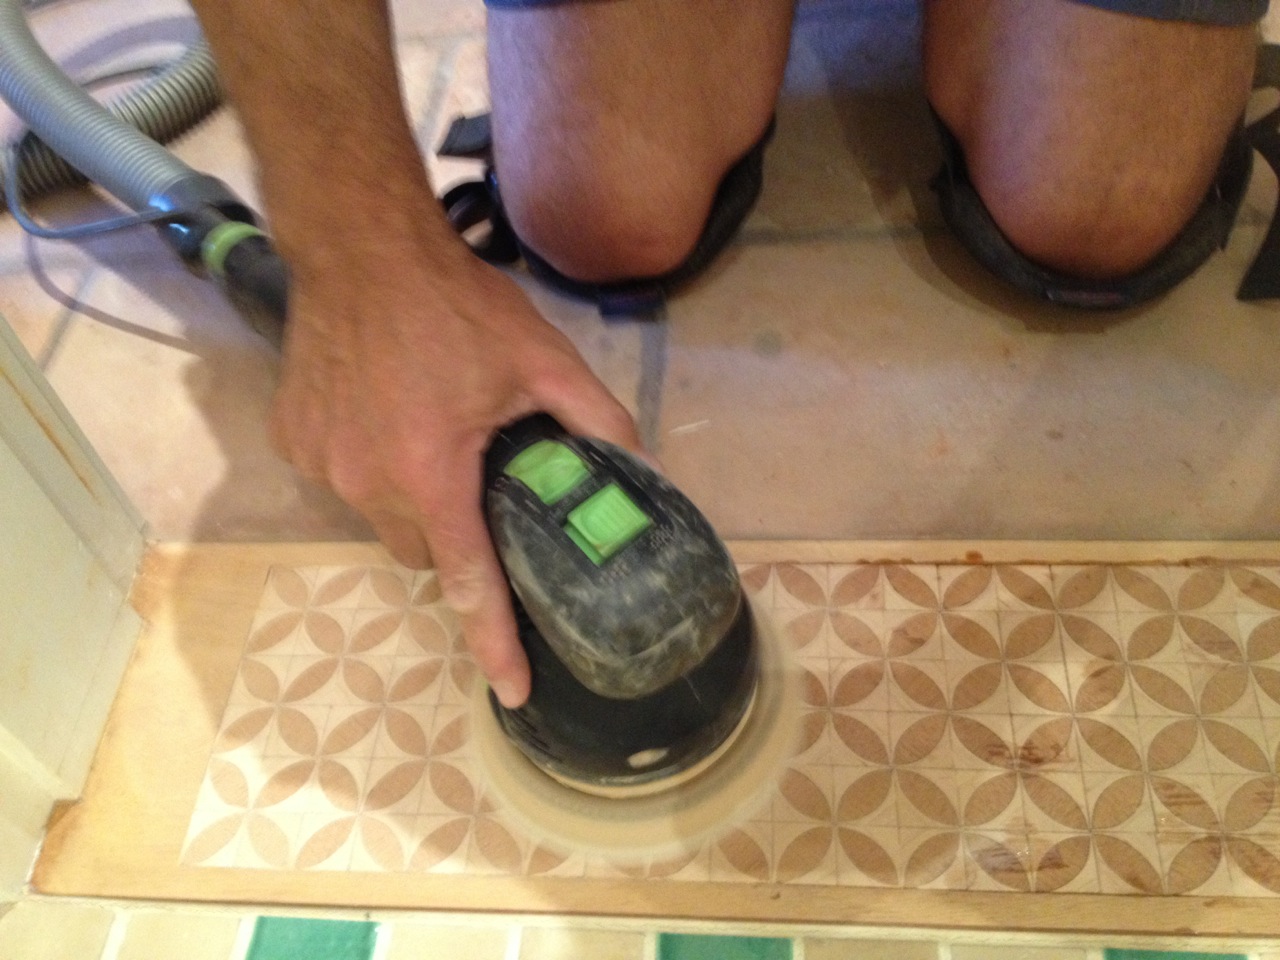
Then I put on 3 coats of a good water borne spar varnish.
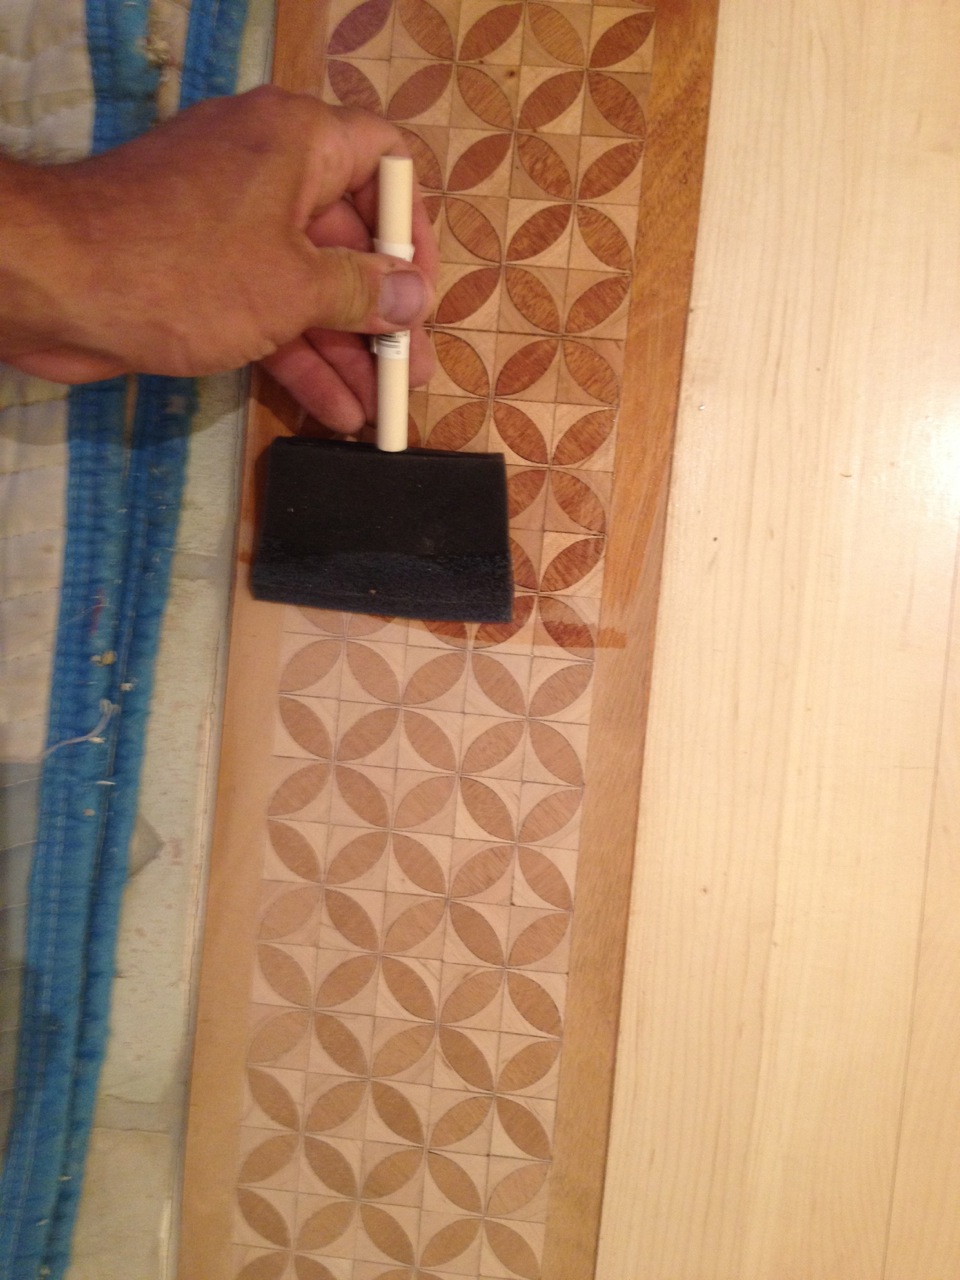
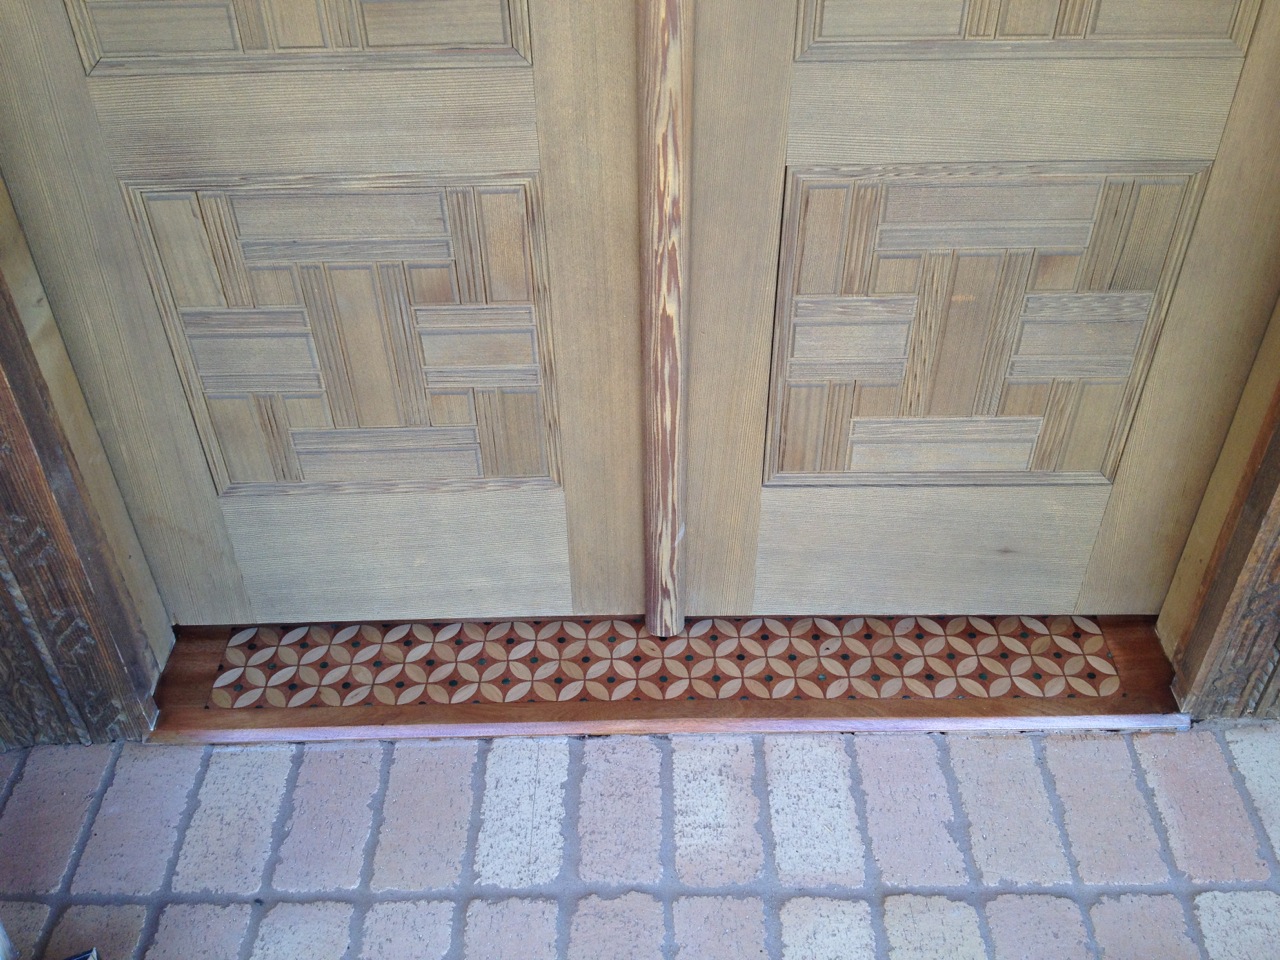
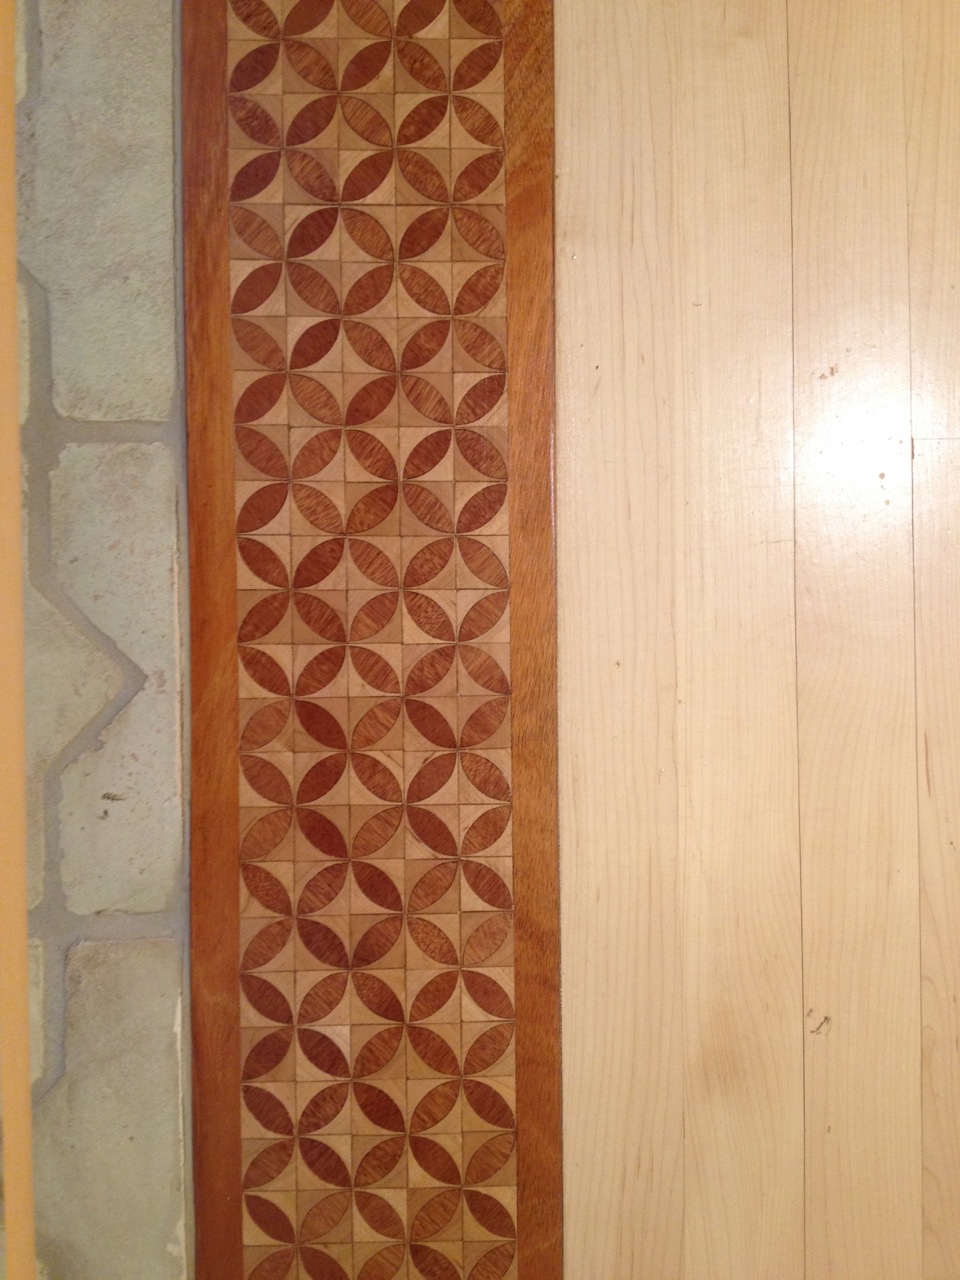
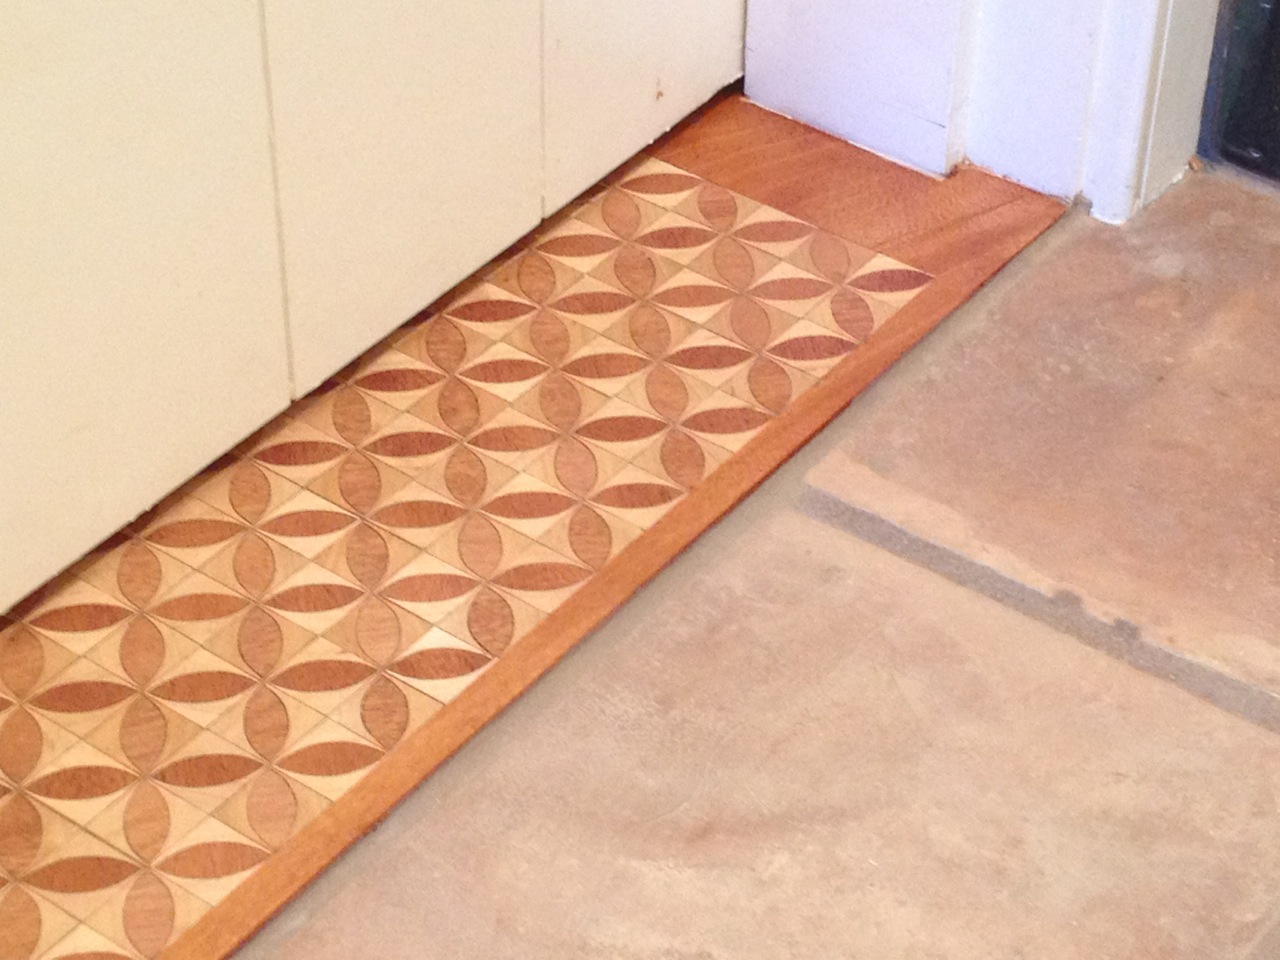
In the end everything went pretty smoothly. There were plenty of opportunities for screwing up on this project, but fortunately I had made all of those mistakes on previous projects and I actually remembered the lessons. It doesn’t always work that way, of course, but it is sure is nice when it does.
You can see other parquetry and marquetry pieces on the gallery of my website.


